


Full description not available
S**E
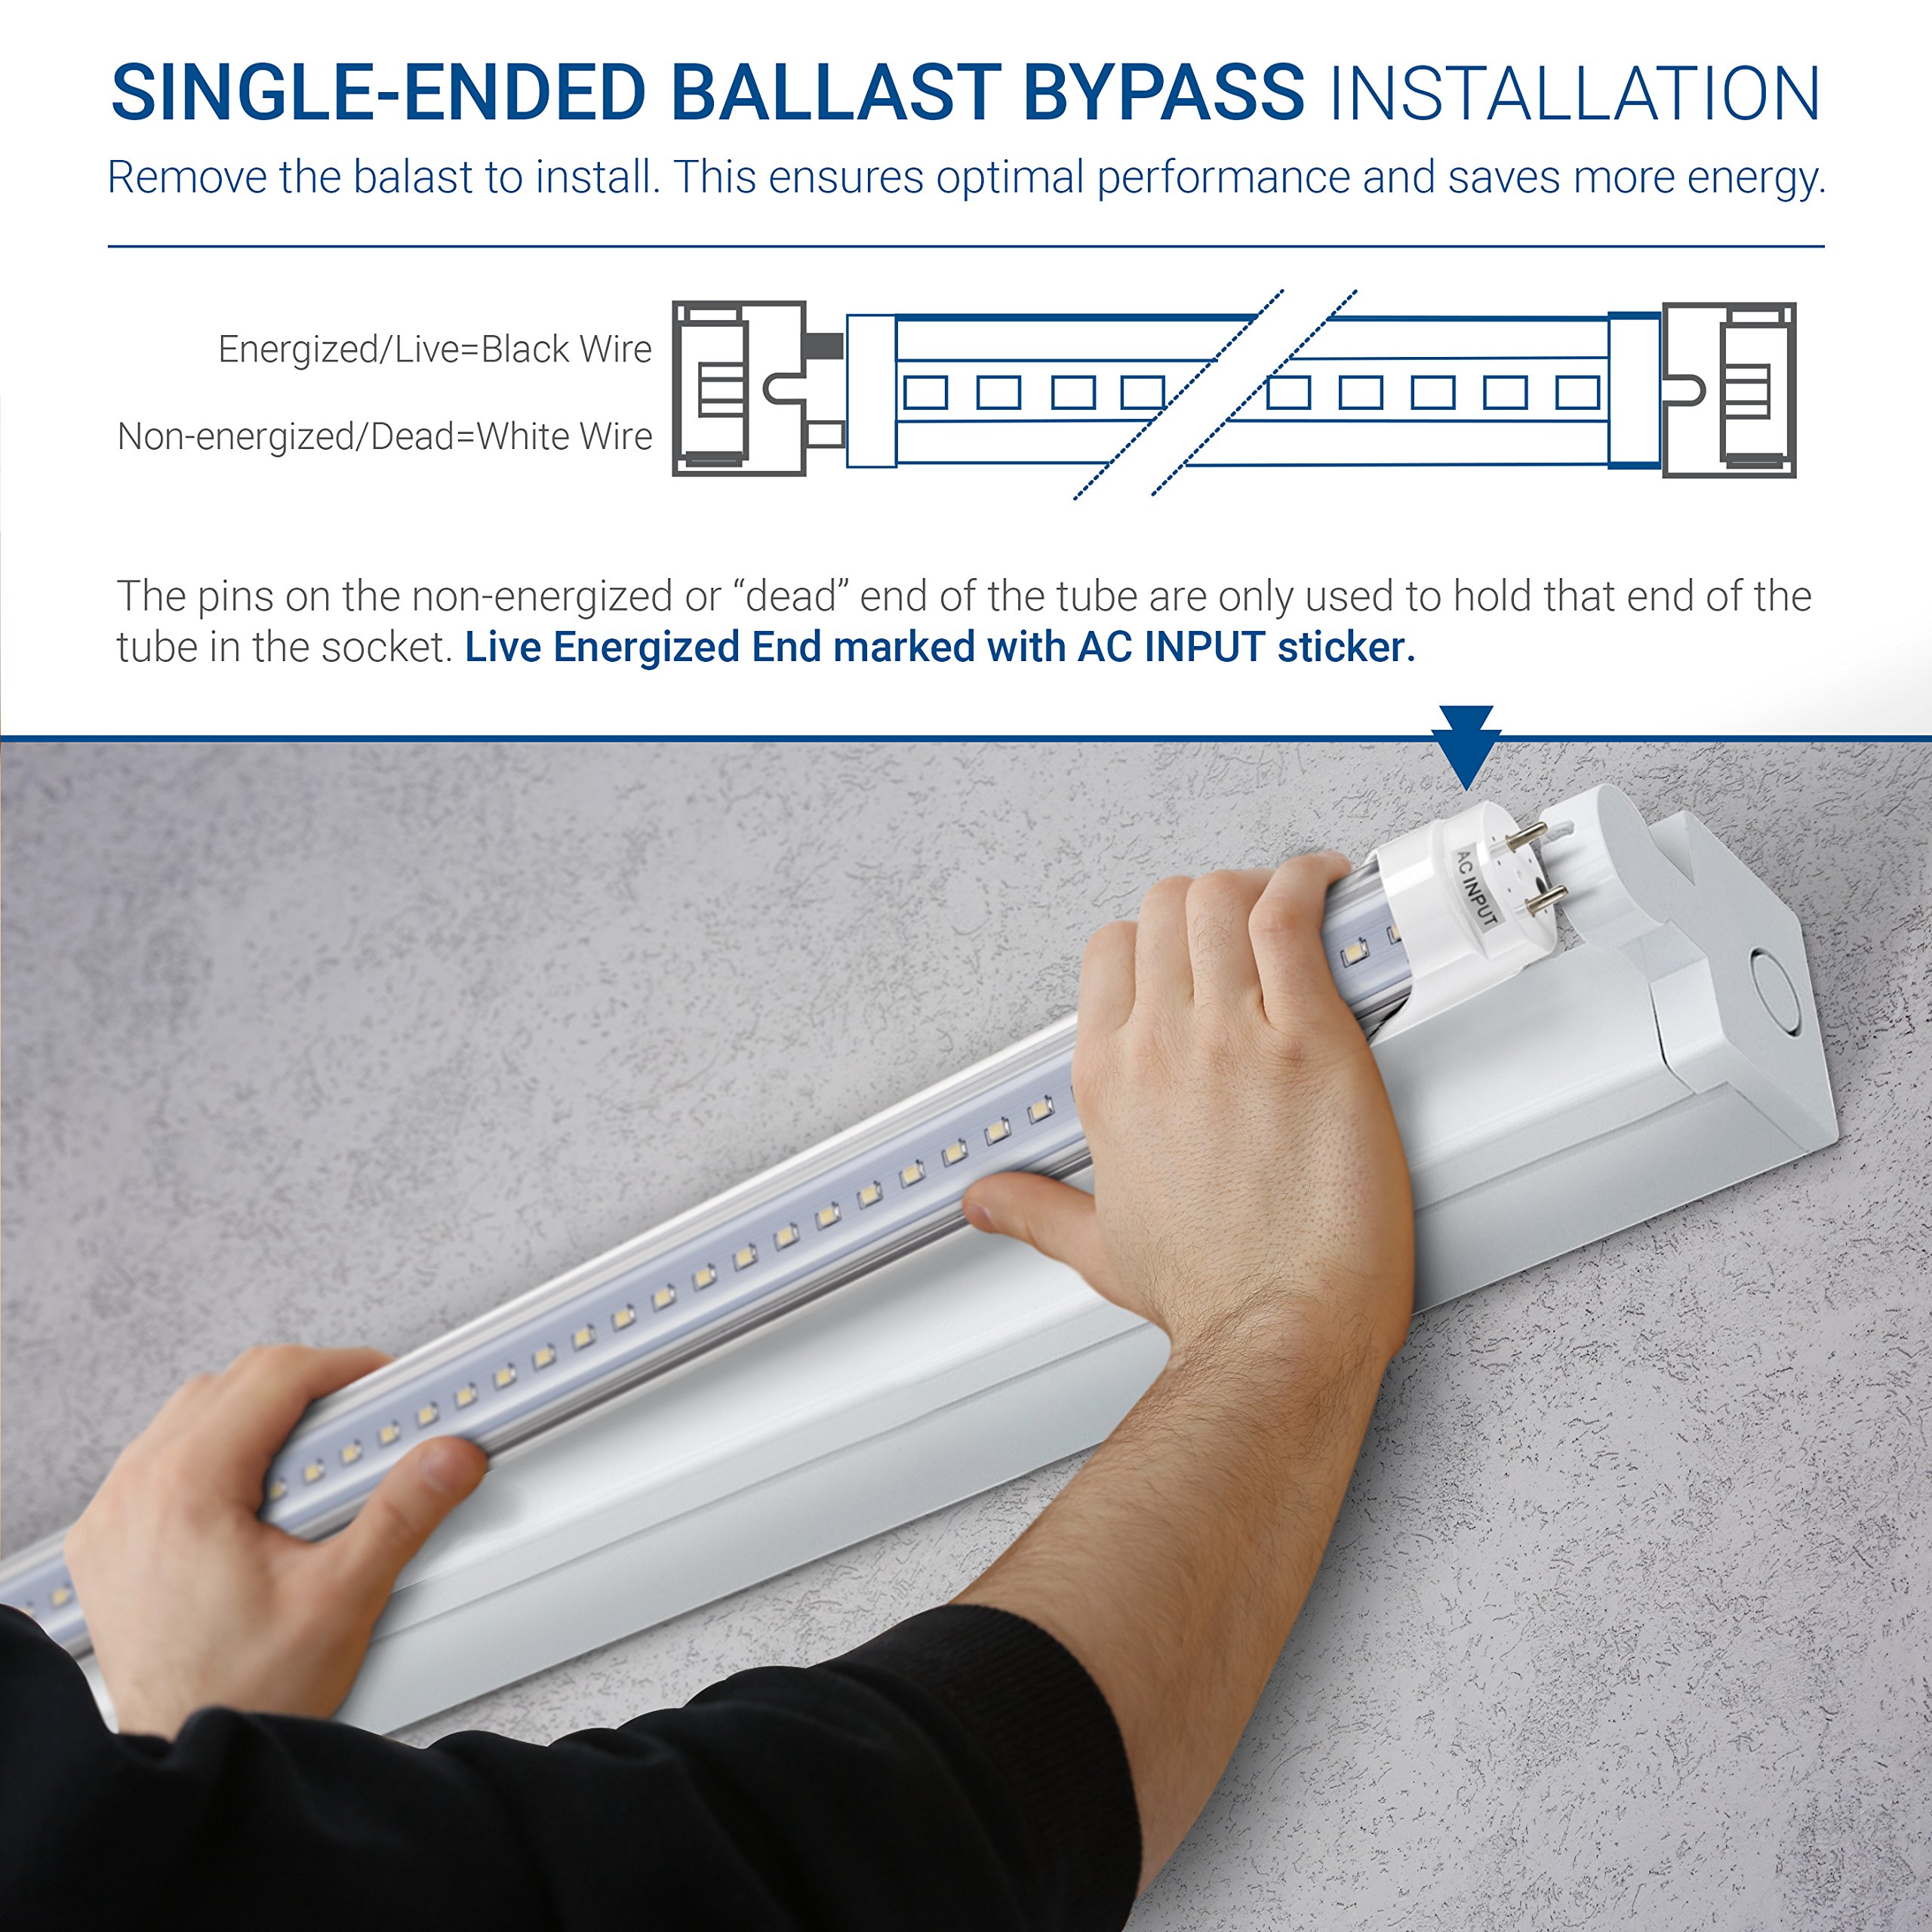
LED tubes are simple to install.
These LED tubes are an excellent product. I give them 4 stars only because they make the installation sound complicated when is is not. Here's why.I have these 4 LED tubes in my the kitchen for a month now and we are pleased with their performance so far. I instilled them myself in 45 minutes once I figured it out. . However, I spent an hour getting through the confusing instructions. The seller really makes the installation confusing which might make you reluctant to attempt the installation yourself. It's quite simple. There is only one end of the tube that requires power and it is so marked. The prongs on the other end of the tube are for holding the tube up that end and have no power requirements.For discussion, you could stick the two power end prongs of the tube in a wall socket and the tubes would light up. It's that simple. But please don't try this. I only want you to get the picture. Standard end caps provide power to the tubes with 2 wires. One end prong gets the hot wire and the other prong gets the common. And, it doesn't matter which prong gets which on the LED tube. So don't be confused. Just know to wire the fixture's end caps on the power end so that one prong gets the black and the other gets the white. Remove the ballast(s) and dispose properly. Cut out the wires to the non-power end caps because they are useless. All the non-power end caps do is hold up that end of the tube!If you have the instant start ballasts,it doesn't matter. Forget about end cap 'shunt' BS because it just doesn't matter either. It will say on the ballast if it is instant start and you are going to remove the ballast(s) anyway. What matters is that if you have instant start, the existing end caps can't be used. If this is the case, simply pop out those bad boys, cut the wires close the the end cap(s), pop in the new end caps supplied with your LED tube order. Wire these new end caps as discussed before, where each end cap will have one side to black and the other to white. If there is more that one tube and end cap in the fixture, simply wire such that on side of each end cap gets wired to the white and the other side gets wired to the black.Of course, you will want to be sure the fixture is grounded with the green/copper wire. It probably already was so you needn't mess with that wire. If the fixture does NOT have a ground connection (very unlikely), you will want to contact an electrician.
S**N
High Quality LED if you have to bypass/remove your ballast
These bulbs are installed in a Lithonia 1233 fixture which had a Keystone 240TPES ballast. That ballast is some Frankenstein that is neither a magnetic or rapid start ballast and is therefore incompatible with any of the "direct replacement" bulbs (I tried 2 different Phillips bulbs). That left me no choice but to remove the ballast and direct wire the connections. This is a very simple rewiring requiring nothing more than a screwdriver, a wire cutter and two wire nuts.To rewire, remove the two screws holding the cover onto the fixture, cut the wires to the ballast and remove it. Now, on the side of the fixture where the power cord comes in, you will connect the existing black, red, and blue wires together with one wire nut, and the existing 2 yellow wires and the white together with the other. All power happens on this side. The other, "dead" side will simply become a tube holder. On the "dead" side of the fixture, cut all the wires very close to the tombstone to assure that nothing is connected on that end, including the white wire that runs between the tombstones on that end. Put it back together, insert the tubes with the AC side of the bulb on the side where the power cord comes in and you are good to go. It is best to also label the power side as "Single Ended LED's Only, AC This End" as inserting a florescent could now be dangerous.
M**N
Excellent LED replacements
Very simple to install. A couple of hints:1) turn off power to light2) Use a old piece of wire to make a cradle to support reflector under light.3) Undo the screw on each end of light and lower reflector.4) Cut the red and blue wires on one end at each tombstone fitting5) tape each loose tombstone to reflector to hold it while you reassemble6) remove the wire nuts to the main power supply to the ballast7) cut the two yellow wires near the ballast, long enough to connect to power supply.8) remove the ballast and discard.9) strip the yellow leads and use plyers to twist clockwise on the power leads. Add wire nuts.10) reattach reflector to light, one screw on each end. Make sure wires are not pinched.11) mark the powered end of light: hot12) Insert the hyperikon LED with label end on the hot end of fixture, Check to make sure they are attached on both ends13) turn power back on.
R**.
Simple installation, excellent amount of light
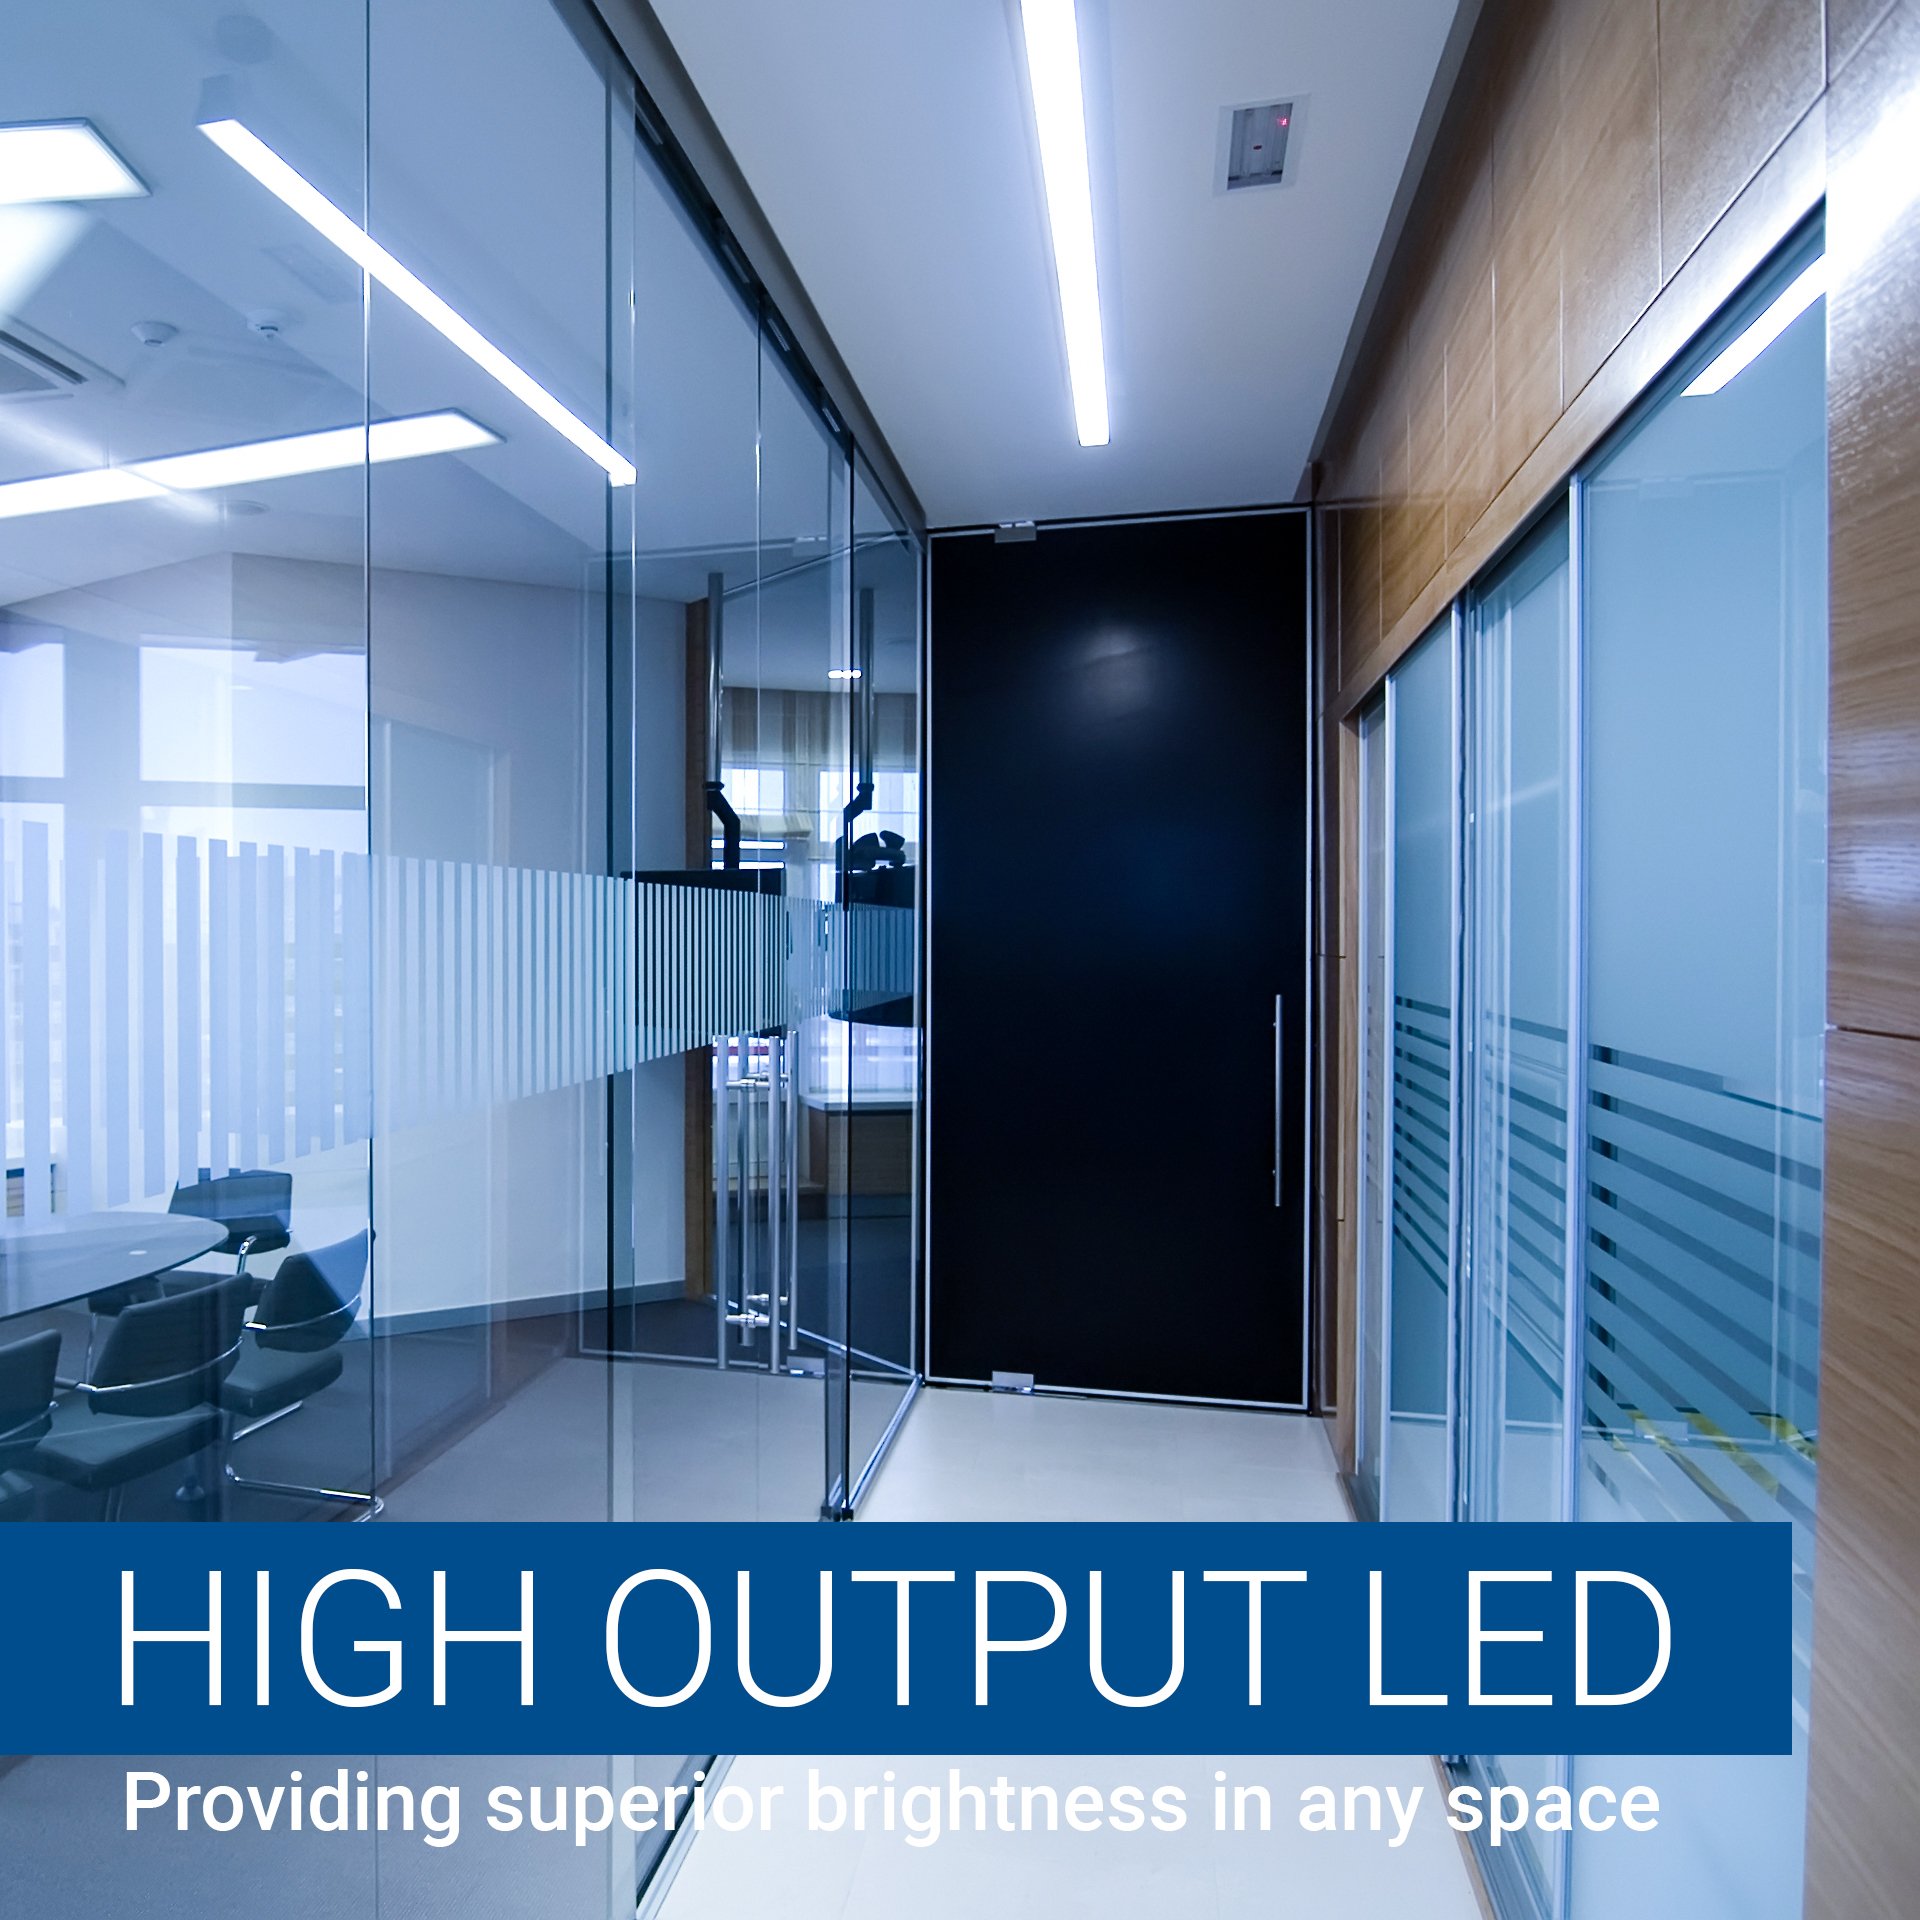
Tremendous amount of light (lumens) compared to the cool white fluorescents they replace. The light quality is piercingly brilliant and icy-cold, as the color temp. in kelvins indicates. In a standard shop light fixture, the directionality of the LEDs makes little difference. The light is directed where it is supposed to go. The utility room and walk-in closet have never had so much light. Conversion was very simple, once understood. The instructions, though reasonably thorough, make the process seem more complex than it really is. Don't obsess. Think of it as plugging a table lamp into a wall outlet...same principle...different shape. The tubes came with one tombstone each for convenience. No new wires were needed. No more ballast hum. Only one end of the tube is live, that's the plug end. The prongs on the other end are electrically dead and do nothing more than hold the tube in place in concert with the live end. The live end is where the new tombstones are placed. Making the connection is nothing more than pushing the bare end of a wire into the new tombstone. Super simple. I see more of these in my future. Remember, you are just plugging in a light bulb.
A**R
Good LED Light Tubes - But No Tombstones Included.
These are a good alternative to fluorescent lighting. The nicest feature, other than they are led and save power, is that they are durable. If you drop them while installing (like I did a few times) they will probably not breat (unless you step on them or drop something on them to damage them). That makes them much better than fluorescent bulbs where dropping one would be a disasterous mess.My only reason for the low rating was that there were no "tombstones" included in this package. I had previously ordered the 12 pack of these tubes and that came with the "tombstones" but this 4-pack did not.To install these you need to remove the ballast from the existing fluorescent fixture and ensure that only one end of the fixture has power connected to the fixtures. The other end is supposed to have the "tombstones" since no power goes to that end of the led tube.It is not a disaster since you can just cut the wires coming from the existing bulb holders at the non-powered end and use them but it did advertise having the "tombstones" included which, in my case, were not there.Delivery was fast and otherwise these look like a good product.
P**.
Not plug and play
Si vous etes juste ce qu’il faut bricoleur et respecter le code du batiment « respect du gauge de fil requis » l’installation et la conversion ne prend pas plus de 60minutes. Il faut etre en mesure de lire un circuit et s’y connaitre un minimum en branchement. note 4 /10 (ou 10 est hard et 1 facile)
C**T
Works well, clear light, but no tombstones
I like these bulbs - this order did not come with the tombstone light sockets for rewiring the fixtures. So, if you're re-wiring your fixture and need tombstone sockets, then you need to buy these as extra items. Otherwise, performance is as expected.
D**7
Very bright,easy install
So easy to install, very bright and no ballast now..much cheaper on the power bill and these led bulbs last for years...packaged really good for shipping...and fast shipping. Highly recommend.
C**D
Even if your existing light was dual power you can convert to single end power easily
I purchased these bulbs to replace existing T8 fluorescent bulbs in my garage. The only thing I had to to to make them work was to change the fixture from dual end power to single end power. This can be done quite easily by purchasing non-shunted G13 Tombstones from an electrical store and installing them in your fixture. Once installed in the garage there was a noticeable difference in brightness inside the building which will be great when working on projects out there.
