We remain fully operational. Our teams are working around the clock to ensure your deliveries continue safely.

下载应用程序


Buy anything from 5,000+ international stores. One checkout price. No surprise fees. Join 2M+ shoppers on Desertcart.
Desertcart purchases this item on your behalf and handles shipping, customs, and support to Taiwan.
🎭 Sculpt your vision, skip the oven—create with DAS Air-Hardening Clay!
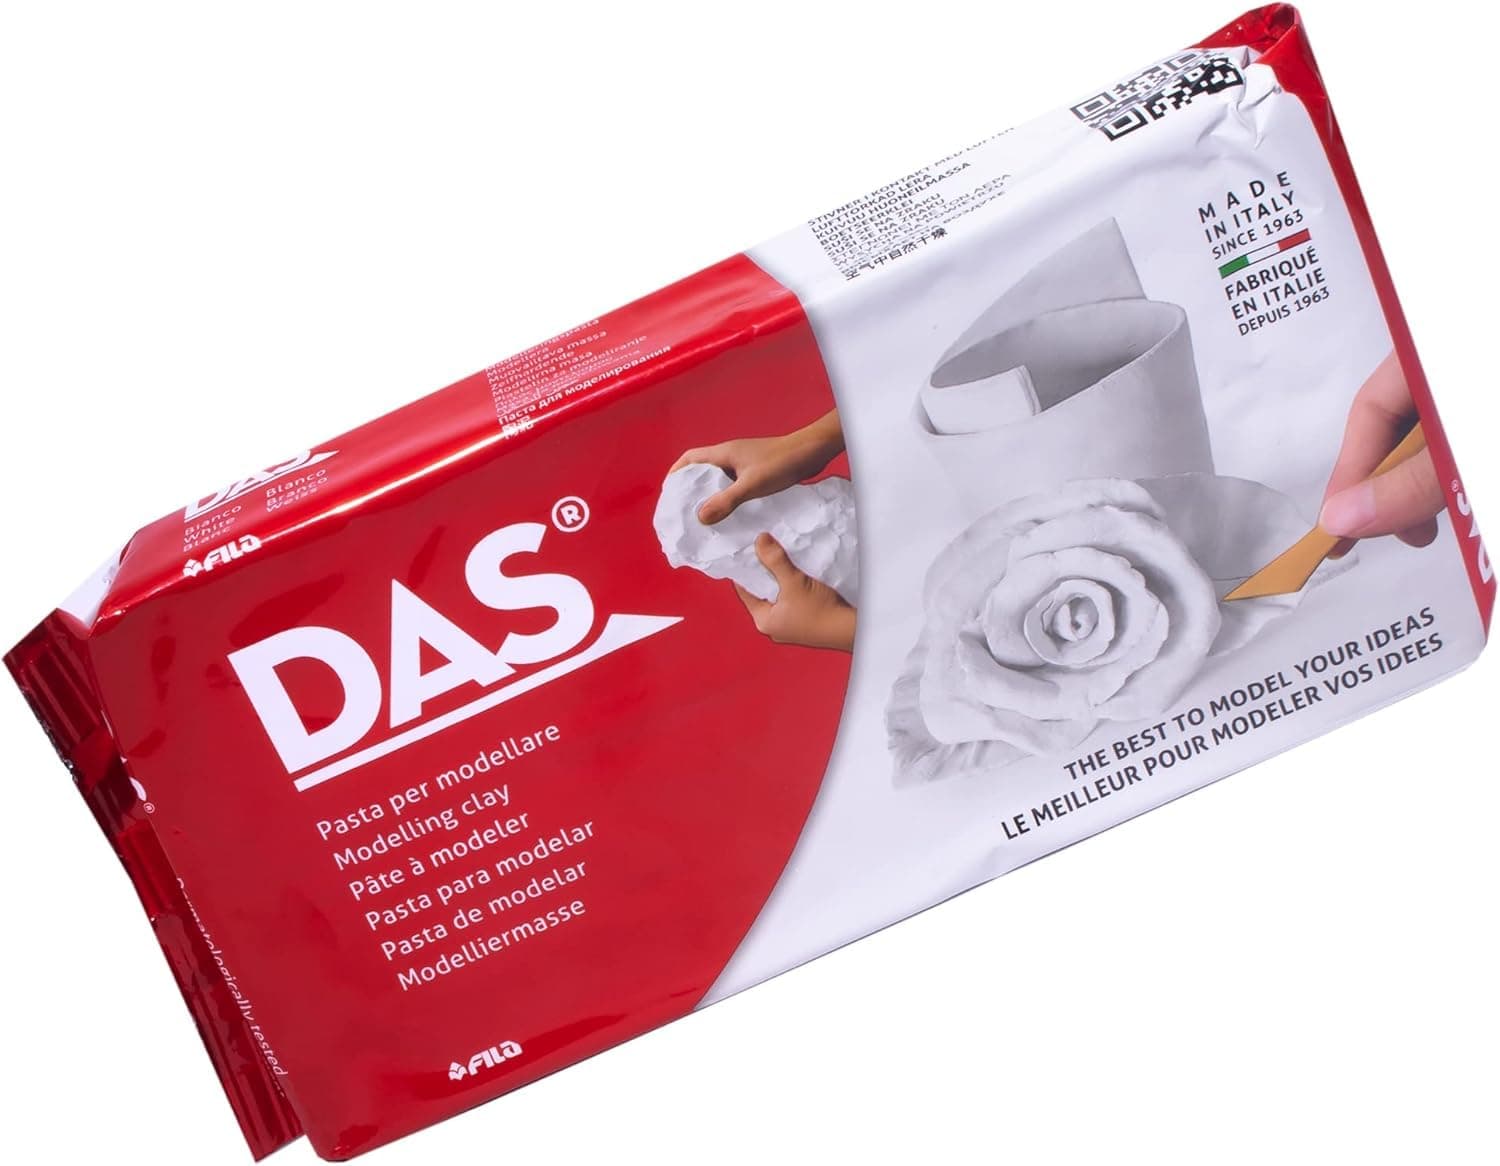
DAS Air-Hardening Modeling Clay is a premium, white clay block weighing 2.2 lbs, designed for easy, oven-free crafting. Its smooth, pliable texture allows for detailed sculpting and versatile artistic applications, from models to jewelry. Made in Italy since 1963, this trusted clay air-dries evenly without cracking, can be sanded and painted once dry, and is available in multiple sizes to suit any project scale.


| ASIN | B001GAP4YA |
| Age Range Description | Teen + Above |
| Best Sellers Rank | #107 in Arts, Crafts & Sewing ( See Top 100 in Arts, Crafts & Sewing ) #2 in Pottery & Modeling Clays |
| Brand Name | DAS |
| Color | White |
| Customer Reviews | 4.6 4.6 out of 5 stars (64,242) |
| Educational Objective | Creative Skill, Dexterity, Hand-Eye Coordination |
| Global Trade Identification Number | 08000144074105 |
| Included Components | 1 x Art and Craft |
| Item Dimensions | 12.3 x 6.6 x 8.6 inches |
| Item Type Name | Clay - Modeling |
| Item Weight | 2.2 Pounds |
| Manufacturer | Dixon Ticonderoga |
| Manufacturer Part Number | F387500 |
| Material Type | Clay |
| Model Name | DAS Air Hardening Modeling Clay |
| Model Number | F3875006 |
| Number of Items | 1 |
| Other Special Features of the Product | Air Drying |
| Recommended Uses For Product | Modeling |
| Unit Count | 35.2 Ounce |
| Warranty Description | NO WARRANTY |
B**T
Great for kids art
This modeling clay is easy to work with and holds detail really well, making it great for both beginners and more experienced crafters. It’s soft enough to shape by hand but firm enough to keep its form, and it dries evenly without cracking when given proper time. I like that it doesn’t require baking, which makes projects simpler and more accessible. Once dry, it can be sanded and painted without any issues. Overall, it’s a dependable clay for a wide range of creative projects and a good value for the size.
E**P
Great For 3D Prints
Really good clay! It is fun to use, it is really moldable, and has a nice consistency. I have used by itself and to smooth out 3D prints. It takes a long while to fully dry by itself as you’d expect with any clay, but it is nothing outrageous. As for 3D prints, I dilute it with water to form a paste, put it on the 3D print, and then sand it with sand paper. The paste dries very quickly and sticks well to PLA. Painting it also causes no issues.
J**N
The best Air dry clay
I've worked with a variety of clays through the years. This is by far the easiest air dry clay I've worked with. It feels and works very much like natural clay that requires kiln firing to harden. The final product is much more fragile than regular clay so it's not really good for items that will require everyday use. Perfect for small sculptures or jewelry. Can paint with acrylic paints.
S**A
Wish there were some instructions, but otherwise I like the product
I love the idea of easy, no fuss, air drying clay and this product delivered on that. It easy to roll out and make shapes or whatever you want and my products dried within 24 hours. The only thing I was dissatisfied with is that it came with no instructions. I wasn’t sure how long to let it dry for, how thick to roll the product out, if I could use water to help mold it. I ultimately searched and watched YouTube videos, but I wish it would have been labeled quick and easy on the package. I would still recommend because it was a great product! For reference though: minimum dry time of 12 hours. Up to 36 hours. I would roll out a bit thicker than you think bc it seemed to flatten as it dried.
J**R
Great Item!
This is good quality and very functional air dry clay. It dries quickly which is great and it is easy to use. It isn't rough and it doesn't hurt your hands. My daughter loves crafting and this was a very good product.
J**A
Great for my small business
I use this stuff to sculpt onto pretty much everything for my small business: clay pots, canvases, recycled glass bottles, and more! Tips: 1. Cracking...so you can't really prevent it. But there are east ways to fix it. For example, My process for sculpting faces is simple. I work in sections. First the nose. Then the eyebrows, cheeks, lips ect...make sure to smooth your seams with A WET PAINTBRUSH... I like to dip my brushed in water then wipe them off on a sponge. Now, let your project dry for at least two days in a low humidy area. In that time, Your project will most likely crack or separate at the seams. At this point, you should make a very thick paste with your clay and use a paintbrush to fill in the cracks and smooth it out as if you were using caulking. Let your project dehydrate completely before sanding, priming, painting and sealing. 2. It's important to work in sections and smooth out any imperfections while the clay is still wet with a paint brush or sponge to prevent cracking or crumbling anywhere other than the seams around the sections. Working in sections also prevents other parts of your project becoming dry and clumpy before you can add any further details. You'll understand what I mean once you work with it more. 3. To make your clay easier to work with...remove the block from the original package and place it in a zipper top bag. Now, and about a tablespoon of water. No more, and possibly less depending on how moist your clay arrives. Let the block sit with the bag sealed for at least an hour, drain any excess water then begin your project by taking pieces from the bag and reasaling it each time you go for a new piece. You will eventually find your preferred texture the more you get to know how to clay behaves. 4. Painting and sealing....I can't stress enough how dry your clay needs to be to successfully create a project that will last. Don't rush it! No matter how dry the clay seems, I can assure you that there is still moisture in there! While your Paint might go on really nicely at first, it will most likely peel off a week later or even sooner if you place it outside because the moisture in the clay began to wick it's way to the surface. I recommend that you follow the steps above for fixing any cracks and then after two days of room temperature drying, place in your oven at 200°-250° for at least 2hours. More or less depending on how thick your project is. The point in this is to dehydrate the clay completely. Then, let cool in the oven. DO NOT TAKE IT OUT RIGHT AWAY! Wait until it's warm enough to take out then WHILE ITS STILL WARM/HOT...I REPEAT...WHILE ITS STILL WARM/HOT... spray/brush on a good sealing primer. Making sure to get in all the crevices! This will prevent the clay from absorbing any moisture out of the air. Trust me. Any bit of moisture will ruin your paint job in the long run. Add two to three coats of primer before painting. 5. Sealing...seal small projects with deco art glaze and bigger outdoor project such as pots with Rust-Oleum crystal clear enamel. Hope this helps!
J**E
Best air dry clay.
I personally feel this is the best air dry clay. It's moist, easy to work with and dries into a lovey product.
A**R
Great clay
I'm just starting my clay adventures but really like this clay. Easy to work with and the end pieces look good.
C**N
Classico das da nodellare
K**K
First one came in with a small tear in the bag. Which made the clay around the year hard. Company immediately replaced the clay and now I am happy with this purchase as well as with the customer service.
L**S
Precies zoals ik het me herinner van vroeger. Lekker lopen kliederen. Veel plezier van gehad!
S**D
Excellent clay. Very good quality. No cracks formed.
I**D
TrustPilot
5天前
2 个月前