


🌀 Elevate your air game with silent power and smart control!
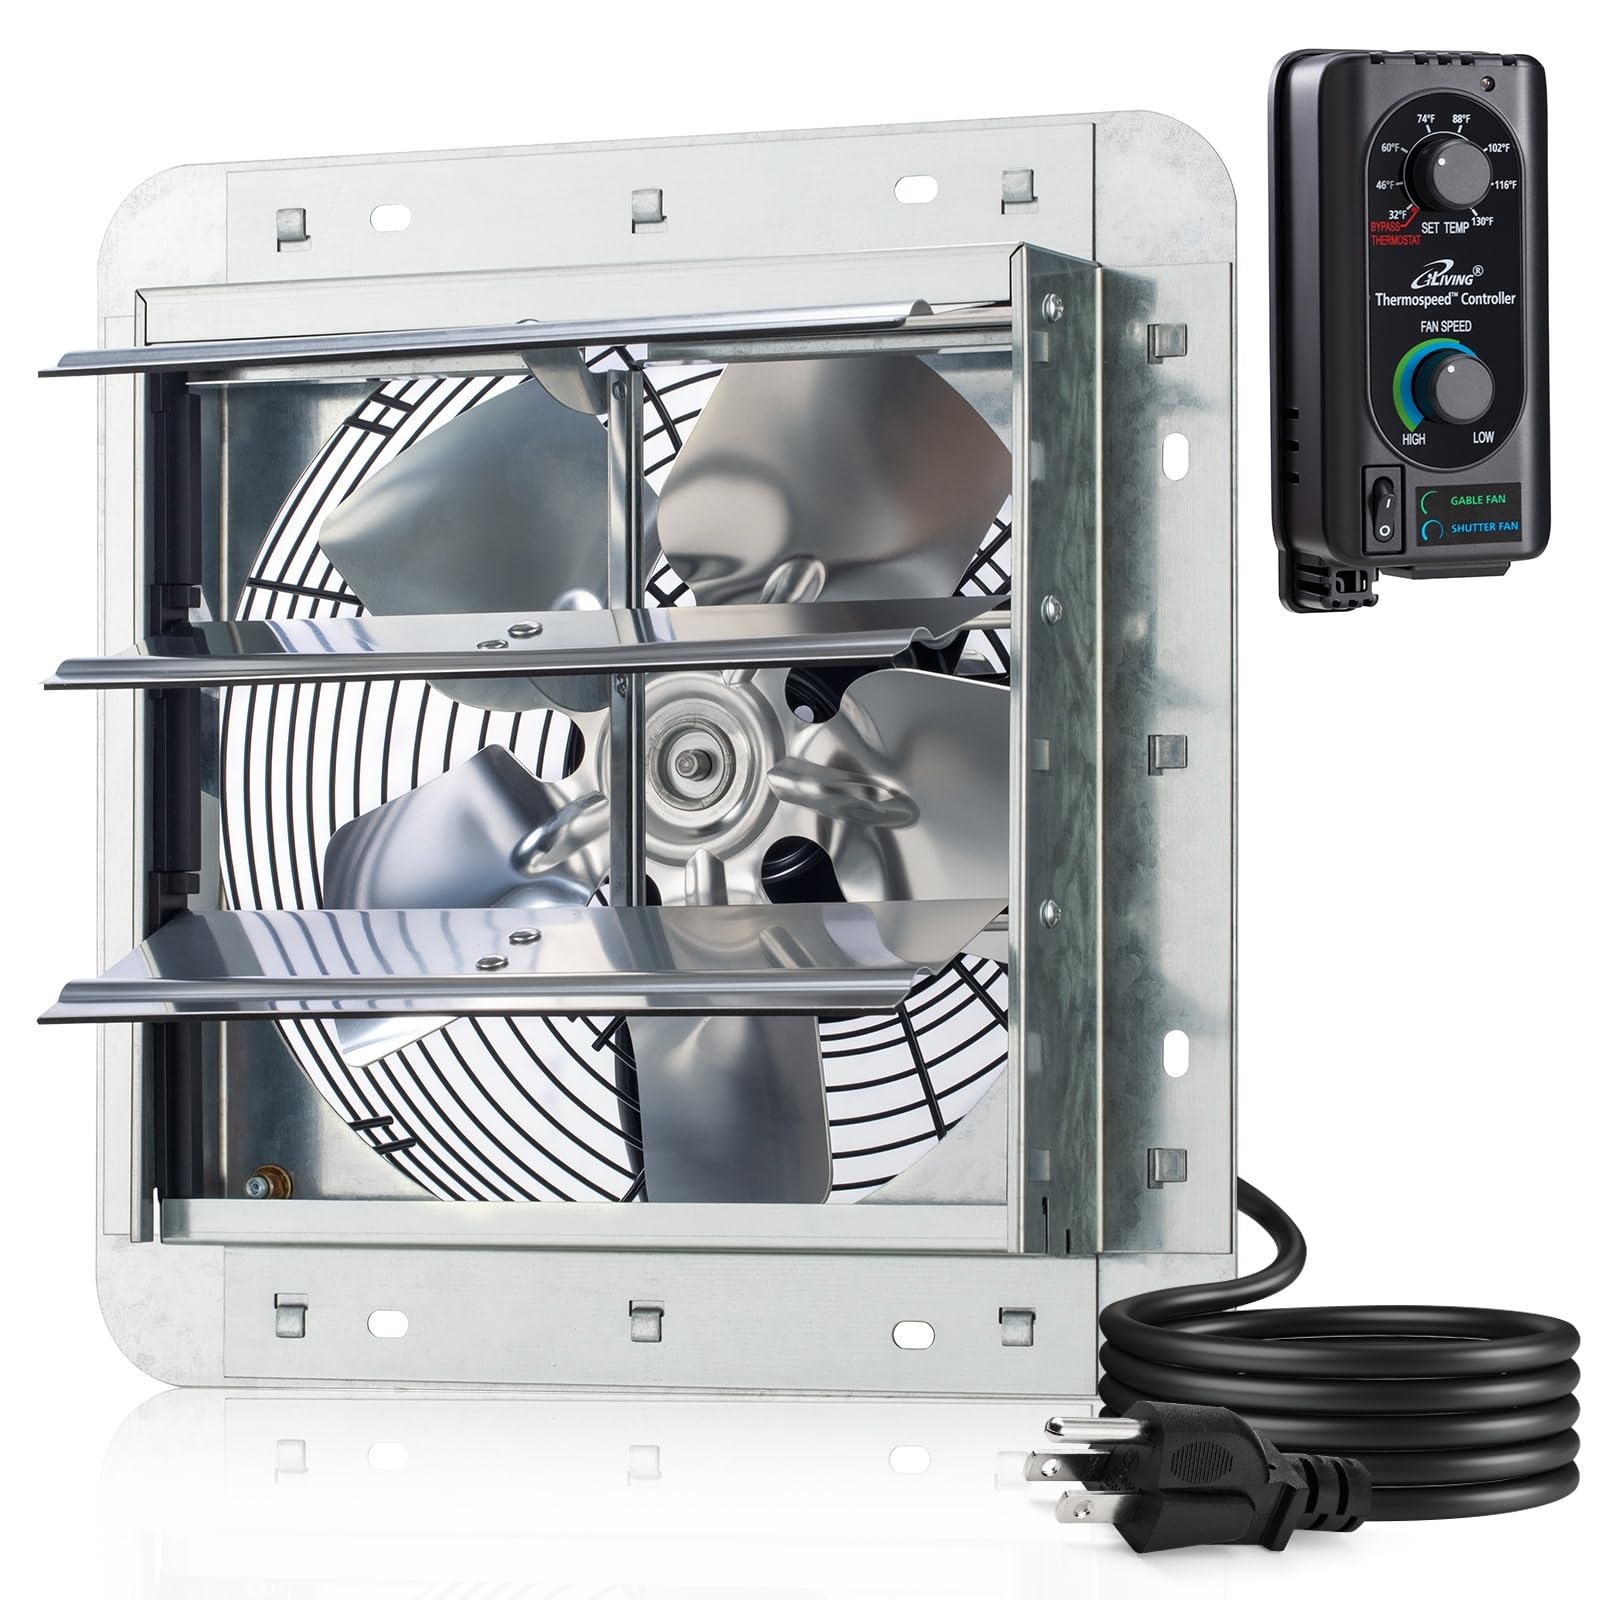
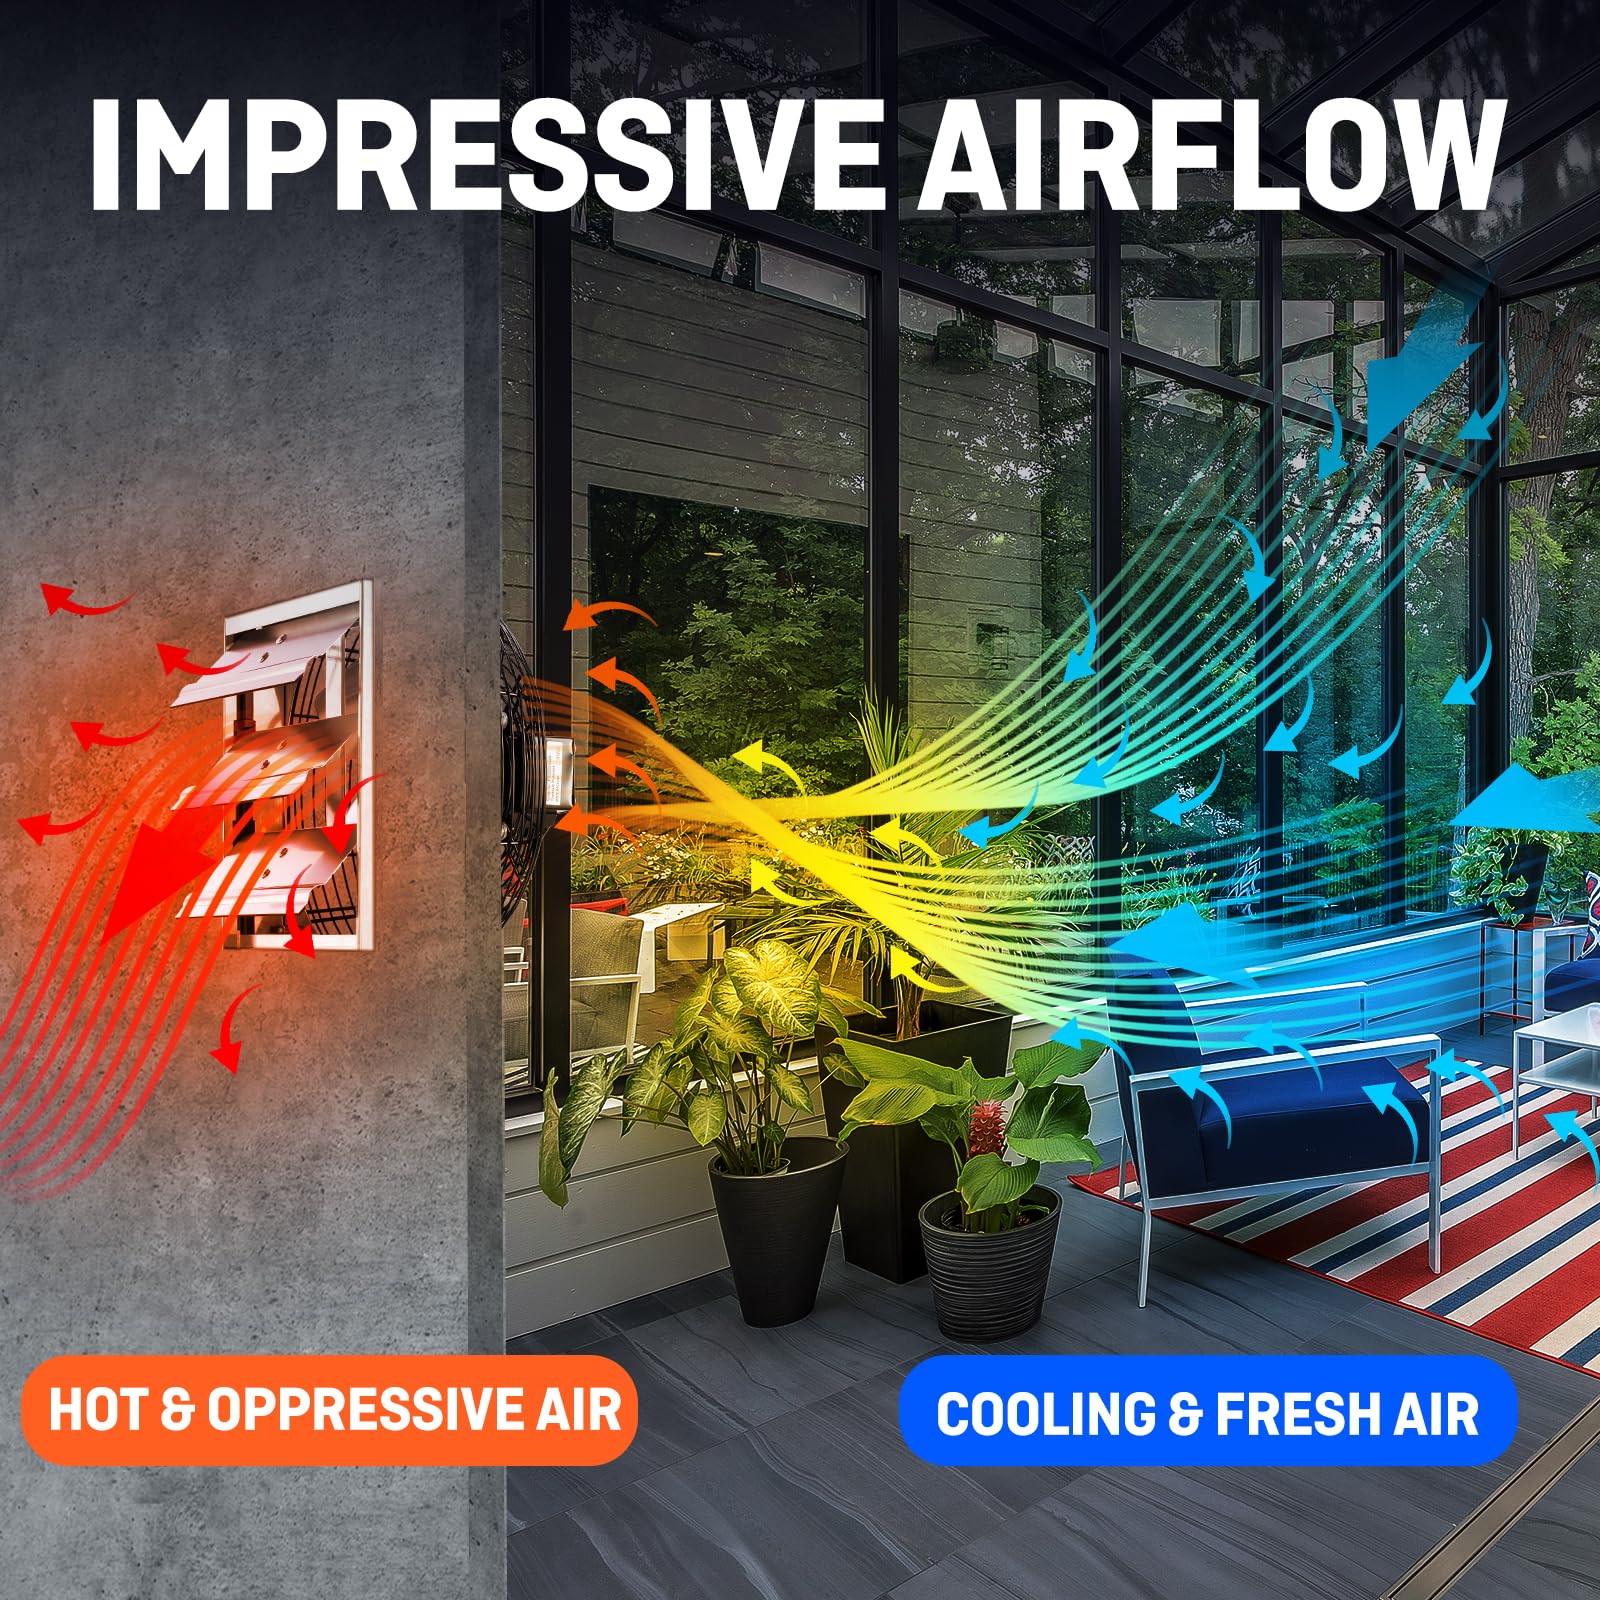
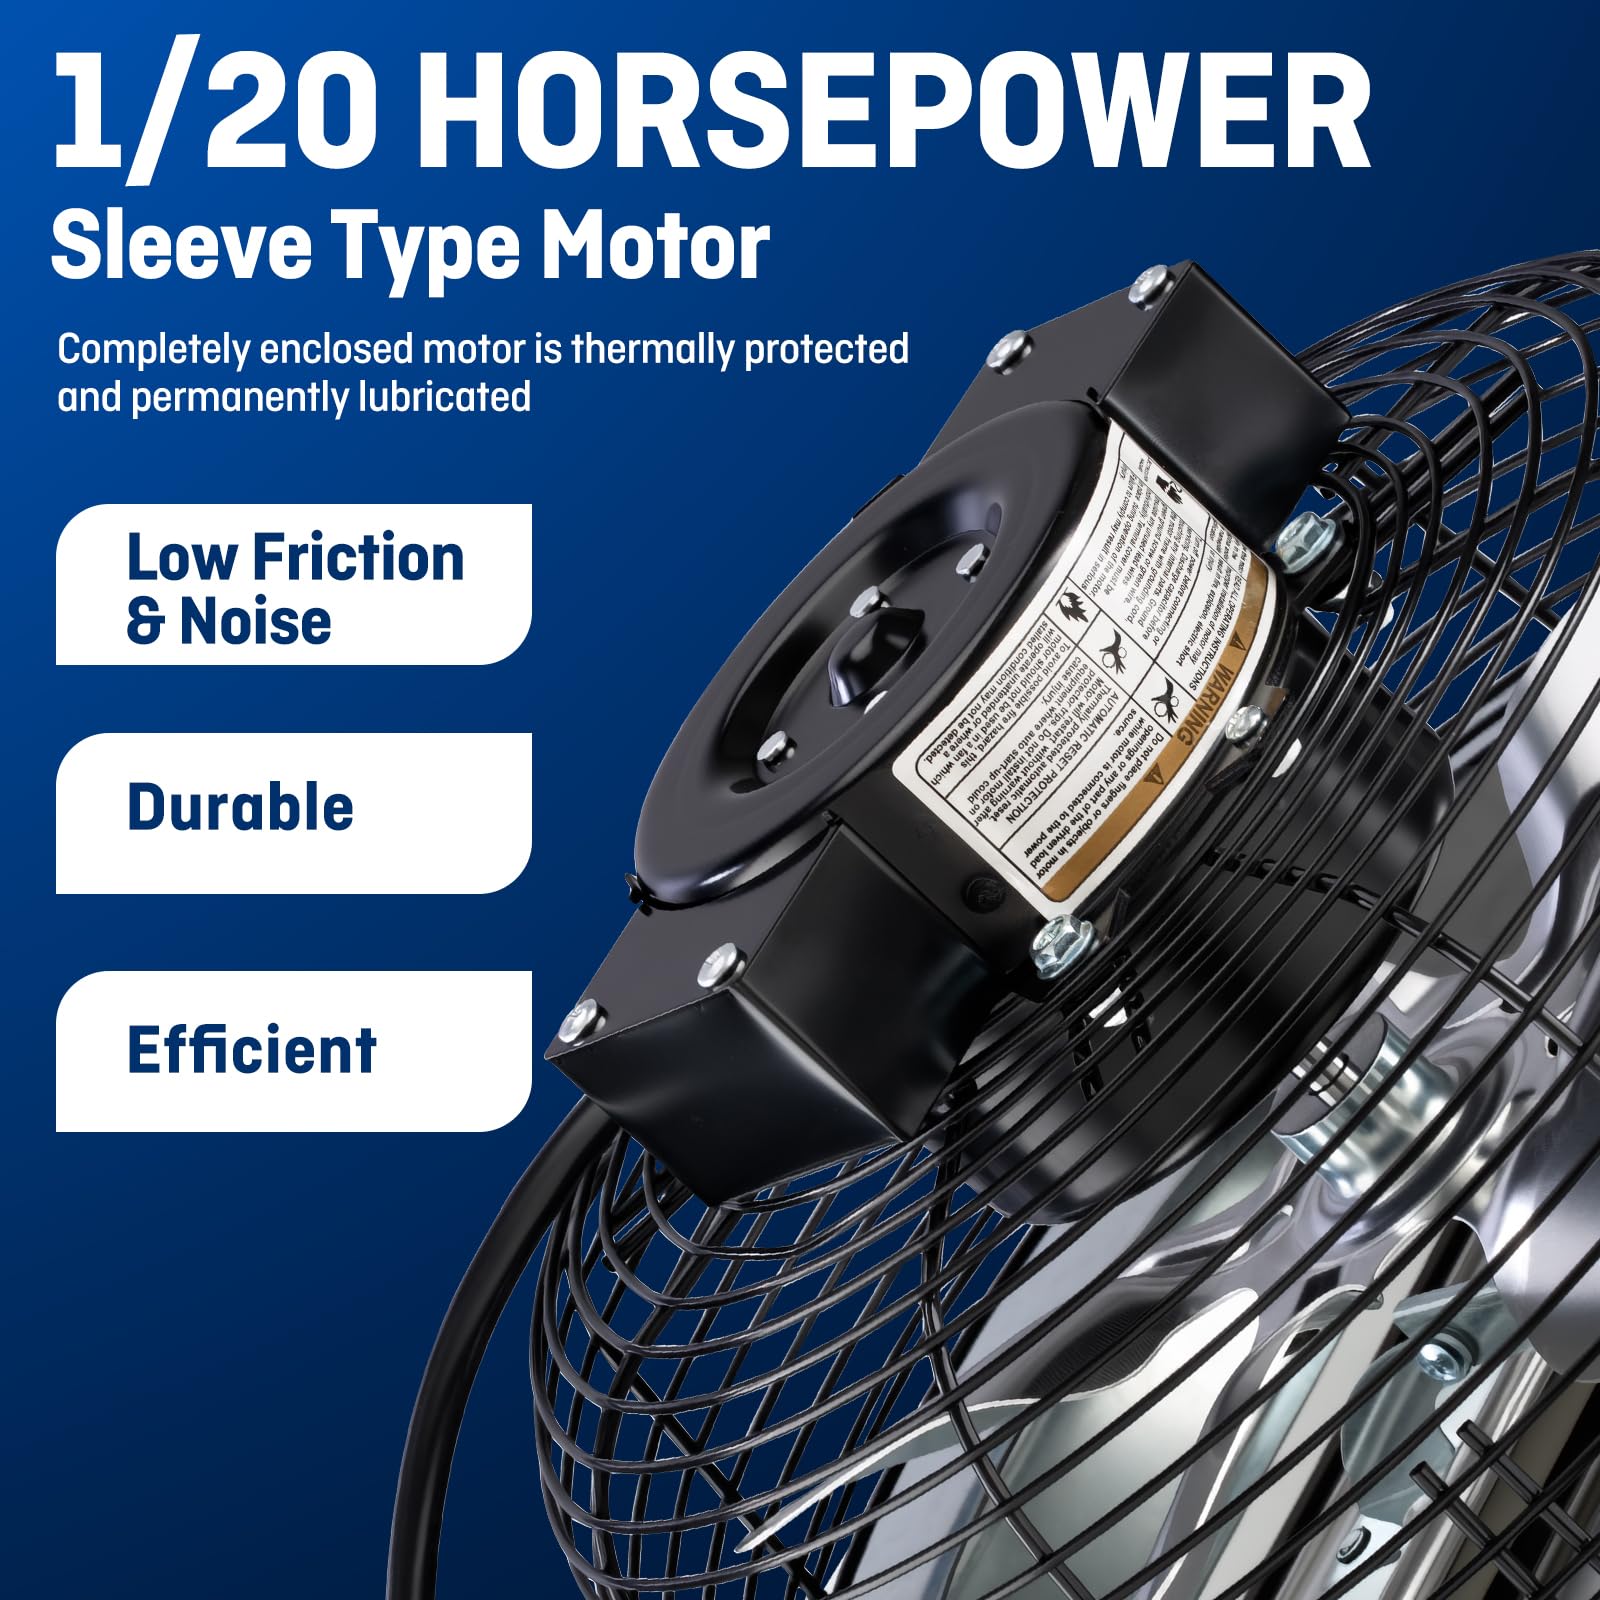
The iLIVING 10" Wall Mounted Shutter Exhaust Fan combines a robust 820 CFM airflow with a 65W variable speed motor and integrated thermostat control. Its corrosion-resistant aluminum blades and galvanized steel frame ensure durability, while automatic shutters enhance energy efficiency. Designed for easy wall or roof vent installation, it effectively ventilates spaces up to 1200 sq ft with whisper-quiet operation.


| ASIN | B08TGLVMF9 |
| Air Flow Capacity | 820 Cubic Feet Per Minute |
| Brand | iLiving |
| Brand Name | iLiving |
| Color | Silver |
| Colour | Silver |
| Controller Type | Remote Control |
| Customer Reviews | 4.6 out of 5 stars 666 Reviews |
| Electric Fan Design | Exhaust Fan |
| Electric fan design | Exhaust Fan |
| Finish Type | Metallic |
| Included Components | Fan, Thermospeed Controller |
| Indoor Outdoor Usage | Indoor |
| Is Product Cordless | No |
| Item Type Name | Shutter Exhaust Fan with Thermostat and Speed controller |
| Item Weight | 9 Pounds |
| Item height | 13 inches |
| Manufacturer | iLIVING |
| Material | Aluminum |
| Model Name | ILG8SF10V-ST |
| Model Number | ILG8SF10V-ST |
| Mounting Type | Wall Mount |
| Noise Level | 65 Decibels |
| Number of Blades | 3 |
| Power Source | Corded Electric |
| Power source | Corded Electric |
| Recommended Uses For Product | Exhausting |
| Room Type | Kitchen |
| Room type | Kitchen |
| Special Features | Control Temperature and Speed |
| Speed | 1600 RPM |
| Style | Plugin Thermostat & Speed Controller |
| UPC | 850005348894 |
| Voltage | 115 Volts |
| Wattage | 65 watts |
L**1
Can Also Be Used As A Roof Vent - READ IF YOU WANT TO KNOW HOW
I could not reach my gable area of the home as it was too tight. My home has four (4) existing static air vents that are about 14 inches in diameter in the roof of the home so that air can naturally flow up from the vents in the eves and out the roof by simple physics of heat rising. But that really is not that optimal and never has been for any home. I have searched for any forced air electrical unit that could be installed below one of those static vents and force a lot more air out of the attic through the roof. There is nothing on the market. I am an engineer, so I just took the time to research enough gable vents to find the right one and this is it. What is important to know is that most gable vents have a high CFM (Cubic Ft Per Minute) of airflow of around 1600-2500. Forcing that much air into a static roof vent will cause a venturi effect due to the inability of the roof vent to accommodate that much air flow. This actually causes more noise. This is why I chose this unit. Much smaller, 820 CFM, easy to install and comes with a rheostat to control the speed of the fan in case the existing static roof vent cannot accept that much air flow. I found that the unit works just fine on full speed of 820 CFM and there is absolutely no noise at all. The unit is ultra quiet. If anyone plans to do the same thing I have done, just get the unit without the rheostat and only the thermostat and save the money. It will work without any noise if you have a decent size existing roof static vent. IMPORTANT INSTALL INSTRUCTIONS: In order for this to work, you will need to install two 2 X 4's between the roof joists 10.5" inches apart and centered over the hole that was cut for the existing roof static vent (photos included). Then two more 2 X 4's between the two I just mentioned, and once again, 10.5 inches apart and centered over the existing hole for the static roof vent. This creates a 10.5" inch square box. The 2 X 4's need to be mounted upright (not flat) so there is a 3.5" inch deep square to insert this new attic fan. YOU MUST REMOVE THE AUTOMATIC SHUTTER that comes with the fan. Very simple and only has 3 screws that hold it in place on each side of the fan. Now you have just a fan and a square metal box that holds the fan. Screw that metal box into the 10.5" inch wooden square you framed as mentioned above. Then plug the unit in using the 6ft long cord and you are done. If you do not have a plug nearby, you can use an extension cord. But the extension cord should be a 3 prong grounded plug since the cord that comes on the fan is a 3 prong plug. I have enclosed photos. Very easy to do and took me less than an hour start to finish, and I also ran wiring and installed an outlet to plug into. One of the photos is of the rheostat that comes with this unit. It has a 3 prongs on the rear to plug directly into an outlet and the cord from the fan plugs into the bottom of this rheostat. The manufacturer of this unit give you no information to know that or the length of the cord, among other things. This is why my review is so long. Now you should know everything so you can do this yourself. My plan is to add another one at the other end of the house since the home is quite large. Already making a difference in the amount of heat in my attic.
A**V
No apto para cocinas
Poca resistencia a la grasa en el aire de una cocina. Requiere mantenimiento continuo y rápidamente pierde su velocidad máxima.
A**R
Industrial quality
Works very well. Included thermostat and speed control is very handy.
P**Y
High quality and quiet!
This exhaust fan is perfect for my chicken coop - I even recommended it to my sister, and she bought one for her coop also. I love the thermostat that turns the fan on as needed. So far, the fan has worked perfectly in the summer, fall, and winter. The fan is very well made and quiet! I recommend this product. I hope you find my review helpful!
M**I
Wiring should be not for receptacle pnly
It was very good
TrustPilot
1天前
3 周前