We remain fully operational. Our teams are working around the clock to ensure your deliveries continue safely.

下载应用程序


Buy anything from 5,000+ international stores. One checkout price. No surprise fees. Join 2M+ shoppers on Desertcart.
Desertcart purchases this item on your behalf and handles shipping, customs, and support to Taiwan.
🖥️ Connect. Share. Print. Anywhere, anytime.
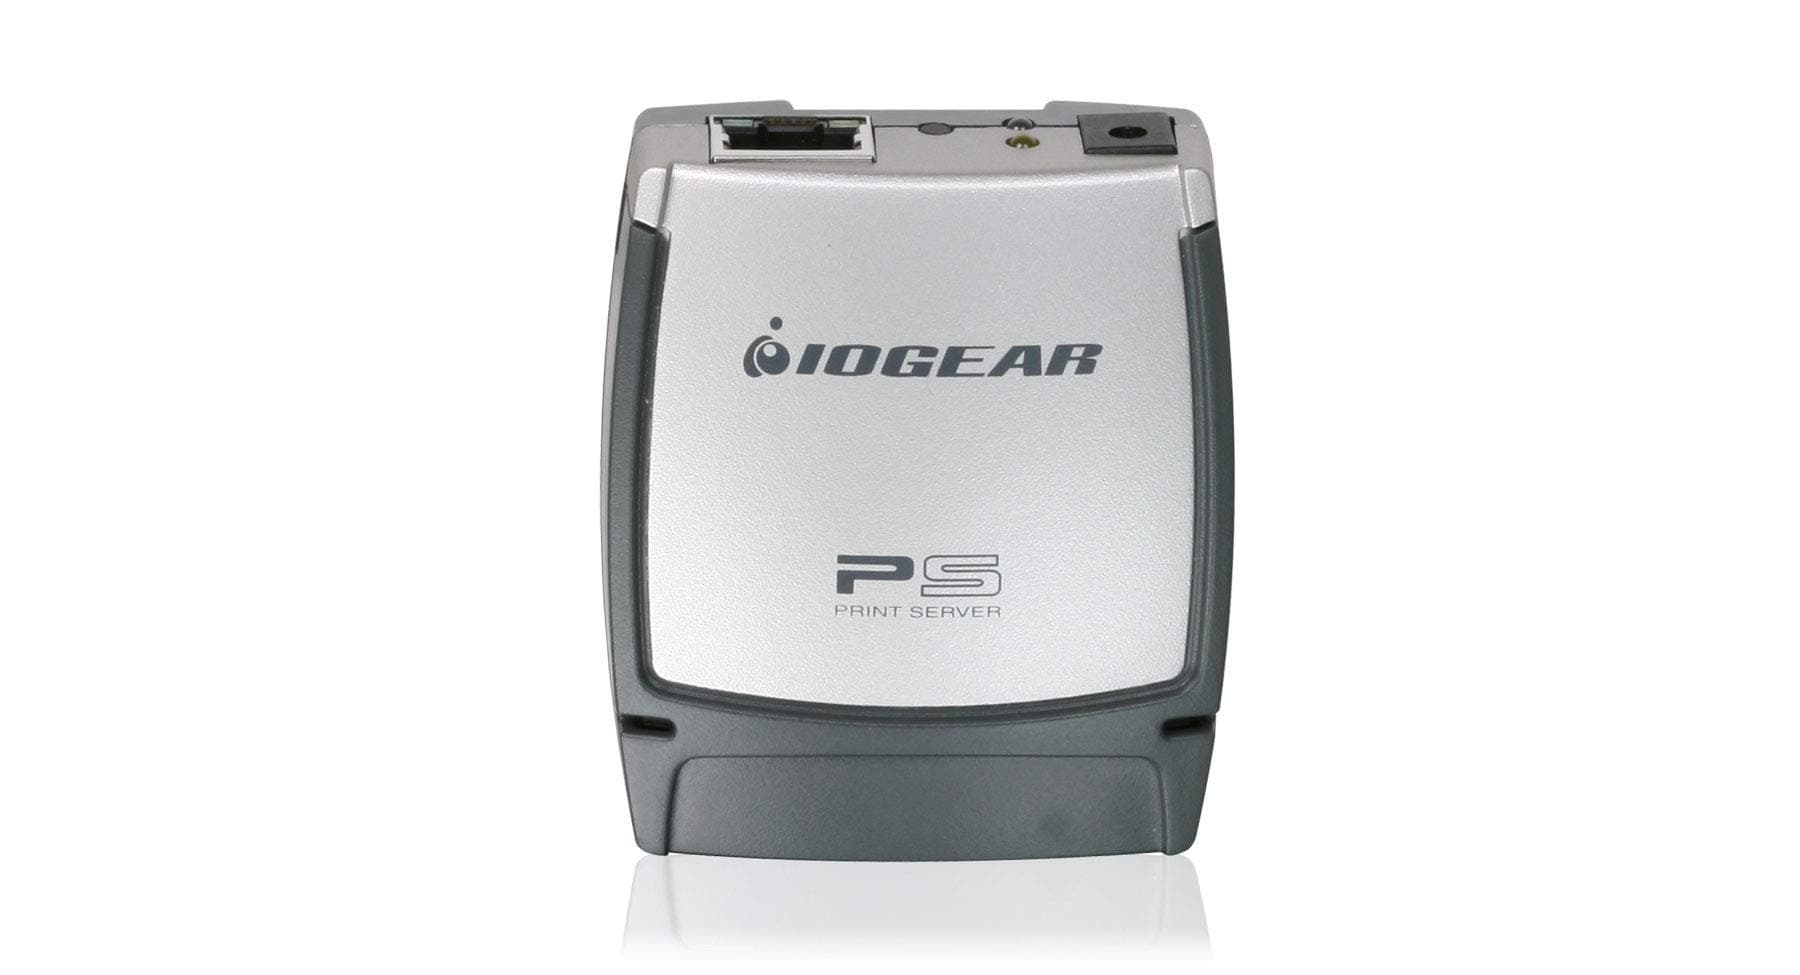
The IOGEAR 1-Port USB 2.0 Print Server GPSU21 transforms any USB printer into a networked powerhouse, enabling multiple users to print locally or remotely via Ethernet or Internet. With broad OS support, auto-sensing Ethernet, and IPP integration, it’s designed for seamless office connectivity backed by a 3-year warranty and lifetime US-based support.


| ASIN | B000FW60FW |
| Best Sellers Rank | #2 in Computer Networking Print Servers |
| Brand | IOGEAR |
| Built-In Media | 1 x CAT5 Patch Cable, 1 x Installation CD, 1 x Power Adapter, 1 x User Manual, 1 x Warranty / Registration Card |
| Color | SILVER COLOR |
| Customer Reviews | 3.8 3.8 out of 5 stars (1,477) |
| Data Link Protocol | Ethernet, Fast Ethernet |
| Data Transfer Rate | 100 Megabits Per Second |
| Global Trade Identification Number | 00881317005717 |
| Hardware Interface | USB 2.0 |
| Item Weight | 1.92 ounces |
| Manufacturer | IOGEAR |
| Mfr Part Number | GPSU21 |
| Model Number | GPSU21 |
| UPC | 881317005717 |
| Unit Count | 1.0 Count |
| Warranty Description | 3 year warranty |
W**.
Works extremely well... setup not as straightforward
The user's manual that came with this product provides incorrect installation instructions. There is no CD that comes with this product. You do NOT need to change your computer's IP address so that it can be on the same default subnet as the print server! If you have a DHCP server on your network, the print server will accept an IP from your DHCP server. I downloaded the setup software from IOGear's website and it was written for WinXP! I assumed that it should be compatible with Win11, which is what I am running, but the software failed to do anything useful. I uninstalled the software. You do need to make sure that your computer has the printer drivers already installed, and I would also strongly recommend that you assign the print server a static IP address. The steps you would need to take to connect to the print server / printer are not obvious and not documented in the user's manual. I reached out to the IOGear support line and they were able to walk me through the configuration steps needed. After the call, I was able to successfully print a test page.
S**C
Easy install on Vista & Win 7 64 bit UPDATED
I read others say it's tricky to install but the instructions are straightforward and easy. I used this method for both a Vista and Windows 7 64 bit machine: 1) Make sure your printer is compatible. See www.iogear(dot)com/files/pdf/GPSU21_PrinterCompatibilityList.pdf 2) Make sure you have installed the printer drivers on your computer. This is only a server, you must still have the drivers installed. 3) Insert the CD and run the Wizard. If prompted by Windows, grant permissions and Unblock firewall. 4) If you need to configure a static IP you can, otherwise just click through the steps. 5) When you get to where you select a printer, if the printer you want is not on the list (mine wasn't) then click Add New Printer and (as the instructions say, but this is important to not miss)"If asked which port to use, choose LPT1 but DO NOT print a test page yet." 6) Just click through to Finish. You can now go to Control Panel and print a test page if you want. Works fine. I have two notebooks that both now have access to the printer without difficulty. UPDATE 7/16/13: Some folks had mentioned the print server stopped working. I had that too and here's what the problem was - I had reset my wifi router. So the IP my computers had for the print server port(which is set during the print server CD setup) no longer matched the new IP the router assigned. This can easily be remedied by setting up the print server with a static IP during the wizard install. Just follow the instructions in the manual. Then I went to my wifi router admin page and set aside that IP for the print server. The process to do this varies per router, but you should be able to find it without too much trouble. On my Linksys E2000 this is done on the Admin's Setup page, under DHCP Server Settings and selecting DHCP Reservation. Afterwards the IP address port assigned to the print server on your computer will always match the one assigned by your router even if you have a power outage or need to reset your router. This whole process literally takes a minute or two. The print server still works great!
N**M
After trial and error, works with Vista
I bought this to connect my Canon MP760 to my two notebook computers, one running XP and the other Vista. After connecting the device to my printer and my router, I started the install CD on my XP notebook and ran the wizard, accepting all the standard options. The software finished and reported a success, but I couldn't print anything. Then I noticed (after being clued in by reading someone else's review) that the printer needs to be set to Online in the printers control panel. After doing this my XP notebook could print. However it wasn't so easy on the Vista notebook. Although the CD software seemed to run fine (after giving it permission), no amount of tweaking got anything to print. Items would sit in the print queue forever, and zero bytes would by shown sent to the printer. It should be noted that IOGear nowhere says this software is compatible with Vista, I can confirm it is not, and I couldn't find any Vista driver on the IOGear website. Now the good news. I discovered there is a much simpler way to install this device. Just use the instructions for IPP that are given at the back of the manual. These instructions are given for setting up to print over the internet, but the same technique can be used to set up on a local home network. With a home network it all boils down to: tell Windows you are installing a network printer and type in the URL as [...] (your IP address will be different) then select the print driver and you are done. What it so hard about that? Nothing. And this method DOES work for both Windows XP and Windows Vista. So it took me about 2 hours of trial and error, but now it works great. The device can be managed and configured using a web browser, just by typing in its IP address. The CD-ROM software that comes with it is not needed at all. The only thing the CD sw may help with is discovering the IP address the device is using, but that could also be done by viewing your router's status. I should mention since my router uses DHCP and serves addresses in the range 100..199 I decided to configure the print server with a fixed address of 90. Using a fixed address is the logical thing to do in this setup, because you don't want DHCP to ever change it. Again that can be configured using the device's web setup page. After all is said and done, I sort of expect hiccups when installing a product like this, and I am judging mainly based on the final outcome: this is a great little product for a great price. I'm very happy with it.
N**A
very impressive and easy installation. would like to purchase in other requirements those are not having Ethernet port.
L**Y
COMPARTI EN RED MI IMPRESORA DE TANKES MY FACIL Y RAPIDO COMPATIBLE SIN PROBLEMAS
S**N
works fine with latest HP printers in Server 2003 environment.
S**L
fonctionne superbe bien avec win11 faut seulement aller installer le logiciel IOGEAR GPSU21 et de selection votre imprimante déja installer au par avant et c'est fait
G**E
This device only seems to work with PC and does not support airprint. Last firmware is from 2017 and there does not seem to be an update