We remain fully operational. Our teams are working around the clock to ensure your deliveries continue safely.

下载应用程序


🚪🔒 Secure your garage with the only safety beams that truly protect and alert!
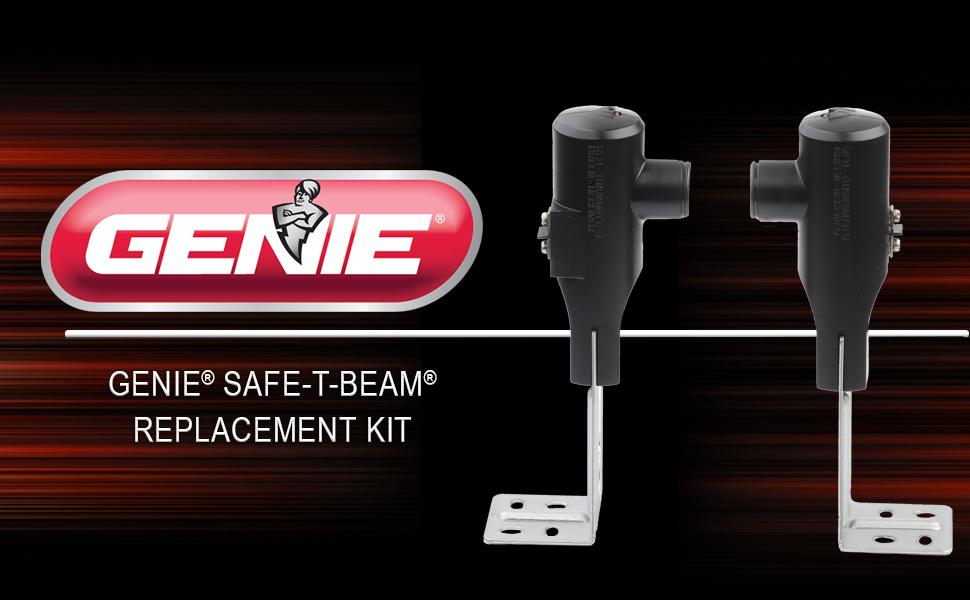
The Genie Safe-T-Beam Replacement Kit (GSTB-R) is the only UL-certified, Genie-approved safety sensor system for garage door openers made since 1993. Featuring an invisible infrared beam that automatically reverses the door upon obstruction, a self-diagnostic red LED alert system, and easy screw-in installation with included hardware, this USA-made kit guarantees reliable, state-of-the-art safety for your home.


| Item Weight | 9.6 ounces |
| Installation Type | Screw-In |
| Recommended Uses For Product | The primary recommended use for this product is as a safety sensor for Genie garage door openers, ensuring safe and efficient operation of the garage door. |
| Specification Met | ADA, UL |
| Size | One Size |
| UPC | 640213238120 050049017514 765042447878 |
| Global Trade Identification Number | 00050049017514 |
| Manufacturer | Genie |
| Part Number | 37334R |
| Product Dimensions | 2 x 2 x 6 inches |
| Item model number | GSTB-R |
| Is Discontinued By Manufacturer | No |
| Style | Genie Safety Beams |
| Item Package Quantity | 1 |
| Usage | For use on Genie garage door openers made since 1993 |
| Included Components | Includes Genie Safe-T-Beams (one receiver, one sender) on brackets, mounting screws, installation instructions |
| Batteries Included? | No |
| Batteries Required? | No |
| Warranty Description | Limited 1 Year Warranty |
TrustPilot
4天前
2 周前