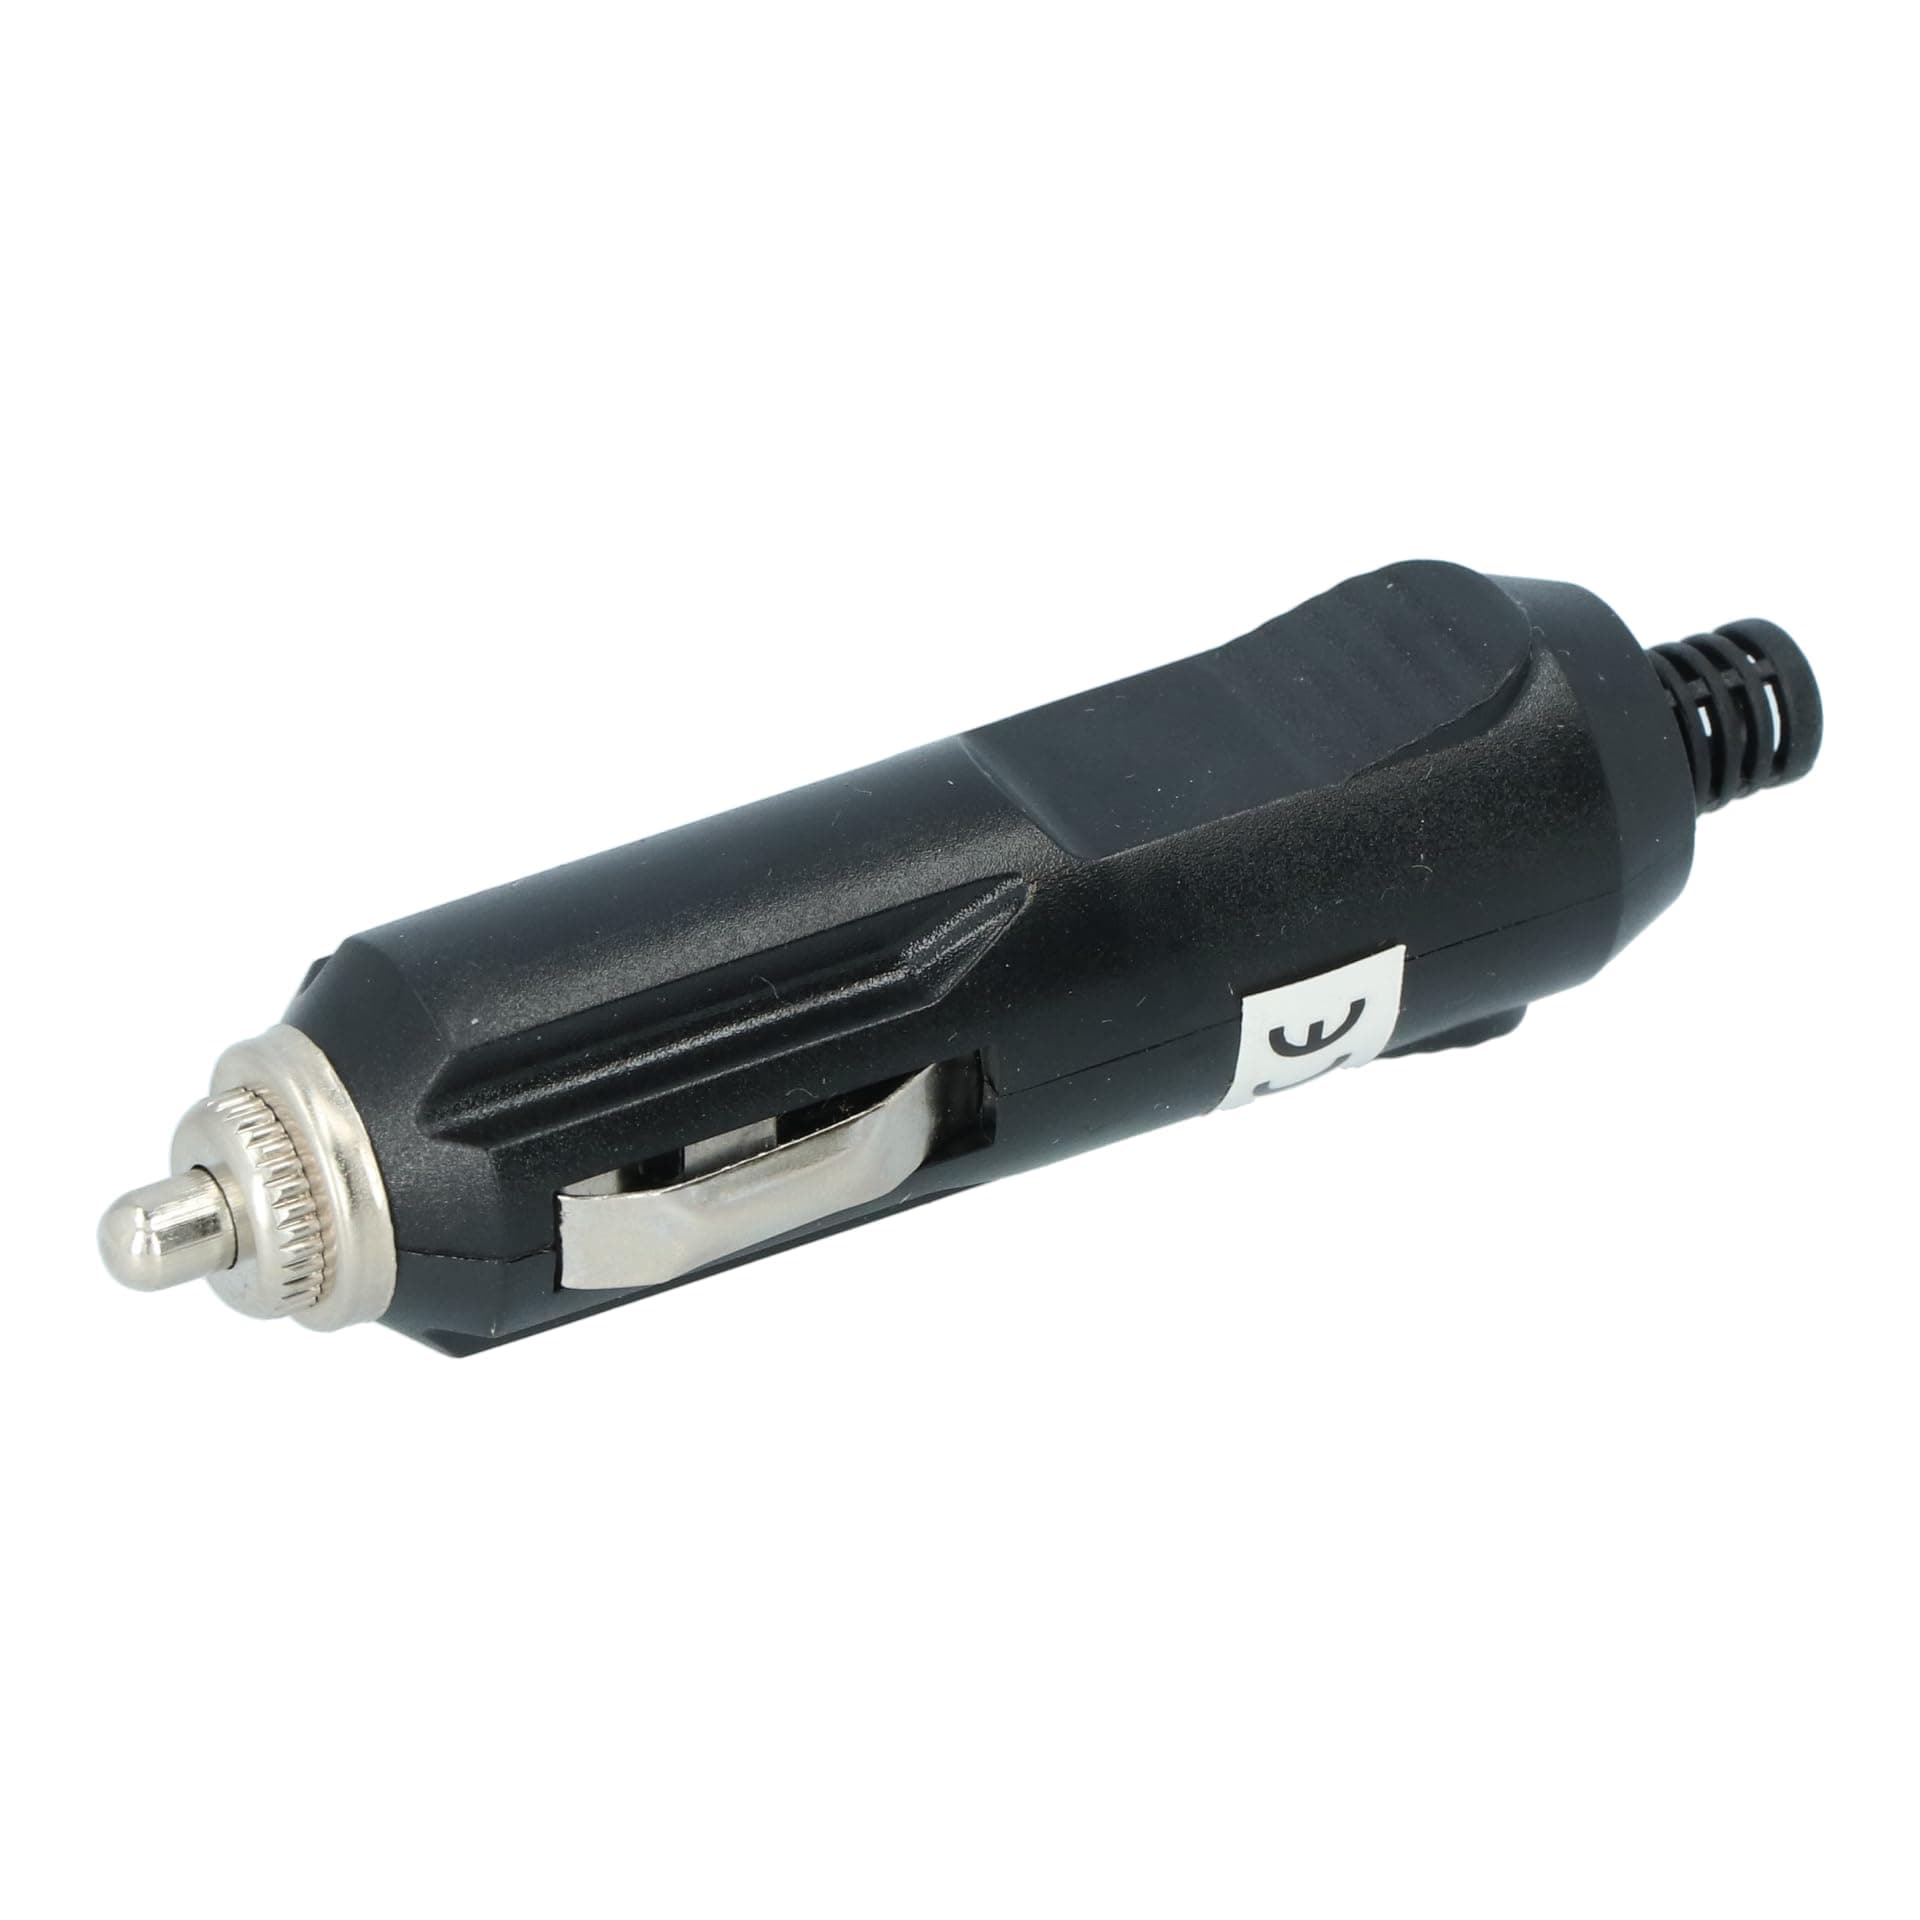
🔌 Power up your drive with sleek efficiency!
The Carpoint CPT0523414 Lighter Plug is a compact, ultra-lightweight 12V accessory designed for seamless integration into any vehicle’s power socket. Manufactured by Carpoint, it combines reliable performance with a minimalistic design, making it an essential on-the-go power solution.
Manufacturer | CARPOINT |
Brand | Carpoint |
Model | 523414 |
Product Dimensions | 2.1 x 2.3 x 8.7 cm; 15 g |
Batteries | Lithium Ion batteries required. |
Item model number | 0523414 |
Manufacturer part number | 0523414 |
Voltage | 12 Volts |
Item Weight | 15 g |
S**R
Difficult to separate, but works well. Be sure to make your connections carefully!
No instructions with this so here are mine....Unscrew the silver end piece and pull off the remaining metal ring. The fuse, connector and tensioning spring will come out. Then use long nose pliers inserted in the other end to prise apart (take care not to damage the rubber) but have a helper to cup their hands around, ready to catch the two halves and remaining side connectors/springs, as they will fly across the room otherwise! After this prepare your + and - wires to different lengths as in the photo and solder. Don't forget to slide the spring over the wire so it is retained on the + connector. As long as you have enough insulation on the conducting flex's as shown you should be good to go. Be careful not to cross-thread the end piece on the way back in. Good value for £1.99 delivered I thought.
S**G
This thing is utter rubbish
This is utter garbage and is a ridiculous design that makes every step almost impossible. From opening it up which invariably makes a mess of the outside cover, to trying to solder the connections which then makes the spring return practically inoperable unless using the thinnest lightest wire imaginable. Terrible design stay well clear, pay cheap bay twice.
P**M
DO NOT BUY IF YOU DONT KNOW HOW TO SOLDER
The other reviews are spot on..... You have to be proficient soldering to make the connections, it's very tricky to open and even more fiddly to put back together....you need the patience and dexterity of a Swiss watch maker....seriously if you want a quick fix this is not the product for you! That said once I overcame the challenges the end result was good. The plug quality is good. I used it on a small the compressor andi worked fine.
A**N
Can't complain at this price
I needed to replace the plug on my compressor as it broke, initially I struggled to open it, as it was not very clear, so I've done this tutorial to help, pictures attached are following this detail:-To take this apart, do the following in reverse order.Unlike many plugs, this ones wires are the same fixing length as each other (my one did at least), I didn’t spot this until I was putting it together, and I wasn’t going to mess about for the sake of a small excess of cable that could sit inside if you ask it nicely lol, the Side A is marked on purpose, it is the half with the deepest slot (the red circle) which helps with holding the Spring, as the soldered wire goes on the bottom end, and the spring sitting against the other side of it.Points to help, if you don’t do 1 and 2 in the order shown, you will not get them on and will have to start over, and when you undo the screw thread place it face side down on the side, so the threaded part is in the air, then place the Tip into it rounded end first, this way at the end it should fall into the hole as you pick it up saving you a juggling act.• Feed cable through 1 (the rubber end) first.• Next Feed 2 (the Spring) down the Live Wire, then Solder the wire to the bottom of the Leg.• Solder side bar to the Neutral Wire, Keep the solder away from the outer edge or it will stop the 2 halves from closing.• Now start to put the bits back together using Side A to locate the parts, place the thick part of the rubber sleeve into 1.2 (1.1 will sit on the other half as you close it up).• Insert 3 (the side bar) into the outer edge, if you can’t get it to sit in properly, you’ve probably got too much solder on the outer side\edge, reduce this excess if needed until you can insert it fully.• Slide 2 (the Spring) up to the furthest end from the wire and insert the bottom part of the bar into the slot shown by the red circle, you will need to hold the spring up to do this, once the bar is in the slot you can gently release the Spring that will open up to the top part of the case.• Now place the other half of the case on top of Side A, you may have to take a couple of try’s to get it right, once together, do Not let go, or you will need to repeat this step again if it comes apart.• Next take the Collar, and place it over the Neck, it just sits on.• Insert the Fuse in through the Collar, it won’t go in fully as the Spring will resist this until you take the last step.• Still holding the plug together, with the Tip Inserted into 4 (the screw fixing), place this with the Fuse going into it, and screw it into place, don’t use too much force it’s only plastic, you will feel initial resistance from the Spring again, but as you screw it home it all falls into place.Job done, all going well you can plug it in and use it, the only downside with this is the rubber insert that is to help stop the cable breaking by offering resistance to the flexibility of the wire is pretty weak, but at the price you can’t expect too much, so just an observation.
P**Y
Sorry the quality is just not there
Made of cream cheese :-(
R**R
Good item
Bit hard to open to solder wires but very pleased
P**N
No useful contacts inside. Un useable.
Utter garbage. After you open it you find that one contact has a tiny obscured hole that you might be able to solder to. The other contact is just a strip of metal covered by a spring. How are supposed to connect a wire to that? I know that it was cheap but does it have to be unusable? Do not buy.
L**S
Nice quality and easy to fit.
A good cigarette lighter power pick up that’s easy to fit and works well.Good value.