We remain fully operational. Our teams are working around the clock to ensure your deliveries continue safely.

下载应用程序


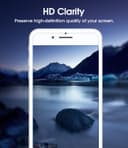

🛡️ Elevate your iPhone’s defense with flawless clarity and zero hassle!
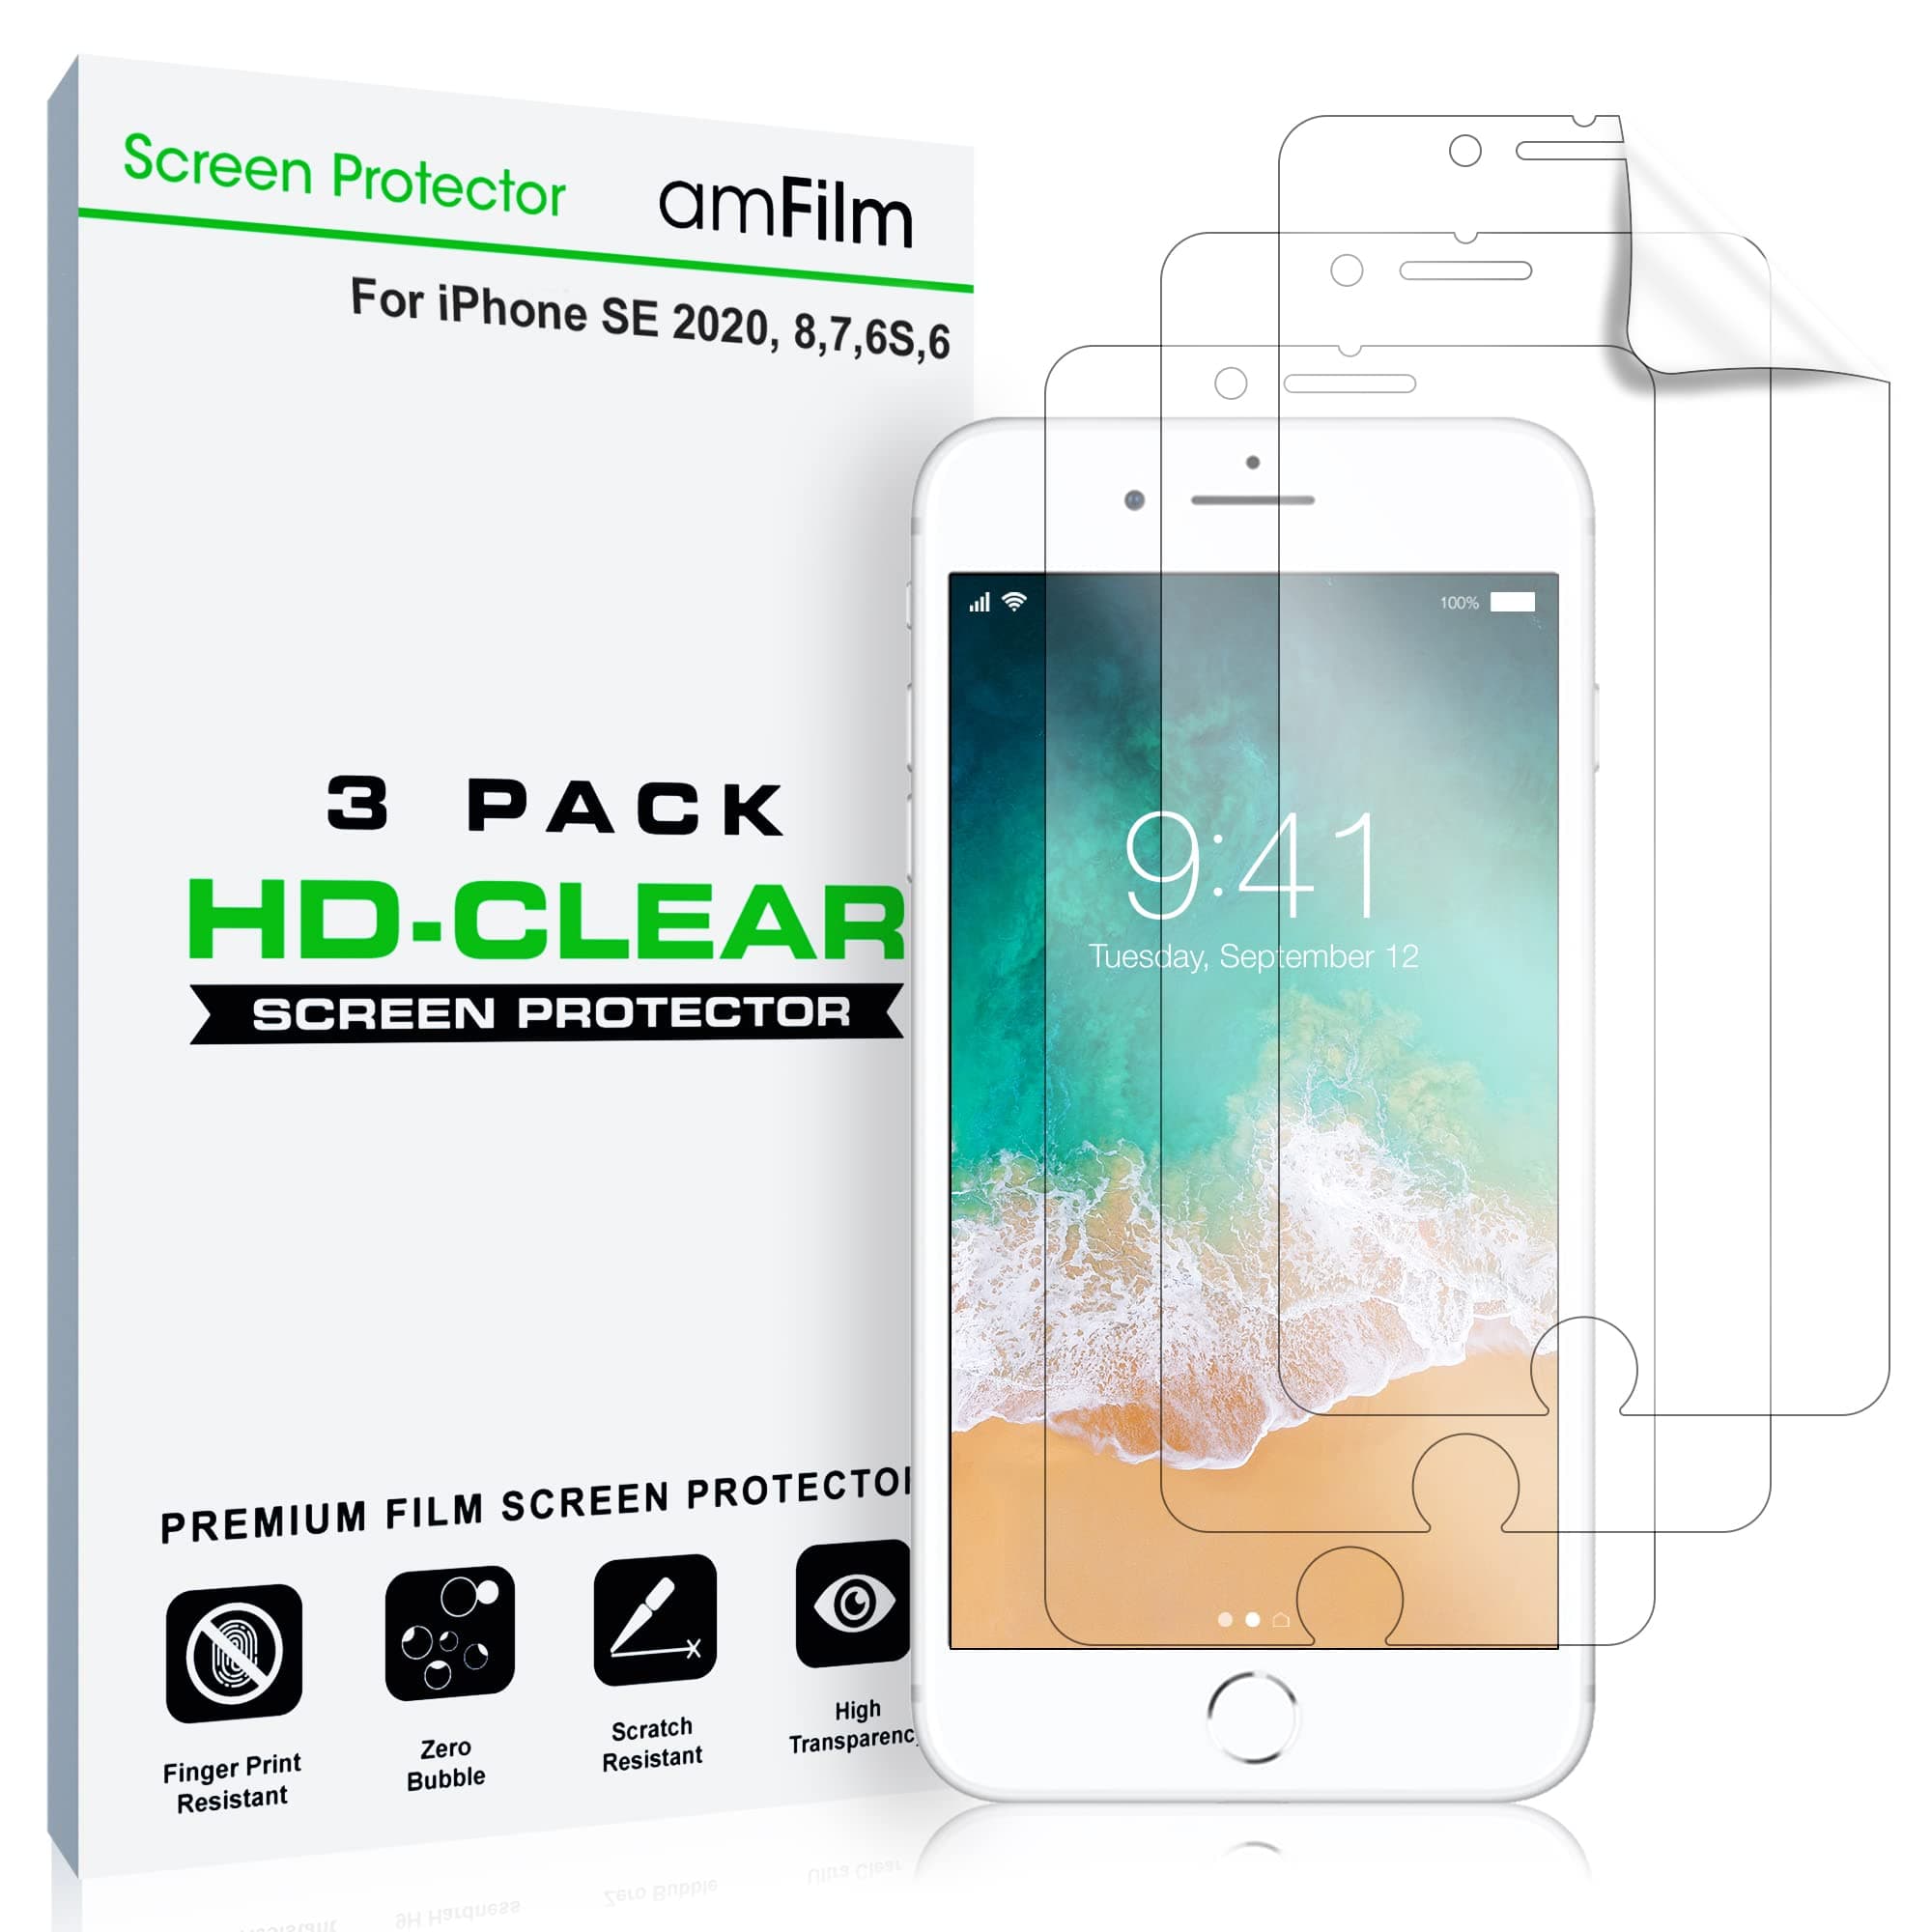
The amFilm Screen Protector 2-Pack is engineered specifically for iPhone 8, 7, 6S, and 6 (4.7") models, featuring a premium 3-layer PET film that delivers HD clarity and robust scratch resistance. Designed for a perfect fit that avoids curved edges, it includes a comprehensive installation kit with rubber bands and hinge tape to guarantee bubble-free, precise application. Backed by a lifetime replacement warranty, this screen protector offers millennial professionals a sleek, durable shield that keeps their device pristine without compromising touch sensitivity or display quality.


| ASIN | B00MWB3NFO |
| Best Sellers Rank | #138,106 in Mobile Phones & Communication Products ( See Top 100 in Mobile Phones & Communication Products ) #15,905 in Mobile Phone Screen Protectors |
| Brand Name | amFilm |
| Clarity | 100 |
| Color | HD Clear |
| Compatible Devices | Cellphone |
| Compatible Phone Models | Apple iPhone 6S, Apple iPhone 8, Apple iPhone SE |
| Customer Reviews | 4.3 4.3 out of 5 stars (8,896) |
| Finish Type | Smooth |
| Item Dimensions L x W | 29.2L x 2.8W centimeters |
| Item Hardness | 9H |
| Manufacturer | amFilm |
| Material | Polyethylene Terephthalate |
| Model Name | iPhone SE 2 (2020 2nd)/ SE 3 (2022 3rd) |
| Model Number | 4326567264 |
| Number of Items | 2 |
| Part Number | AM-IPH6-CLR |
| Screen Size | 4.7 Inches |
| Screen Surface Description | Smooth |
| Special Features | HD Clear, Easy Installation |
| UPC | 810357020961 |
| Water Resistance Level | Not Water Resistant |
D**T
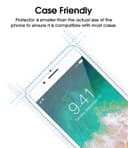
Fabulous! I have been using screen protectors (cheap as well as expensive ones) for a long time and have never, ever applied any perfectly. It was always a frustrating and futile exercise to align properly and ensure no bubbles, lint remained inside. I always wondered why someone couldn't come up with a better designed product to eliminate these struggles. Not anymore. These are pretty much perfect. I applied, as per the instructions, in a humid bathroom. No lint, no bubbles remained. There are some rubber bands provided to hold the unpeeled protector on screen. You can align as much as you wish and these rubber bands will then hold it in place. After that, apply two band-aid like stickers provided to secure protector in place and remove the rubber bands. Now you flip the protector over and remove inner cover, stick to the phone. Remove any bubbles which form. Once done, peel away the outer cover. Enclosed instructions with diagrams will explain this process much better than I have. And it all works flawlessly. I have a perfectly aligned application with zero bubbles. Now, the protector doesn't go to the very edges of the display. I think this is because of the rounded edges of iPhone 6. There are cutouts at top and bottom for Home button, Camera lens and speaker. Everything else is covered fine. I did not feel that the protector should have been any bigger. It covers the screen just fine. Touch, feel and look of the phone post application is exactly as it should be. The packaging and delivery was also better than expected. Price is very low compared to some alternatives I have seen online and in stores. In a nutshell, for iPhone 6, I cannot imagine how any screen protector can be any better. Long term protection offered can of course be judged only over an extended period of usage. However, at present, these are perfect.
B**B
I'm glad someone finally developed a more foolproof way to install a screen protector. I've tried many over the years... one that required an utter soaking with a special solution and turning off the device for 24 hours (really???), another that was horribly prone to bubbles. Another was like a layer of silicone on top of my screen that changed the feel - I had to re-learn how to "touch" my touchscreen. This product was so much better and easier! The package contains three screen protectors and the standard screen cleaning cloth and squeegee cardboard. But here is the improvement: they provide (a) rubber bands and (b) hinge tape to aid in positioning the screen protector before the outer film is removed. So here you go: Position the film component on the screen. Secure it with the rubber bands near top and bottom. Adjust the film position; it will stay there by virtue of the rubber bands. THEN! Peel off a hinge tape and apply it to one edge of the film, wrapping it around to the back of the device. Then peel off a second hinge tape and do the same. The two hinges should be placed between the rubber bands and far enough apart that the film won't shift. Then, remove the rubber bands and flip the film away from the screen. The hinge tape will hold it in the right spot. Do another screen clean with the cloth (here's where you really want to avoid dust, so either do this in a steamy bathroom or use a third piece of tape to remove any tiny flecks of dust). Peel off the inside layer of protective film, then flip it back onto the device screen. It will be positioned Per.Fect.Ly. Squeegee out the bubbles, then carefully remove the outer layer of protective film, taking care not to pull off the actual screen protector in the process. Squeegee out any remaining bubbles. DONE. One suggestion for the manufacturer: the hinge tape is called "Dust Removal/Hinge Stickers". There are 6 strips included. That allows for 2 strips per screen protector. If I end up using all three screen protectors over the course of time, that would require all 6 strips to be used as HINGES. Aside from reusing the strips from application #1 on application #2, which ones should I use as dust removers? What if you were to include at least 3 more strips in your standard packaging? I realize that is rather petty and it certainly isn't a deal-breaker. I do own a roll of tape or two and could figure this out... just thought I would share. In all, I'm very pleased with the end result. I'd never know there was a screen protector in place on my iPhone, and I was able to install 3 of them on the phones in our household at 6am over my first cup of coffee.
B**6
I've tried screen protector products from multiple companies for all of our iPhones. By now, it's a line that I'm fairly familiar with and I hope my review can help you in your buying decision. My review will comment on the product, its functionality, price, tips/tricks, and quality. Product: The screen protectors (3) comes in a 4x6'ish insert. Included are a microfiber cleaning cloth, a squeegee card to push the air pockets out and some stickers to remove dust. On each side of the screen protector is a sticker cover that you'll take off as part of the installation process. The film has appropriate size cutouts for the front camera, microphone speaker, and home button. Due to the new curved edges of the iPhone, I can see why amFilm has decided not to cut the film all the way to its edges. I'm okay with this. In fact, it makes installation easier! However, here's one thing I do not like. The width of the screen protector appears ever so slightly thinner than the screen (pictures included). I can just a tad tip on each side. Most people may not even notice but I think there was plenty of room here for its designers to make it a tip wider. This was where I took off the 1 star. Functionality: The reason why people buy screen protectors is because they know how infamous it is for iPhone screens to become victim to coins, keys, and other sharp objects. While these marks won't impact your phone experience much, it does add an annoyance to the screen when its off (like a zit... under your nose... on a Friday night when you're about to meet friends). With a screen protector, I feel confident that my phone will retain its beauty from now until next year when I resell the phone. The screen itself does not impact the beauty of the iPhone screen at all. In fact, I barely even notice it being there when I'm using my phone. Smudges still appear but I don't expect a screen protector to eliminate this issue. Price: I purchased this over Amazon for $6, roughly in line with the other products I've tried in the past. With the package coming with 3, this was a huge bargain. Installation tips: Make sure to wash your hands with soap to get rid of oils and dirts. Use the microfiber cloth to clean the screen. Follow the instructions carefully and make sure to install from the top down. You always want to match the cutouts starting from the side that it's most difficult (the top where the holes are smaller). Remember that the film isn't very wide so you have to be careful and install it slowly and accurately according to the iPhone's dimensions. Quality: Here, amFilm stood out. Like I've said, I tried other companies' products and none was as durable as this one. I was pleasantly surprised when the screen protector looked fine after i had to take it off (stupid dust got underneath somehow) and reapply it. My iPhone screen is in perfect shape and I am confident it'll remain this way going forth. Overall, I highly recommend the product, although I hope the company can think about the film's dimensions a bit. I do think it should be wider.
S**Y
This is by far the best screen protector that I have had for an iPhone. I would definitely recommend it to anyone with an iPhone 6. To anyone wondering: No, it does not cover the whole screen .. because it couldn't. The screen on the iPhone 6 is curved and no screen protector would stay on on a curved screen (and putting a case on the iPhone would not be possible). It does cover the complete viewable part of the screen. Putting on this screen protector is unusual (in my experience). Here are the steps: 1. You line-up the screen protector on the screen then put the supplied elastic bands on to hold it in place (and you can make small adjustments to your positioning if you wish). The only potentially confusing part of this first step is that you put the side with the "Step One" tag facing the screen. 2. With the elastic band still in place, you further hold the screen protector in the desired position with the supplied (lightly) adhesive strips. Then you remove the elastic bands. 3. The adhesive strips now form a "hinge" that allow you to flip the screen protector to remove the "Step One" side of the screen protector and then flip the screen protector back on to the screen (if the adhesive strips are firmly in place, the screen protector will flip back into the desired position on the screen). 4. With the screen protector in place on your screen, you can remove any air bubbles. This part worked like a charm and took me less than 30 seconds (with other screen savers that I have used, this used to be the worst part of the procedure). 5. Remove the "Step Two" side of the screen protector ... and you're done. As I say, I would recommend this to anyone (although the instructions could be written a little more clearly, especially given that the procedure of putting the screen protector on is a little different from others).
S**Y
Great product. Nice application. Clear screen. Follow all instructions. Make sure to peel top layer off with blue tag. Only thing not in the box were the stickers, but I just used scotch tape.