Desert Online General Trading LLC
Dubai, United Arab Emirates
Desert Online General Trading LLC
Dubai, United Arab Emirates


🛠️ Fix it fast, finish it flawless—because your wood deserves the best!
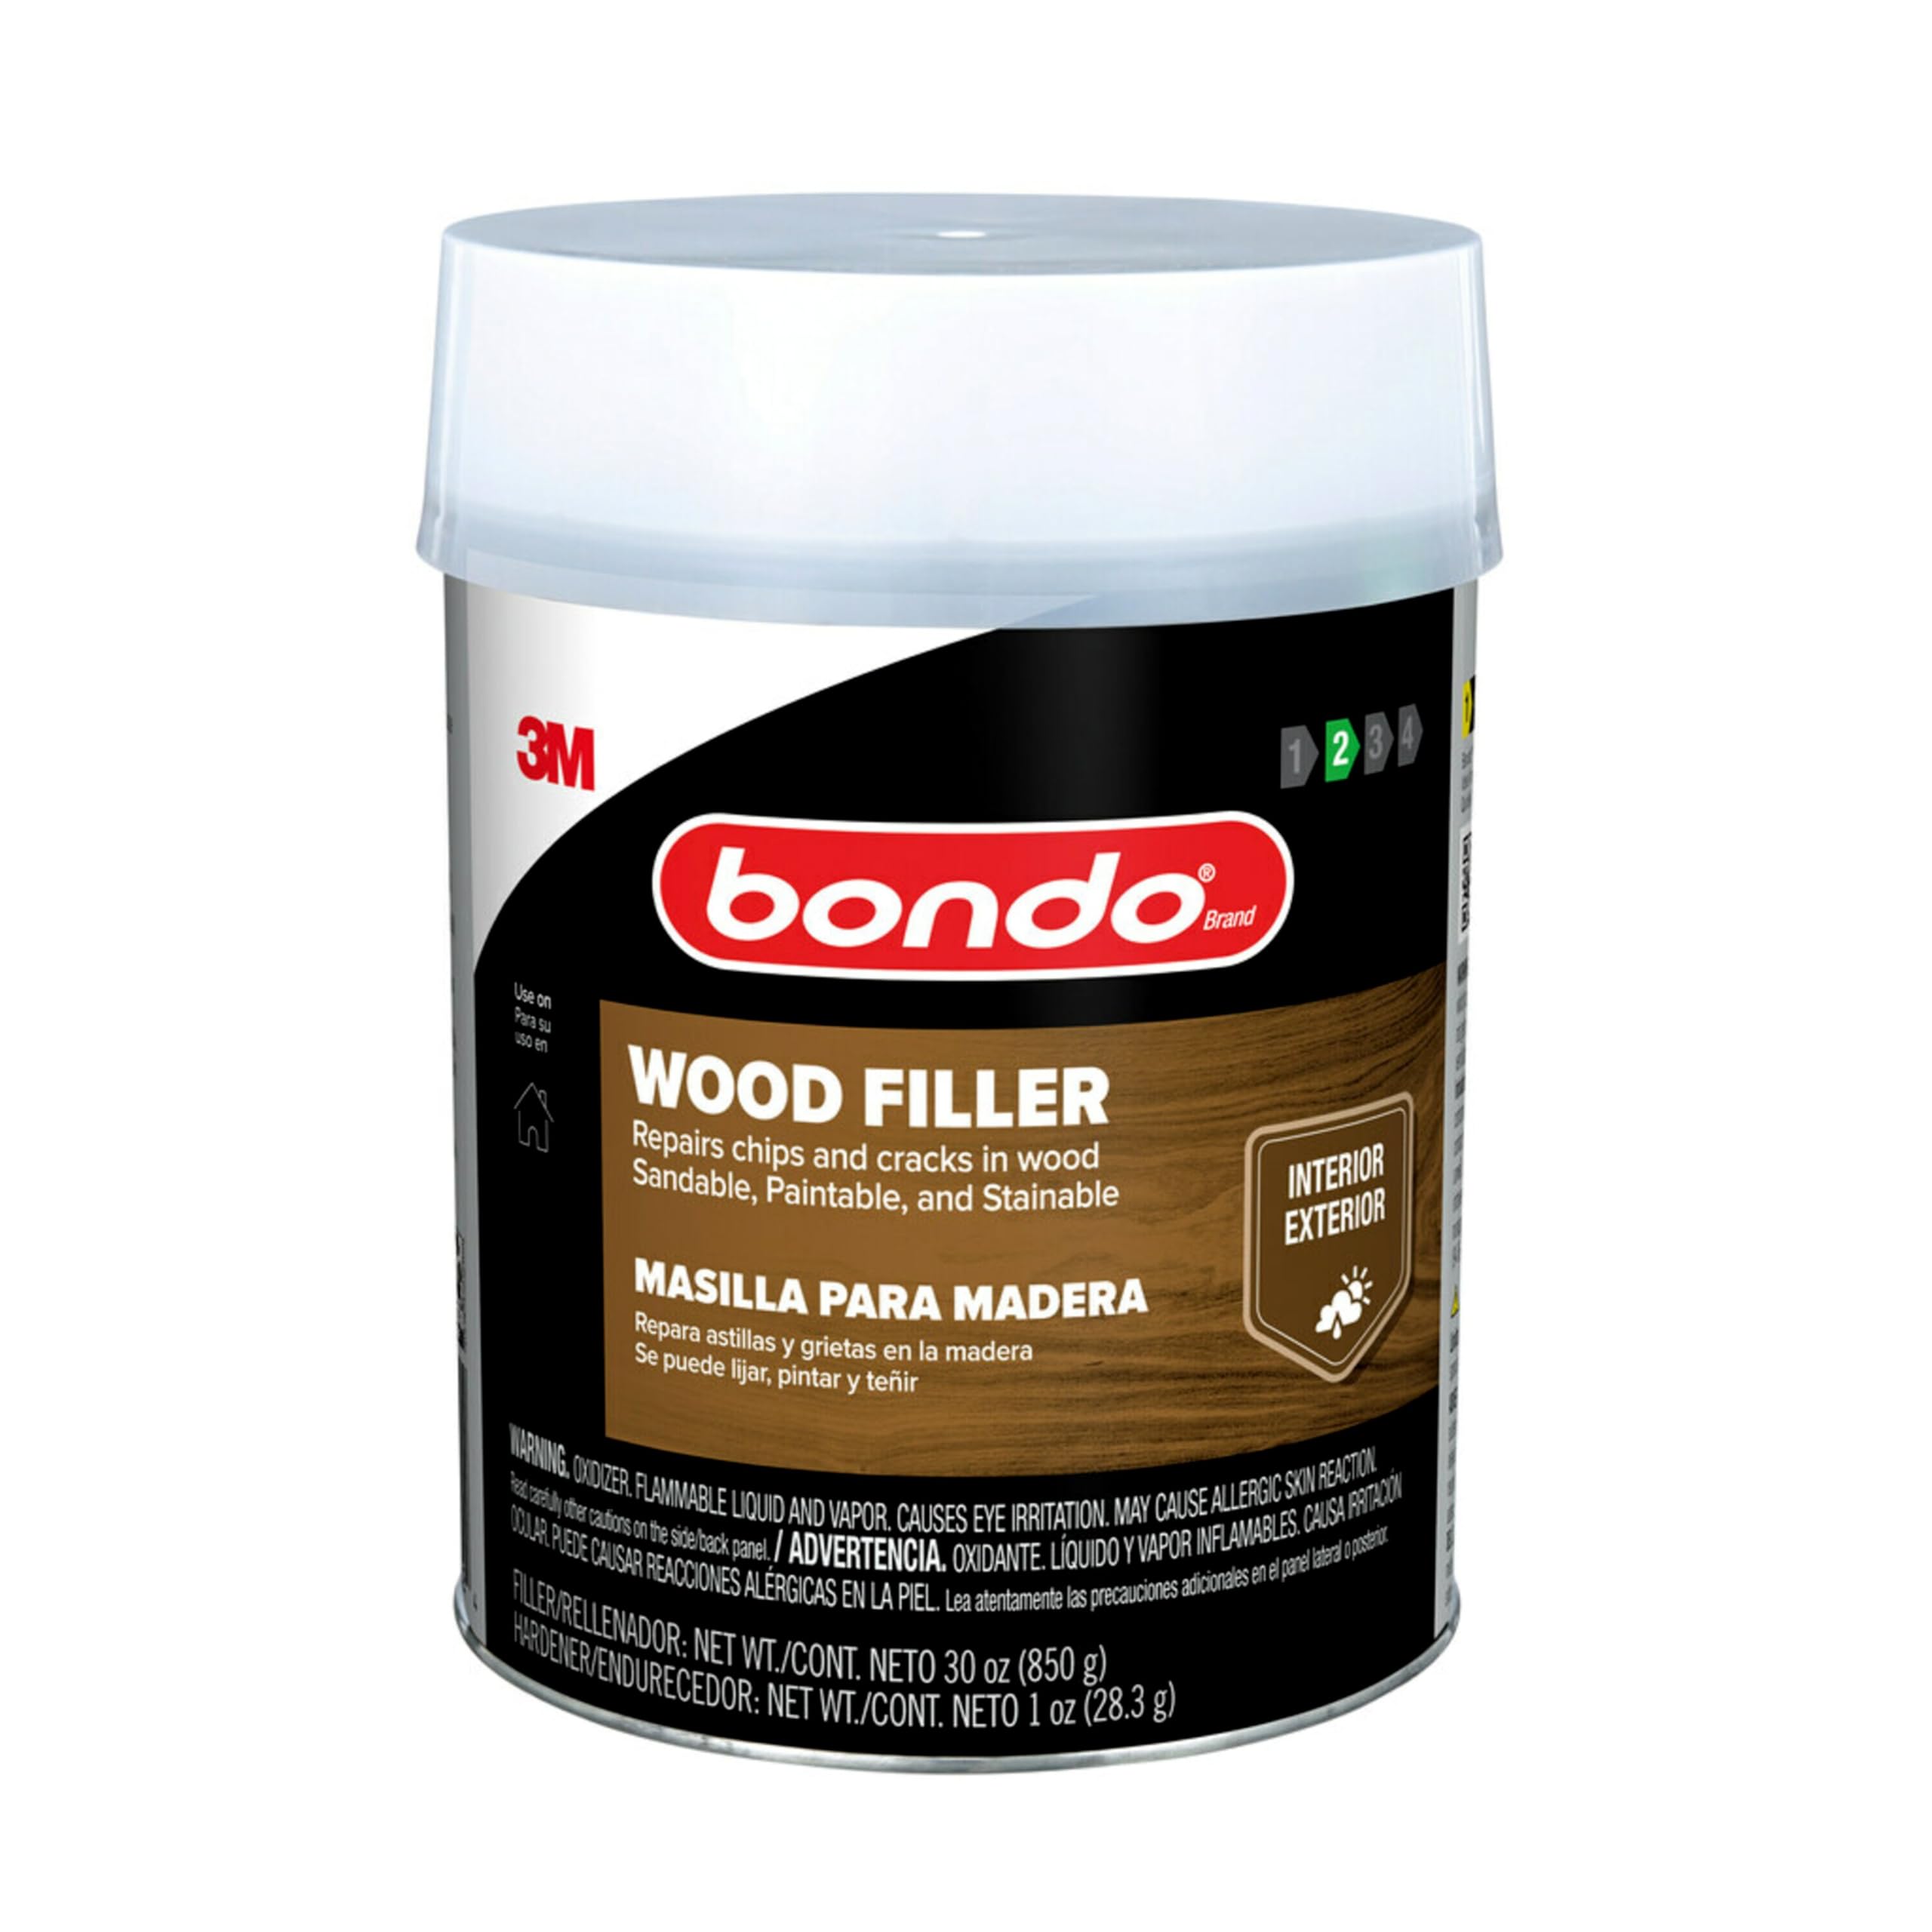
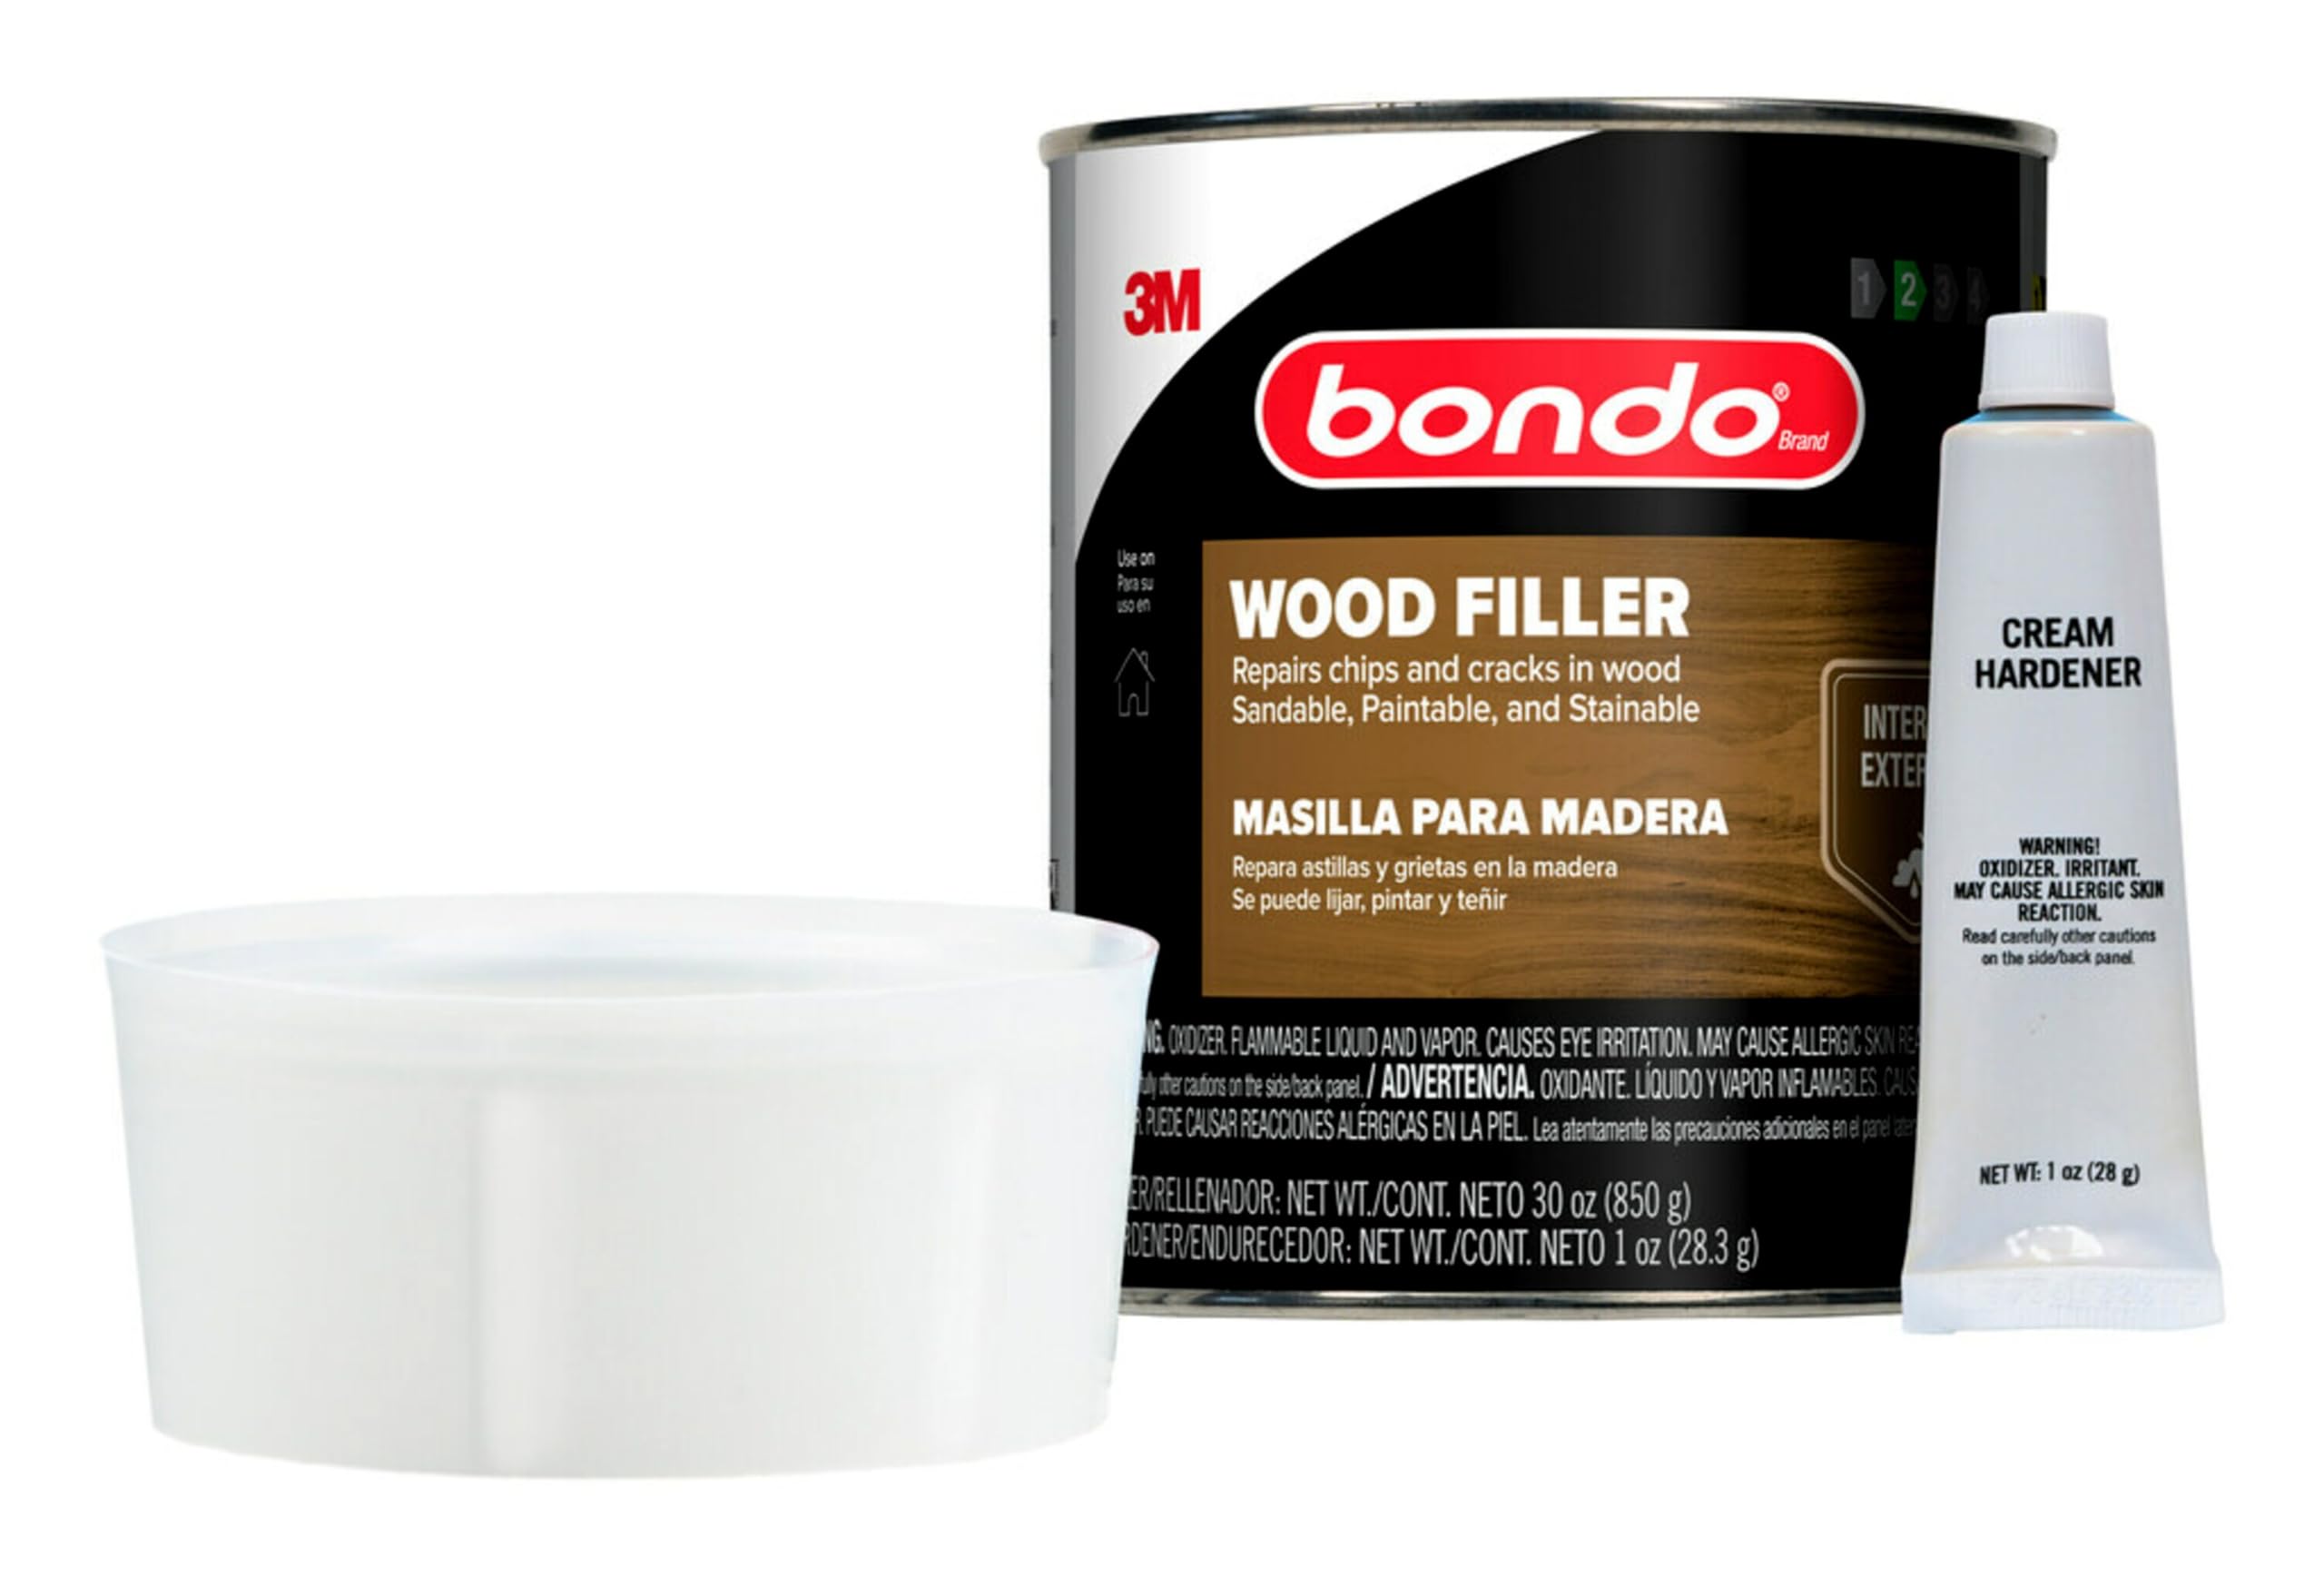
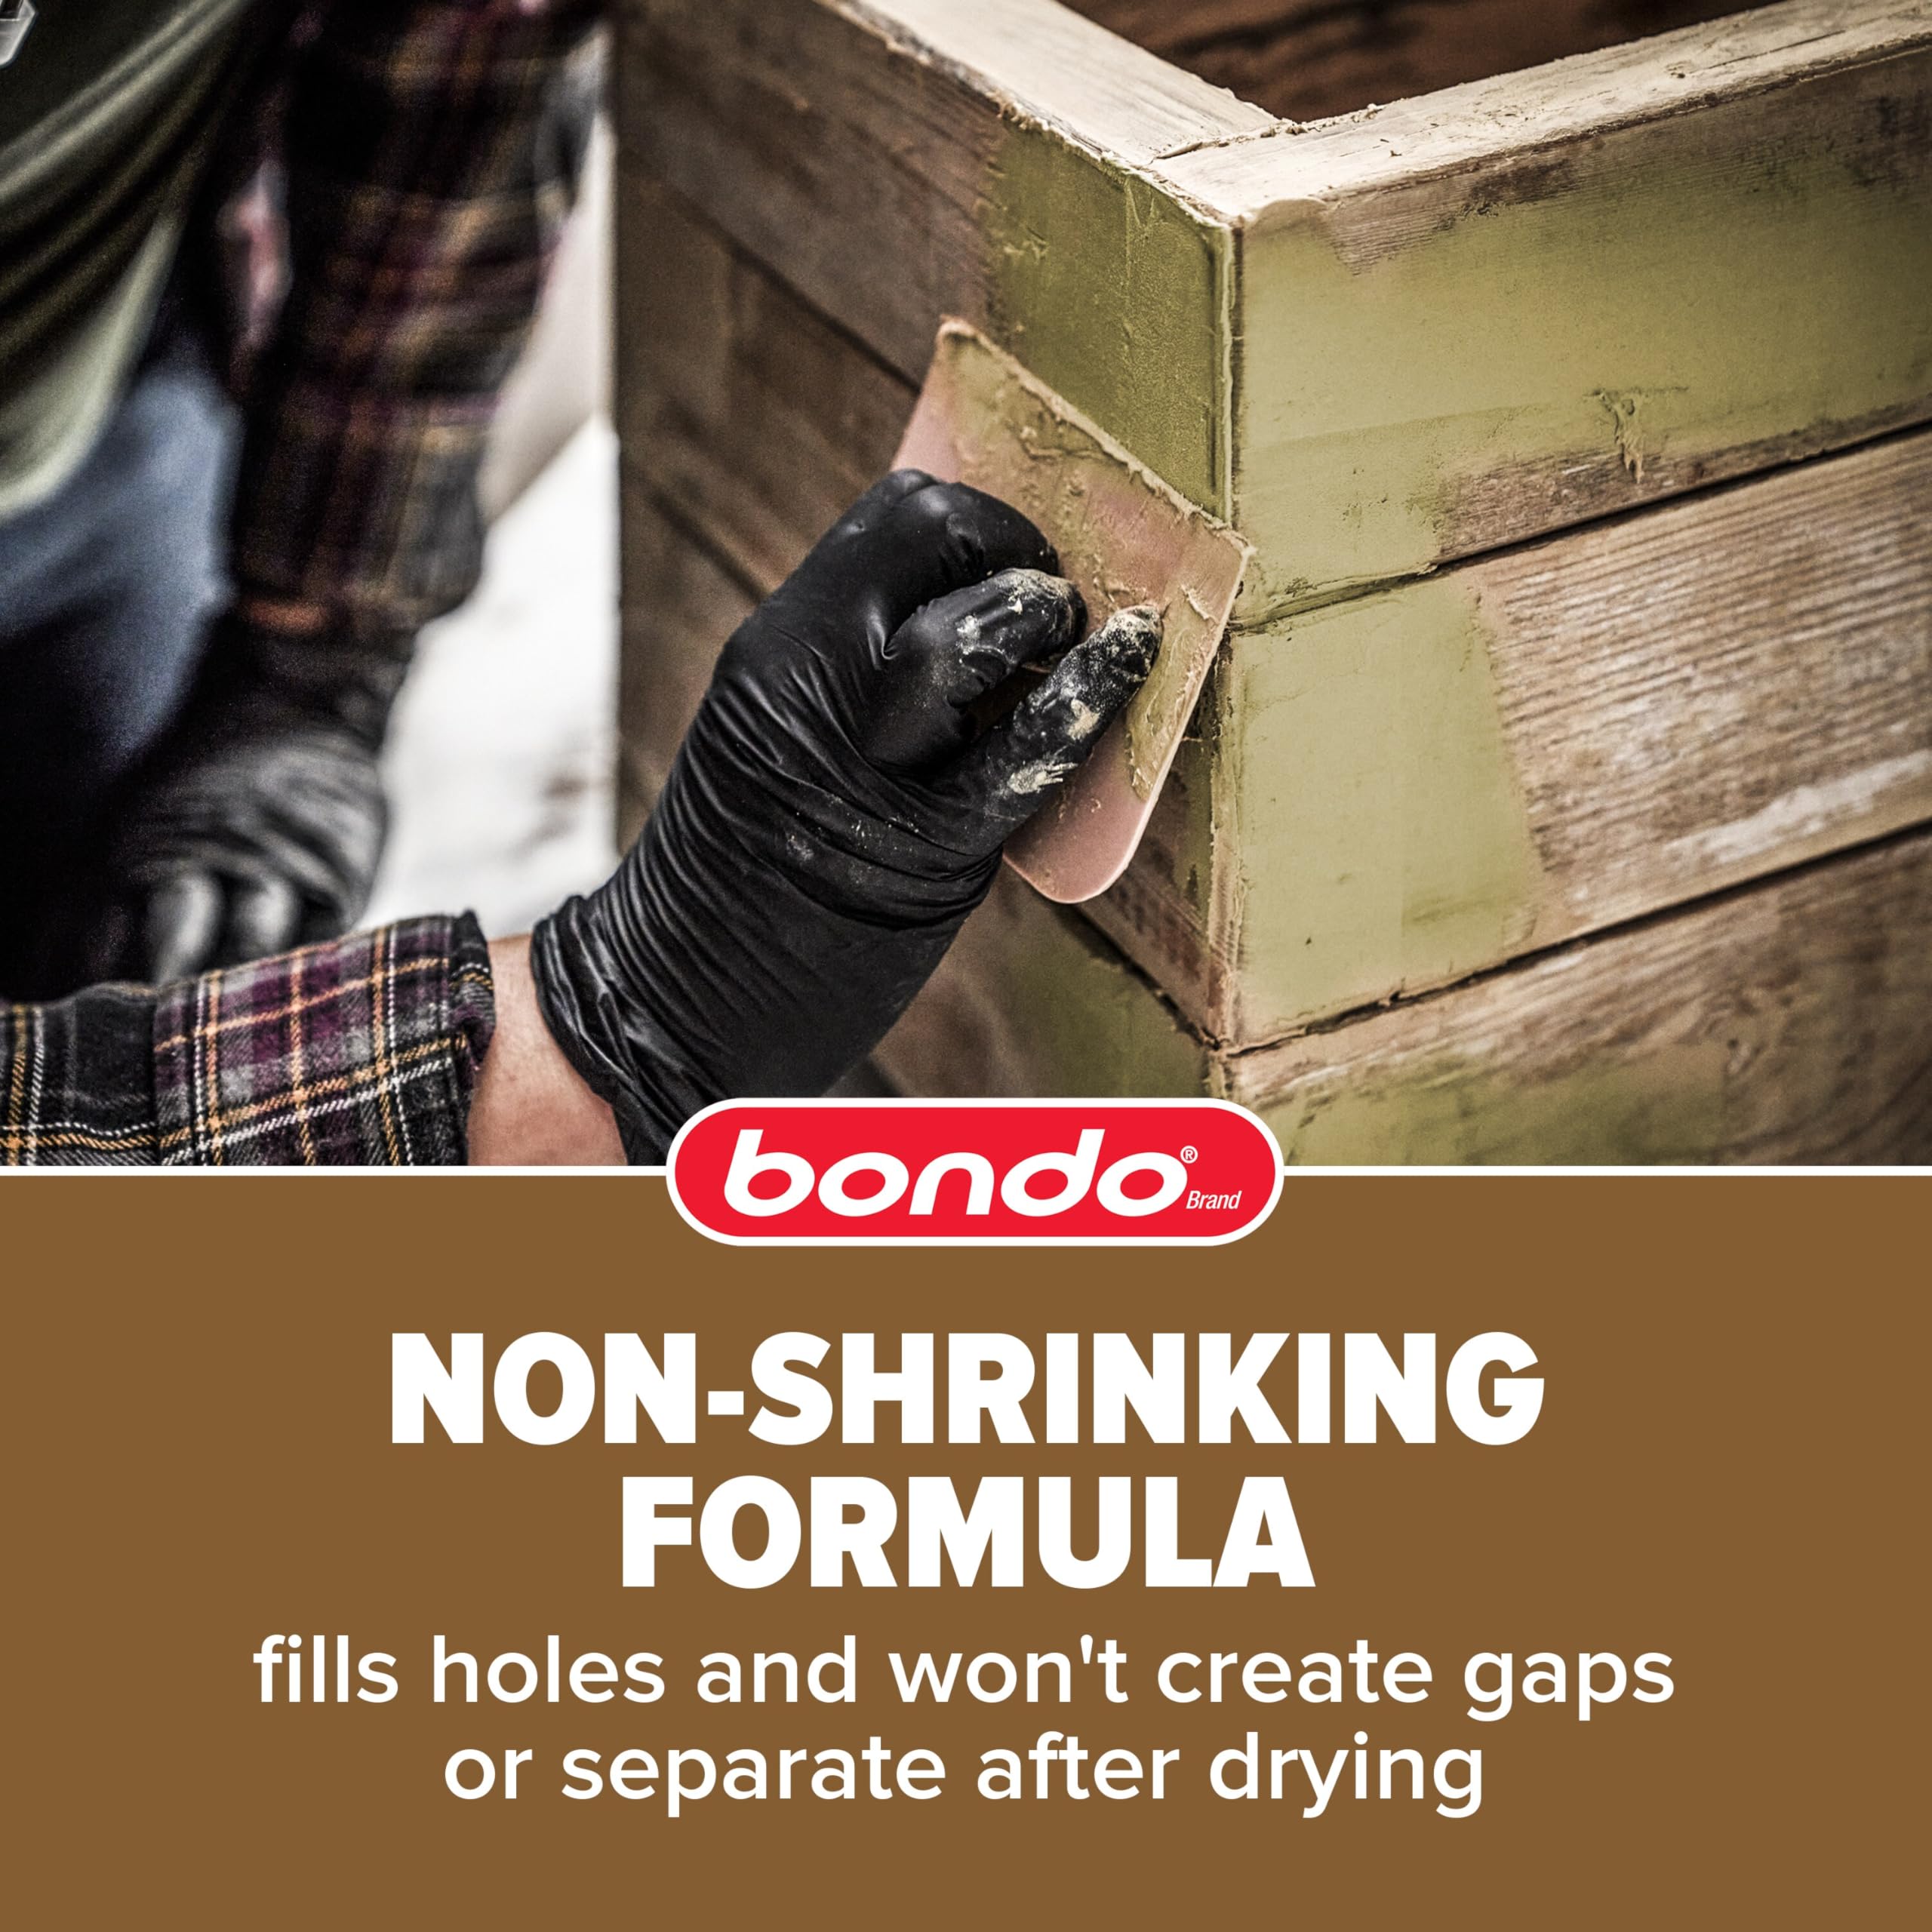
3M Bondo Wood Filler is a professional-grade, two-part resin formula designed for quick, permanent repairs on wood surfaces. It cures in 15 minutes, sands smoothly, and accepts paint or stain for a natural finish. Ideal for both interior and exterior use, it bonds chemically to wood, ensuring non-shrinking, durable repairs on doors, furniture, decks, and more.

| Brand | bondo |
| Specific Uses For Product | Wood Fillers |
| Material | Resin |
| Item Form | Cream, Liquid |
| Special Feature | Two-part formula, Quick and durable repairs, Sandable in 15 minutes |
| Color | Light Brown |
| Item Package Quantity | 1 |
| Package Information | Can |
| Item Volume | 1 Fluid Ounces |
| Viscosity | Medium |
| Full Cure Time | 15 Minutes |
| Water Resistance Level | Water Resistant |
| Unit Count | 1.0 Ounce |
| Viscosity Level | Medium |
| UPC | 076308200824 |
| Global Trade Identification Number | 00076308200824 |
| Manufacturer | 3M Company |
| Part Number | WF-QT-ES |
| Item Weight | 2.33 pounds |
| Product Dimensions | 4.25 x 7 x 4.25 inches |
| Item model number | 20082 |
| Is Discontinued By Manufacturer | No |
| Size | Filler 1.9 pounds, Hardener 1 ounce |
| Style | Bondo 20082 Home Solutions Wood Filler, 1 Quart |
| Pattern | Filler |
| Special Features | Two-part formula, Quick and durable repairs, Sandable in 15 minutes |
| Included Components | 3M Bondo Home Solutions Wood Filler |
| Batteries Included? | No |
| Batteries Required? | No |
C**Y
I hate, hate, hate working with Bondo — but you can’t beat the results
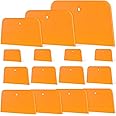
I am restoring old French windows and the wood needed a lot of patching, reinforcing and rebuilding. I had never used Bondo wood filler, but everyone assured me it was the best product for the job.The results are fantastic, but what a MAJOR pain in the neck Bondo is to use! First, you need to figure out how much of the tiny tube of hardener to use for the big quart of filler. After watching a bunch of YouTube videos, I got the idea, and the fact that I went through the entire quart of filler and had just a tiny bit of hardener left probably means I got the ratio about right. If you’ve never used Bondo, I highly recommend watching the videos — you really do need just a tiny bit of hardener for the small amount of Bondo you can reasonably use before it hardens.I also bought the pink Bondo spreaders (https://www.amazon.com/dp/B000BOC9K4) because one video said that the Bondo spreaders are the color that the mixed filler/hardener should be. Either that video was using a different formulation or Bondo changed the color of the hardener — it’s blue, not red, so when you mix it, you’re aiming for a sickly, light-green color. Even so, for a few bucks, the Bondo spreaders worked quite well; they’re stiff enough to mix the Bondo thoroughly and apply it, but have just enough flexibility to help smooth the product (which, based on my experience, is definitely an skill that requires a fair amount of practice).You need to mix this in very small batches (at most, a few tablespoons at a time) because each batch must be used in literally 2-3 minutes. When time is up, the mixture quickly starts caking and getting hard, making it utterly useless. And on the topic of mixing, I ended up mixing it on an 8”x10” piece of acrylic, which is non-porous (so it won’t soak up any of the oils in the product), sturdy to mix the heck out of the two components quickly, and perfectly smooth, which makes clean-up much easier after each batch. And yes, you need to clean the mixing board and the utensils after each batch; otherwise, your next batch could be contaminated and your spreaders will be caked with hard Bondo which will prevent smooth spreading of the next batch.As for the results, they are amazing, despite the TOTAL PITA this product is to use. The product can fill deep holds solidly, but can also build up pretty delicate shapes (sometimes requiring 4-5 thin layers and lots of sanding to get perfect). It really does dry hard in 15-20 minutes and is easily sandable.If Bondo would just invent an additive that would increase the working time — even by a few minutes — this would be a lot easier and less frustrating to work with. As it is, however, it is a total pain to use, but worth the effort given the excellent results.Final note: Be sure to wear thin gloves (thin latex/surgical gloves) when mixing and applying the Bondo. However careful you think you can be, Bondo will end up on your fingers and it is absolutely miserable to remove!5 (begrudging) stars.
T**M
It helps me repair rotted wood door frames, for only $20 how can I complain?!
Great product! I like this stuff, it does dry fast sometimes if you use lots of activator and if it's hot outside. Very strong smell! Quick to sand and holds/grabs very well. I wish 3M had a variant of this that is like a resin/epoxy, allows more manipulation and requires life to set
J**S
Good filler (with caution for fumes). Sets very fast which is good or bad.
This is a high quality very strong filler. It fills and holds extremely well. It is easy to get in to a complicated hole or edge and is easy to sand. BUT - the fumes and dust are toxic. I have to wear a mask if I don't have very good ventilation (like from moving air). It is like two part fiberglass resin/catalyst which stinks terrible and is actually dangerous. Small amounts are fine and larger if well ventilated as I said. I used my respirator with organic solvent filters if I was doing much of it.The big issue is that it cures very, very fast. Even if you spread it out which is a trick you can do with a lot of fiberglass resins. This sets fast so you can't really use it slowly or do large areas at the same time. It is easy to mix though. I think I used too much of the catalyst at times which will make it cure too fast. You have to eyeball how much to use though so that is easy to do. If I used it more often I would be able to calibrate the amounts by eyeball better.I do like it though. It does a good job for permanent jobs. The fast setting means you don't have to wait for it to cure. It may be too fast if you need more time to fill and work it. Easy to sand. Sands smooth. It cures a medium green and my latex primer didn't hide it very well so plan on using a high-hide primer/paint. I didn't need to drill and tap for screws or bolts but I suspect it will be pretty good at that. Whether it would be as strong as wood I'm not sure but it may actually be stronger. Recommended if all this sounds right for you.
L**Y
A good solution
I had a lot of checks in my deck boards. I needed something which would hold up to rain. This product hardens quickly so there was a learning curve to how little to mix at a time. I ended up putting paste and hardener in the fridge overnight. Cooling the product increases the working time. It is easy to mix and apply. I scraped excess off so sanding was minimal. I used Cabot deck stain and there is no hint of the Bondo underneath. It was tedious to mix numerous small batches but the results were worth it. I gave 4 stars instead of 5 because I don’t know how it will hold up.
S**W
This stuff is awesome!
I used Bondo Wood Filler to repair rotted wood on an exterior door frame, and the results were nothing short of amazing! The filler was easy to apply and hardened quickly. It is easy to sand, leaving a smooth, paintable surface. It blended perfectly with the rest of the wood, making the repair almost invisible once finished. I highly recommend using the Bondo Rotted Wood Restorer before applying the filler—it really preps the wood and ensures a long-lasting bond. This product saved me from replacing the entire frame and made the repair process a breeze!
S**N
Makes rock-solid repairs in under 5 minutes.
I was skeptical about the product claims, but after using yesterday, I found them true. This is a two-part product, like an epoxy glue. It sets-up in about 5 minutes and quickly becomes rock hard. Excellent product.
G**S
Easy to use, drys nice and hard. Easy to sand.
Works well. Drys fast. Almost too fast. Would buy again.It is very difficult to work with. The was only half full on arrival. So don't let the can size fool you. The product stands well and is extremely hard once it sets. The texture of the product makes it hard to work with you can't get it to go and stay where you put it You've got about a 2 minute span where it's kind of workable. It's pretty spendy for what it is. For very small repairs it's fine but for larger repairs it would cost a fortune to fix a little 2-in by 2 in hole. You'd use about the entire amount in the can.