
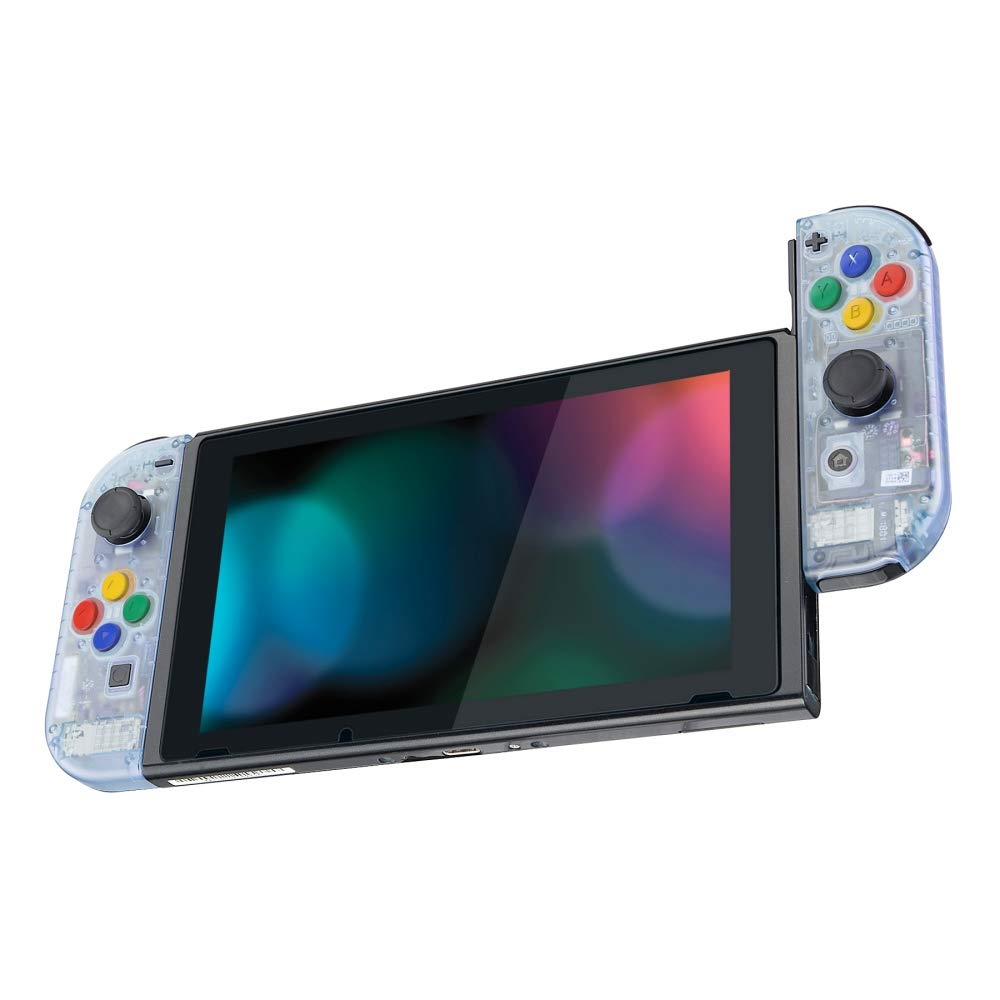


🎮 Unleash Your Style with Every Game!
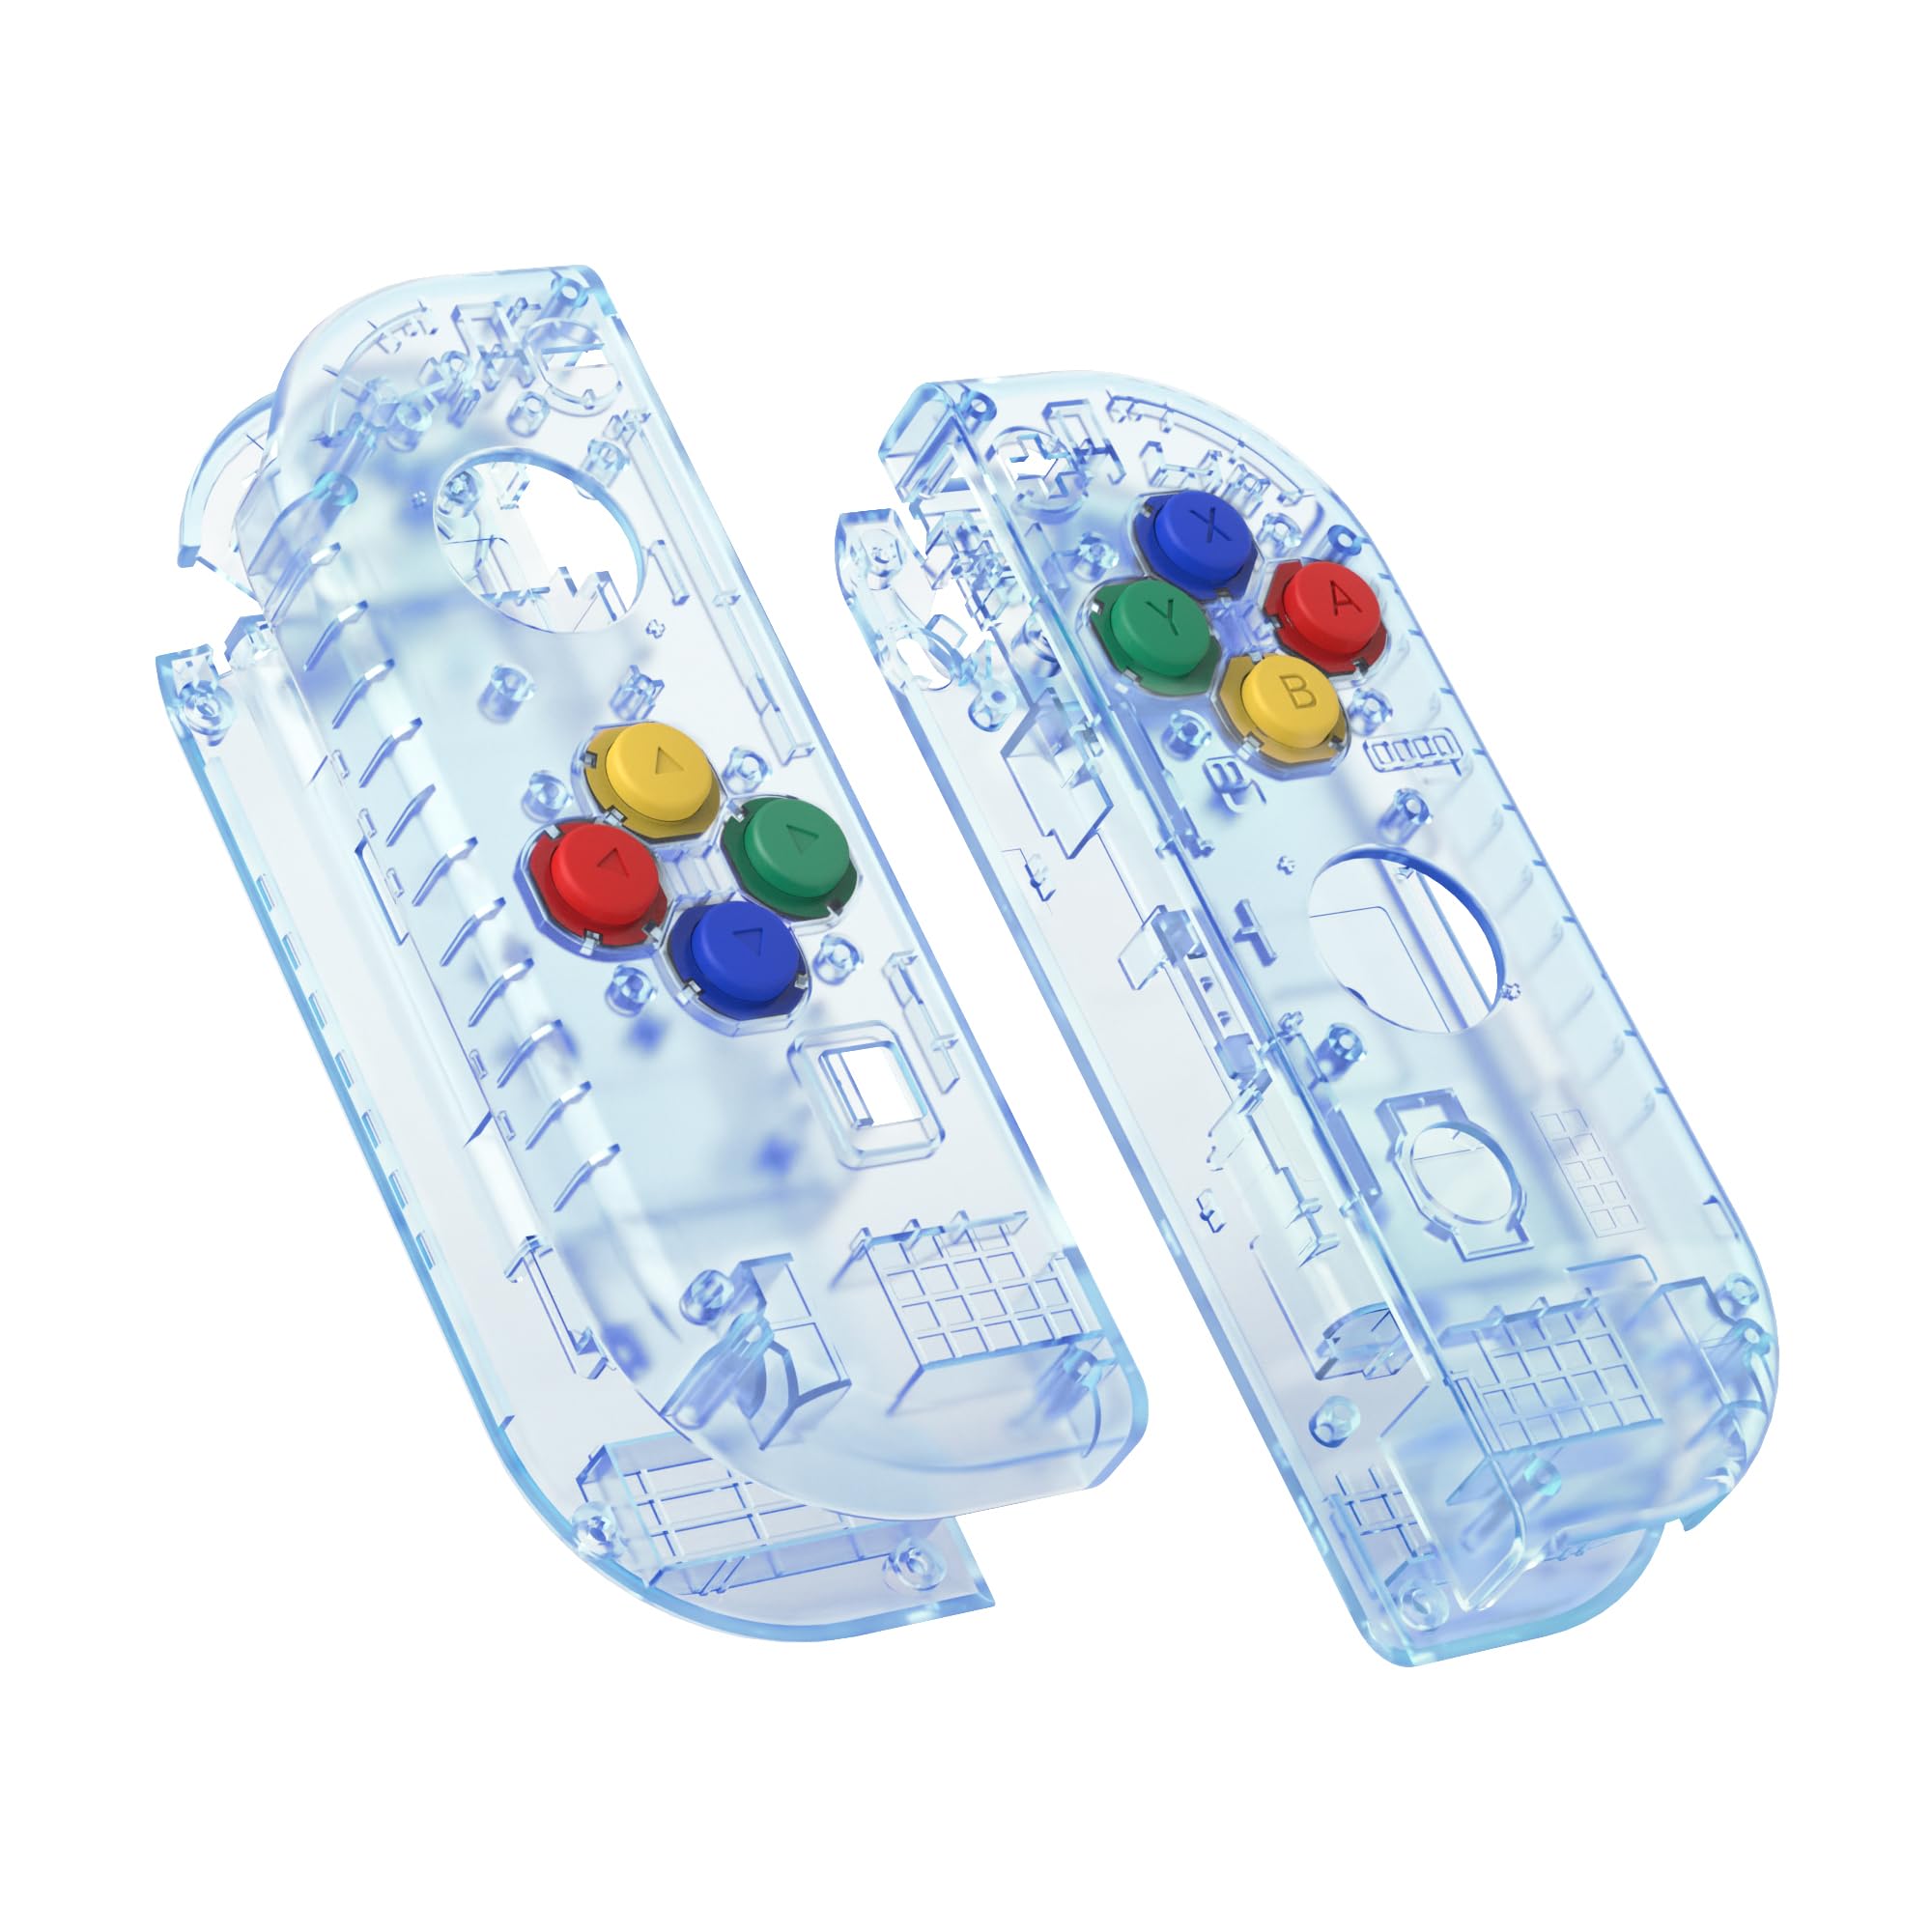
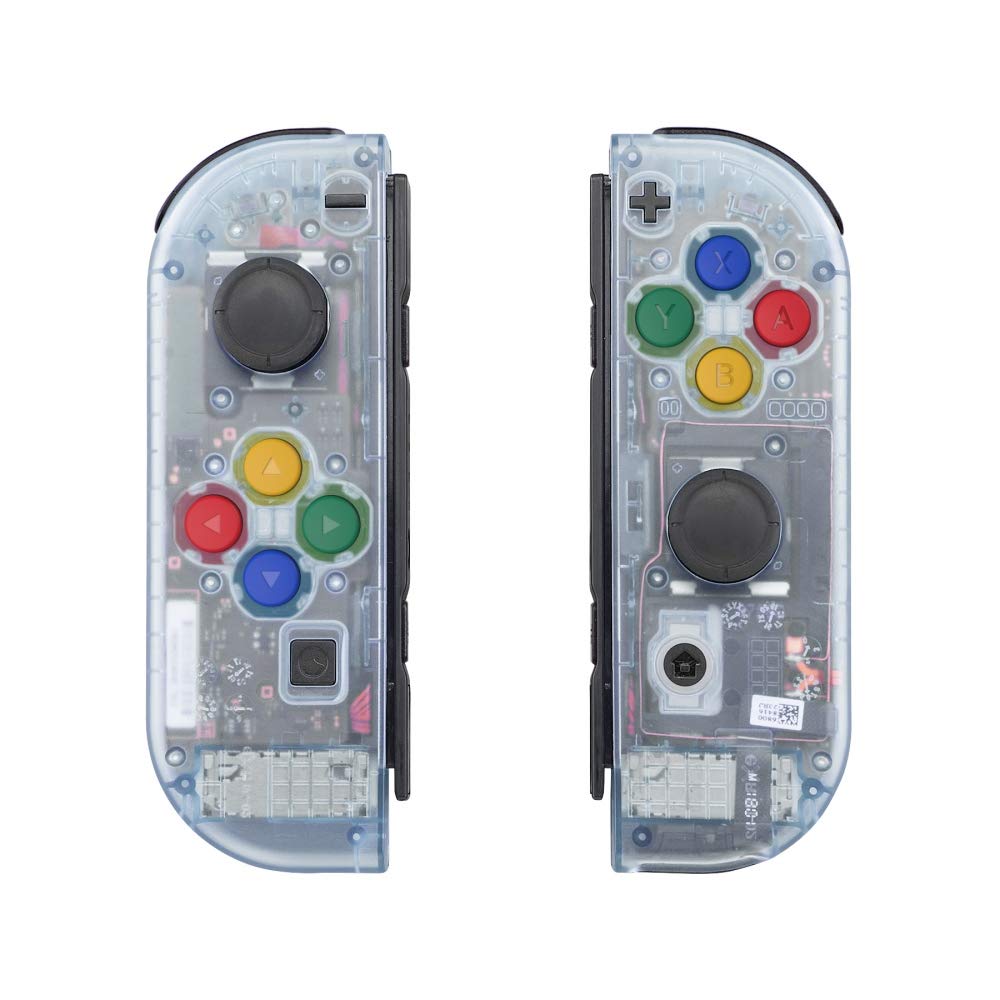
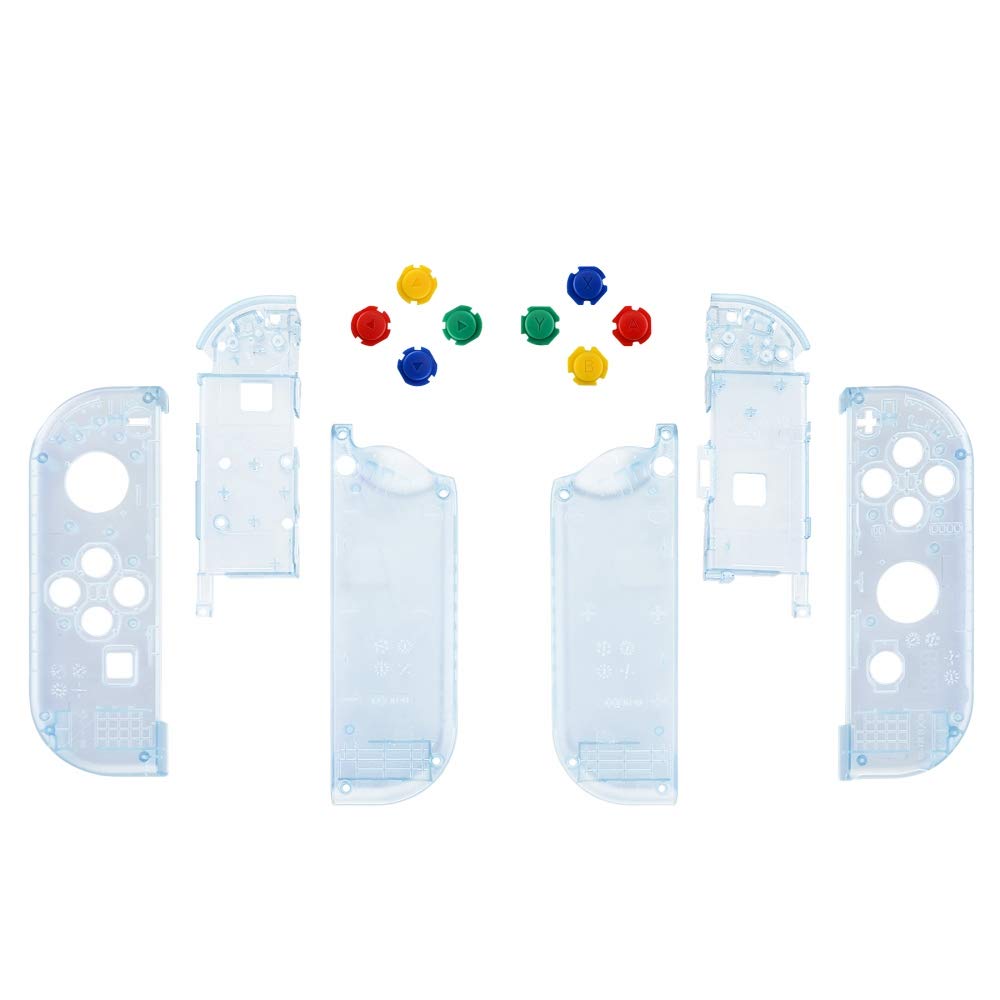
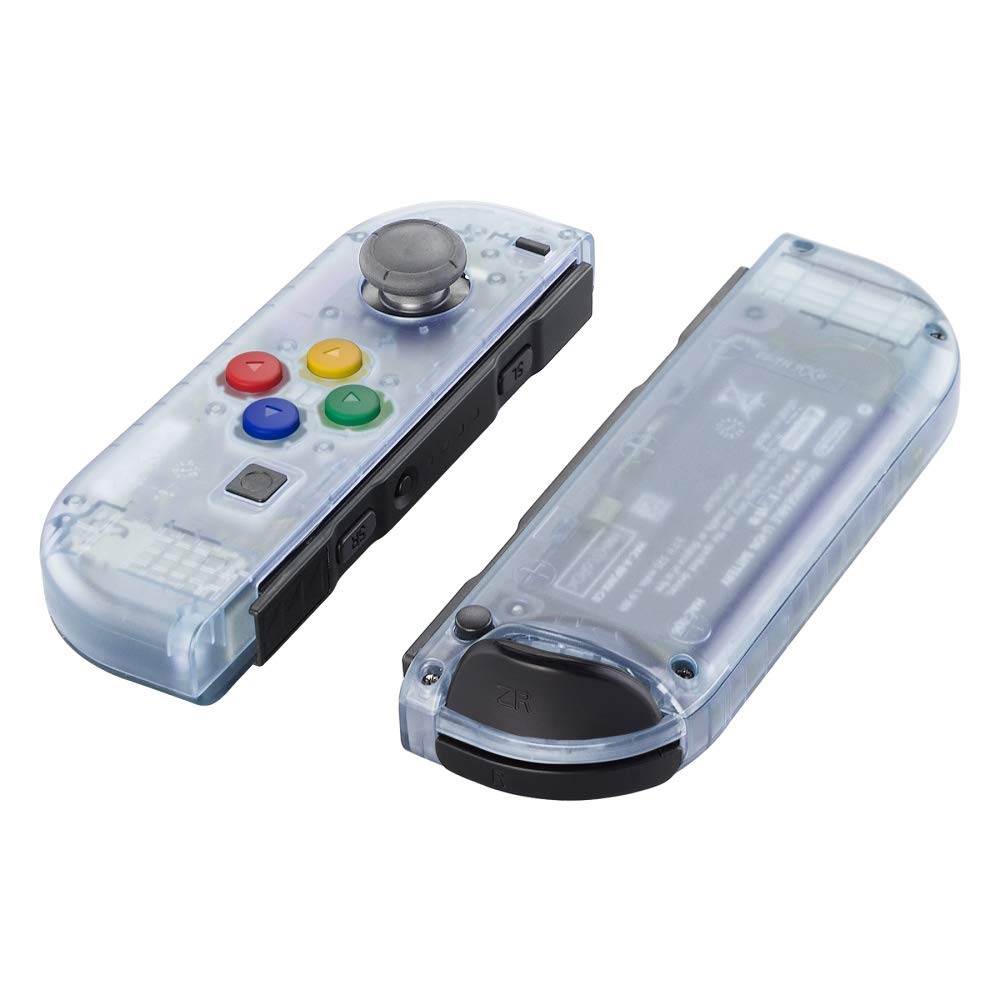
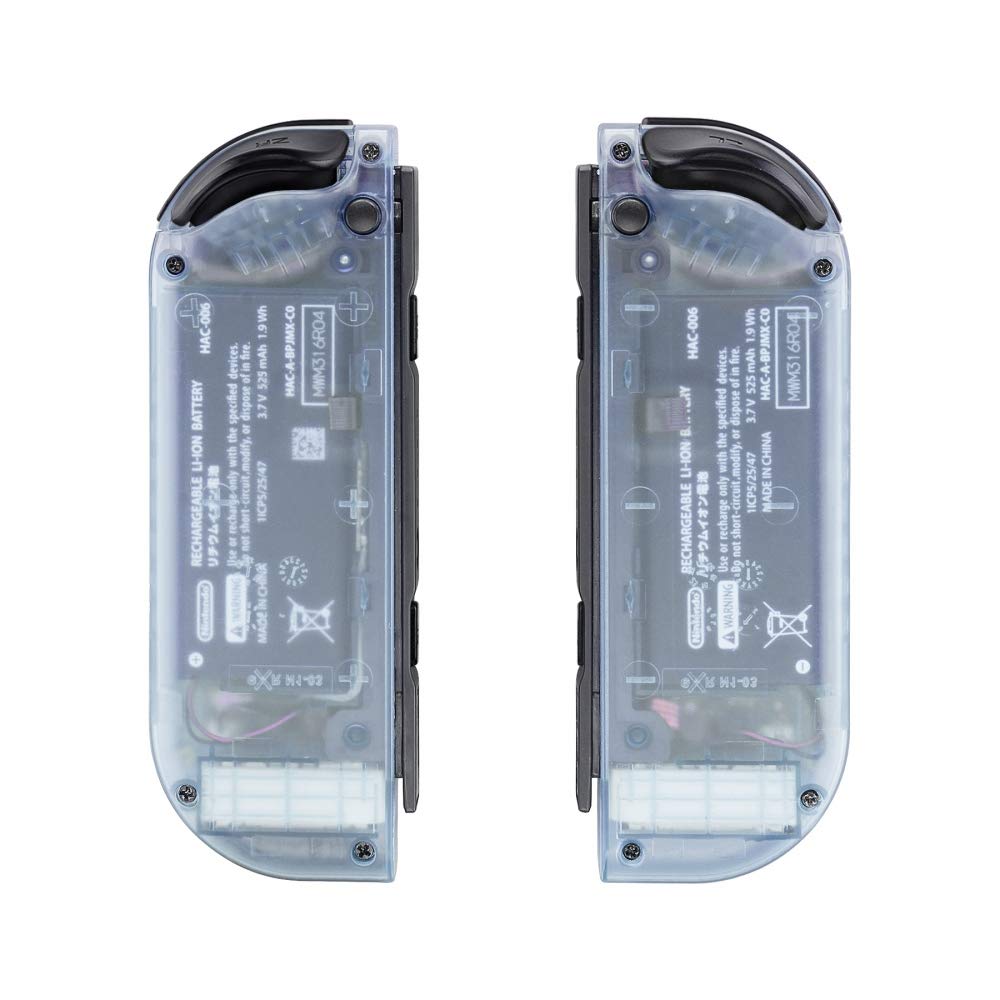
The eXtremeRate Glacier Blue Joy Con Handheld Controller Housing is a custom-designed replacement shell for Nintendo Switch and Switch OLED controllers. Made from premium ABS material, this durable and stylish case allows gamers to express their personality while ensuring a perfect fit. The package includes all necessary components for installation, making it an ideal choice for those looking to upgrade their gaming setup.


| Colour | Glacier Blue |
| Hardware Platform | Nintendo Switch |
| Finish Types | Matte |
| Material | Acrylonitrile Butadiene Styrene (ABS) |
Z**L
Fantastic
It is a fiddly job but this is expected and is at no fault of the cases themselves. Can't speak for durability as only had them a week but they look fantastic and totally worth the price. Screws are fine and the included screwdriver was a nice touch.
M**S
A Nostalgic Alternative to Solid Coloured NS Joy-Cons
Bought to replaced the damaged Joy-Cons for my Switch. The original ones were third-party clear transparent but due to the previous owner causing liquid damage to one of the joy-cons and subsequent failed repair work to rectify their given condition and subsequent damage thereafter, so they were sold to me as is (in fully working order however) only described as "needing a clean due to being gunked"These replacements shells are of a better quality in comparison and added with the slight blue tint in colour are more eye catching. Slowly going through the long process of replacement (like for like) and changing the old shells for the new, I kept the screws that were not damaged by the previous owners repair and the stripped head screws were just replaced with the same sized screws supplied with this product. The only main difference is that the four largest black screws that hold the front and back shells together are now Philips head screws (supplied with this product) not the original nintendo tri-wing type screws.A few reviewer have complained about this products being of subpar build quality and easily damaged, this is not the case (in my instance), if you take your time and use the right amount of force to secure the new screws into place (you will have to apply a little more force than usual) I had no issues with damage to the screws nor the plastic parts, the new screws with have to tap into their new respective placements needing slightly more torque in their fixings. Due to how delicate the ribbon cables and subsequent wires for the rumble motor and battery packs within the Nintendo Joy-Cons it is advised to watch as many YouTube Videos of how to dismantle and (of course) reassemble each respective Joy-Con safely, I also used IFixIt's website as a visual cue for the step-by-step process on confidently taking the parts out without damaging them.Each Joy-Con replacement took about forty-five minutes to exchange the set over and in most cases wasn't too difficult to achieve barring one or two annoying ribbon cable mounting points that are hard to access, overall I really enjoying the process of shedding the old parts for the new, also how the colours of the buttons are very reminiscent of the Nintendo SNES era button colour layout too
B**I
Great, but holes a bit too tight for screws
I was able to change the my joycons to use this skins. The only part that I have found really annoying is with the four screws that seal everything: in my case they were a bit too large for the provided holes, and thus difficult to screw in (almost broke provided screw driver).Also, I think that in the kit there should be added a plastic pick and tweezers to make the process easier (fortunately I had these at home)
S**Y
Fantastic if you have patience
Had a left and right joy cons from 2 separate switchs mangled by my kids so decided to try and save them.(and some money.)Watched videos on youtube to get an idea what to do.one where a guy did both in 10 minutes and didn't mess around with ribbons was the best imo so look out for that one. Please note there are three types of screw and they are not interchangeable so make note of gold and silver ones. The scewdrives in kit worked well for me (rubbed them on a magnet to help with tiny screws).I did the left in 30 mins (did have to try solder a bit back on) but broke a ribbon just as I placed last screw.🤬Second one took about an hour but also had to try solder the same bit on this one, a tiny bit that is a internal button for shoulder button.Both were broken before my diy so not taking the blame for that 😀Both worked fine after i finished, apart from the not my fault shoulder buttons 😇 (guess need to work on my soldering skills 😄).The ribbon i snapped only affects when you use it sideways so still both usable to a certain degree but guess i will need to purchase new ones after all😒In summery good kit,do your research, take care with the ribbons and if you open it and a little button from the shoulder is already broke you've wasted your time 🤣
R**T
Broken within 24 hours
I was going to give a good review after putting these together, since they felt good quality etc.After less than one day of light usage the shell broke. Clearly the plastic is far too brittle for its usage.
L**Y
Easy instructions
Easy to assemble and love the look!
U**R
High quality and fit together nicely
These are really good quality and the kit includes a fell set of screws and springs aswell as a small (but useful) metal driver.It also replaces the Tri wing y screws with PH0 ones so you can properly secure them back together.Ace.
K**N
Feel like I'm back in the 90s
The Atomic Purple is pretty much identical to the distinctive purple that the Gameboy colour came in.It was a little bit of a challenge to do the replacement. My advice is to take the battery out as soon as you can (it has a small piece of sticky tape so don't be afraid to use a little bit of force, being careful to not break the wires going into it). Also on the left joycon, there's a screw that's particularly difficult to put in place, due to the magnetism of the module at the bottom of the joycon. I would recommend the appropriate screwdrivers in a magnetic format if I were to repeat the exercise.Otherwise, I didn't read any instructions or watch any videos, and my experience with similar practises is novice at best. It just took time due to the amount of care required to deconstruct everything in an orderly fashion and then reconstruct with the new casing.Once you've successfully completed, you'll likely find a sense of satisfaction for having done so, but far better is the feeling of having your very own "unique" joycons. Will consider buying again for future sets.
E**O
Se ven super bien
La instalación es un poco laboriosa, pero si sigues un tutorial y eres cuidadoso, el resultado final es muy bueno. Se siente solido y a comparación a la carcasa original, se sienten mucho mas solidos al colocarlos en la switch. Recomiendo ponerle los tornillos phillips en vez de los originales, por si acaso, y también por comodidad.
J**Y
they look great!
When I was a kid they made transparent controllers for nintendo consoles called "jellies". I had to have jelly everything. N64 controllers, camecube controllers, I was obessed. It's dissapointing that nintendo no longer sells transparent controllers. Tjanks to these casings, I'm over the moon that I can have jelly joycons. Instead of using the multi-color buttons that the casings come with, I purchased a set of opaque buttons in the color "cherry blossom." I think that the casings and the buttons I purchased are from the same provider. The casings themselves are pretty much replicas of the original joycon casings, and they are just as thick. The casings came with spare screws, springs, and screwdrivers. I actually liked these spare screws so much that I replaced my old screws even though the majority were fine. The screws provided in the kit seem sturdier, and they are certainly less prone to stripping, which is a huge issue with switch screws. I wish that a prying-pick had been included in the kit for popping the back of the joycon away from the front. And I wish that a pair of tweezers had been included. You will want to definetly get your own tweezers, specifically angled precision tweezers. My biggest issue is that these casings did not come with instalation instructions. However, after watching a disassembly video for joycons on youtube, I kind of understand why. If directions had been provided it would have undoubtedly been a thick booklet. Installing these casings and the new joysticks and buttons took me about 4 hours. If you're willing to spend an afternoon stressing over something tiny and fiddly for the sake of the aesthetic, I reccomend these casings.
M**N
Tolle Optik
Alles wie beschrieben, fassen sich gut an, Schraubenzieher und Ersatzschrauben sind auch dabei. Bei Bedarf auch ein passendes Video. Toll wäre, wenn noch Klebepads dabei wären, die Akkus und einige Flachkabel sind damit fixiert, mit etwas Geschick kann man die aber auch übernehmen.
W**L
Stunning!!
Quite an advanced process for the right joycon, left was not too bad. Managed to do both in an hour I think. You might want to have those bent tweezers aswel because they are not included. You'll need those for the ribbon cables. All in all, beautiful result! I am very happy. They feel a bit more slippery compared to real ones but they still feel sturdy.
R**N
Looks great but cracks
feel awesome in the hand and easy to install. Sadly it cracks really easy.
Trustpilot
2 weeks ago
5 days ago