
Desert Online General Trading LLC
Dubai, United Arab Emirates
Desert Online General Trading LLC
Dubai, United Arab Emirates
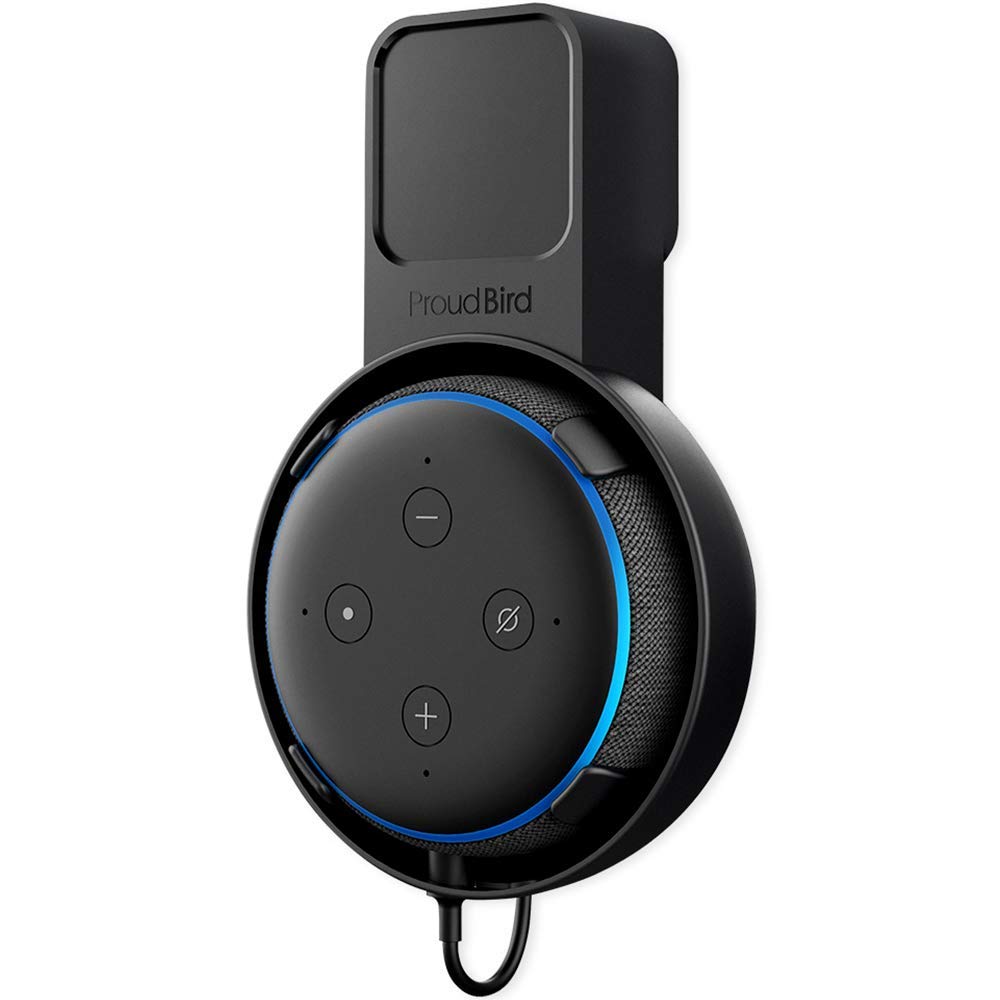


Color:P5-1 Why Choose Wall Mount for Your DOT 3rd generation How many times have you knocked your Dot behind your desk, or raced to save it from a meandering pool of spilled coffee? You really ought to keep your digital assistant out of harm’s way. And just imagine how guests will react when they realize that the air-freshener on your wall is actually a digital assistant with access to the infinite knowledge and power of the internet. How to install dot 3rd generation wall mount 1>Put the Dot into the P5 with the input jack facing down and make sure that Dot input jack is aligned with the P5 input hole. 2>Insert the DC plug through the P5 into Dot DC jack. 3>Arrange the wire into the groove on the bottom of the P5 and pull the wire tight, wind the remaining wire into the wire slot behind the P5 (ensure 10 laps). 4>Put the power adapter into the P5, and then tidy the remaining wires into the slot to complete the assembly. Note: When you plug it into wall socket, please stick the attached EVA pad to the back cover of P5 if the distance between the P5 and the wall is too large. Please align your finger to the dot socket to pick it out after pulling out the DC plug. What you will get with your order: Wall Mount x1 Use Manual x1 One year free warranty 7/24 hrs friendly customer service
Trustpilot
1 month ago
3 days ago