
DOWNLOAD THE APP


Customer Services
Copyright © 2025 Desertcart Holdings Limited
DOWNLOAD THE APP


🚀 Transform your floors in a flash with Ardex Feather Finish—where speed meets seamless style!
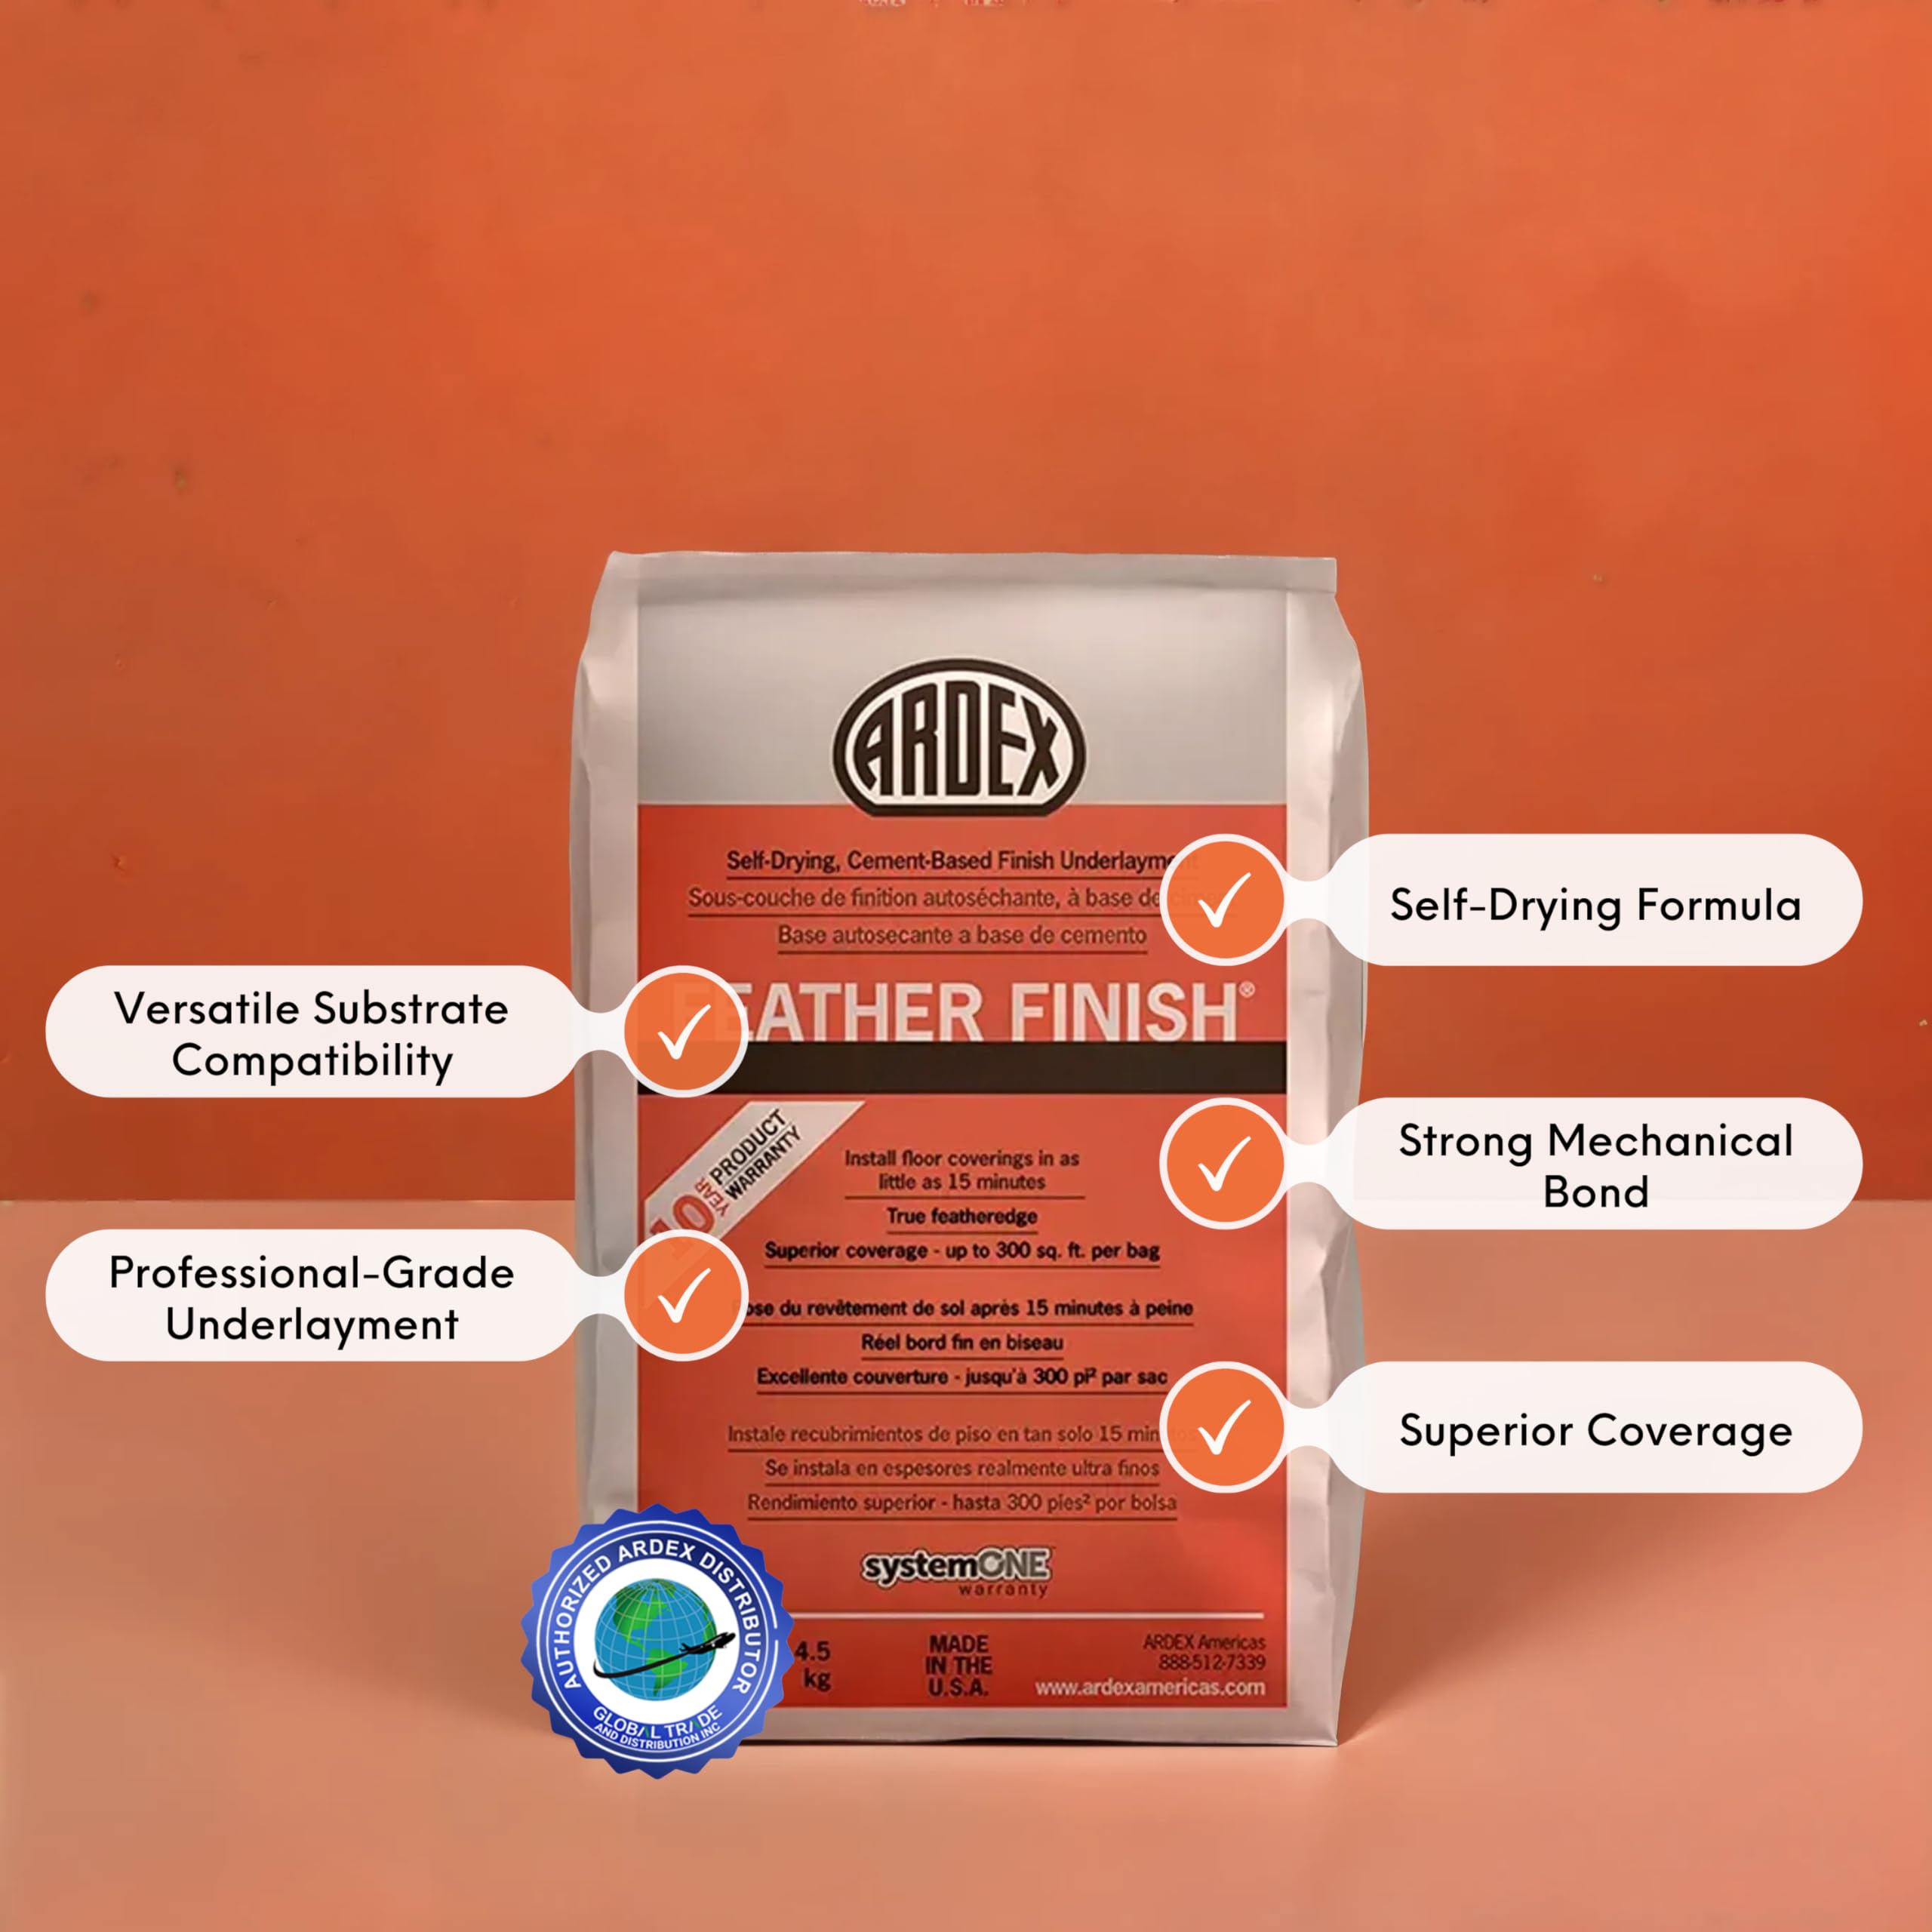
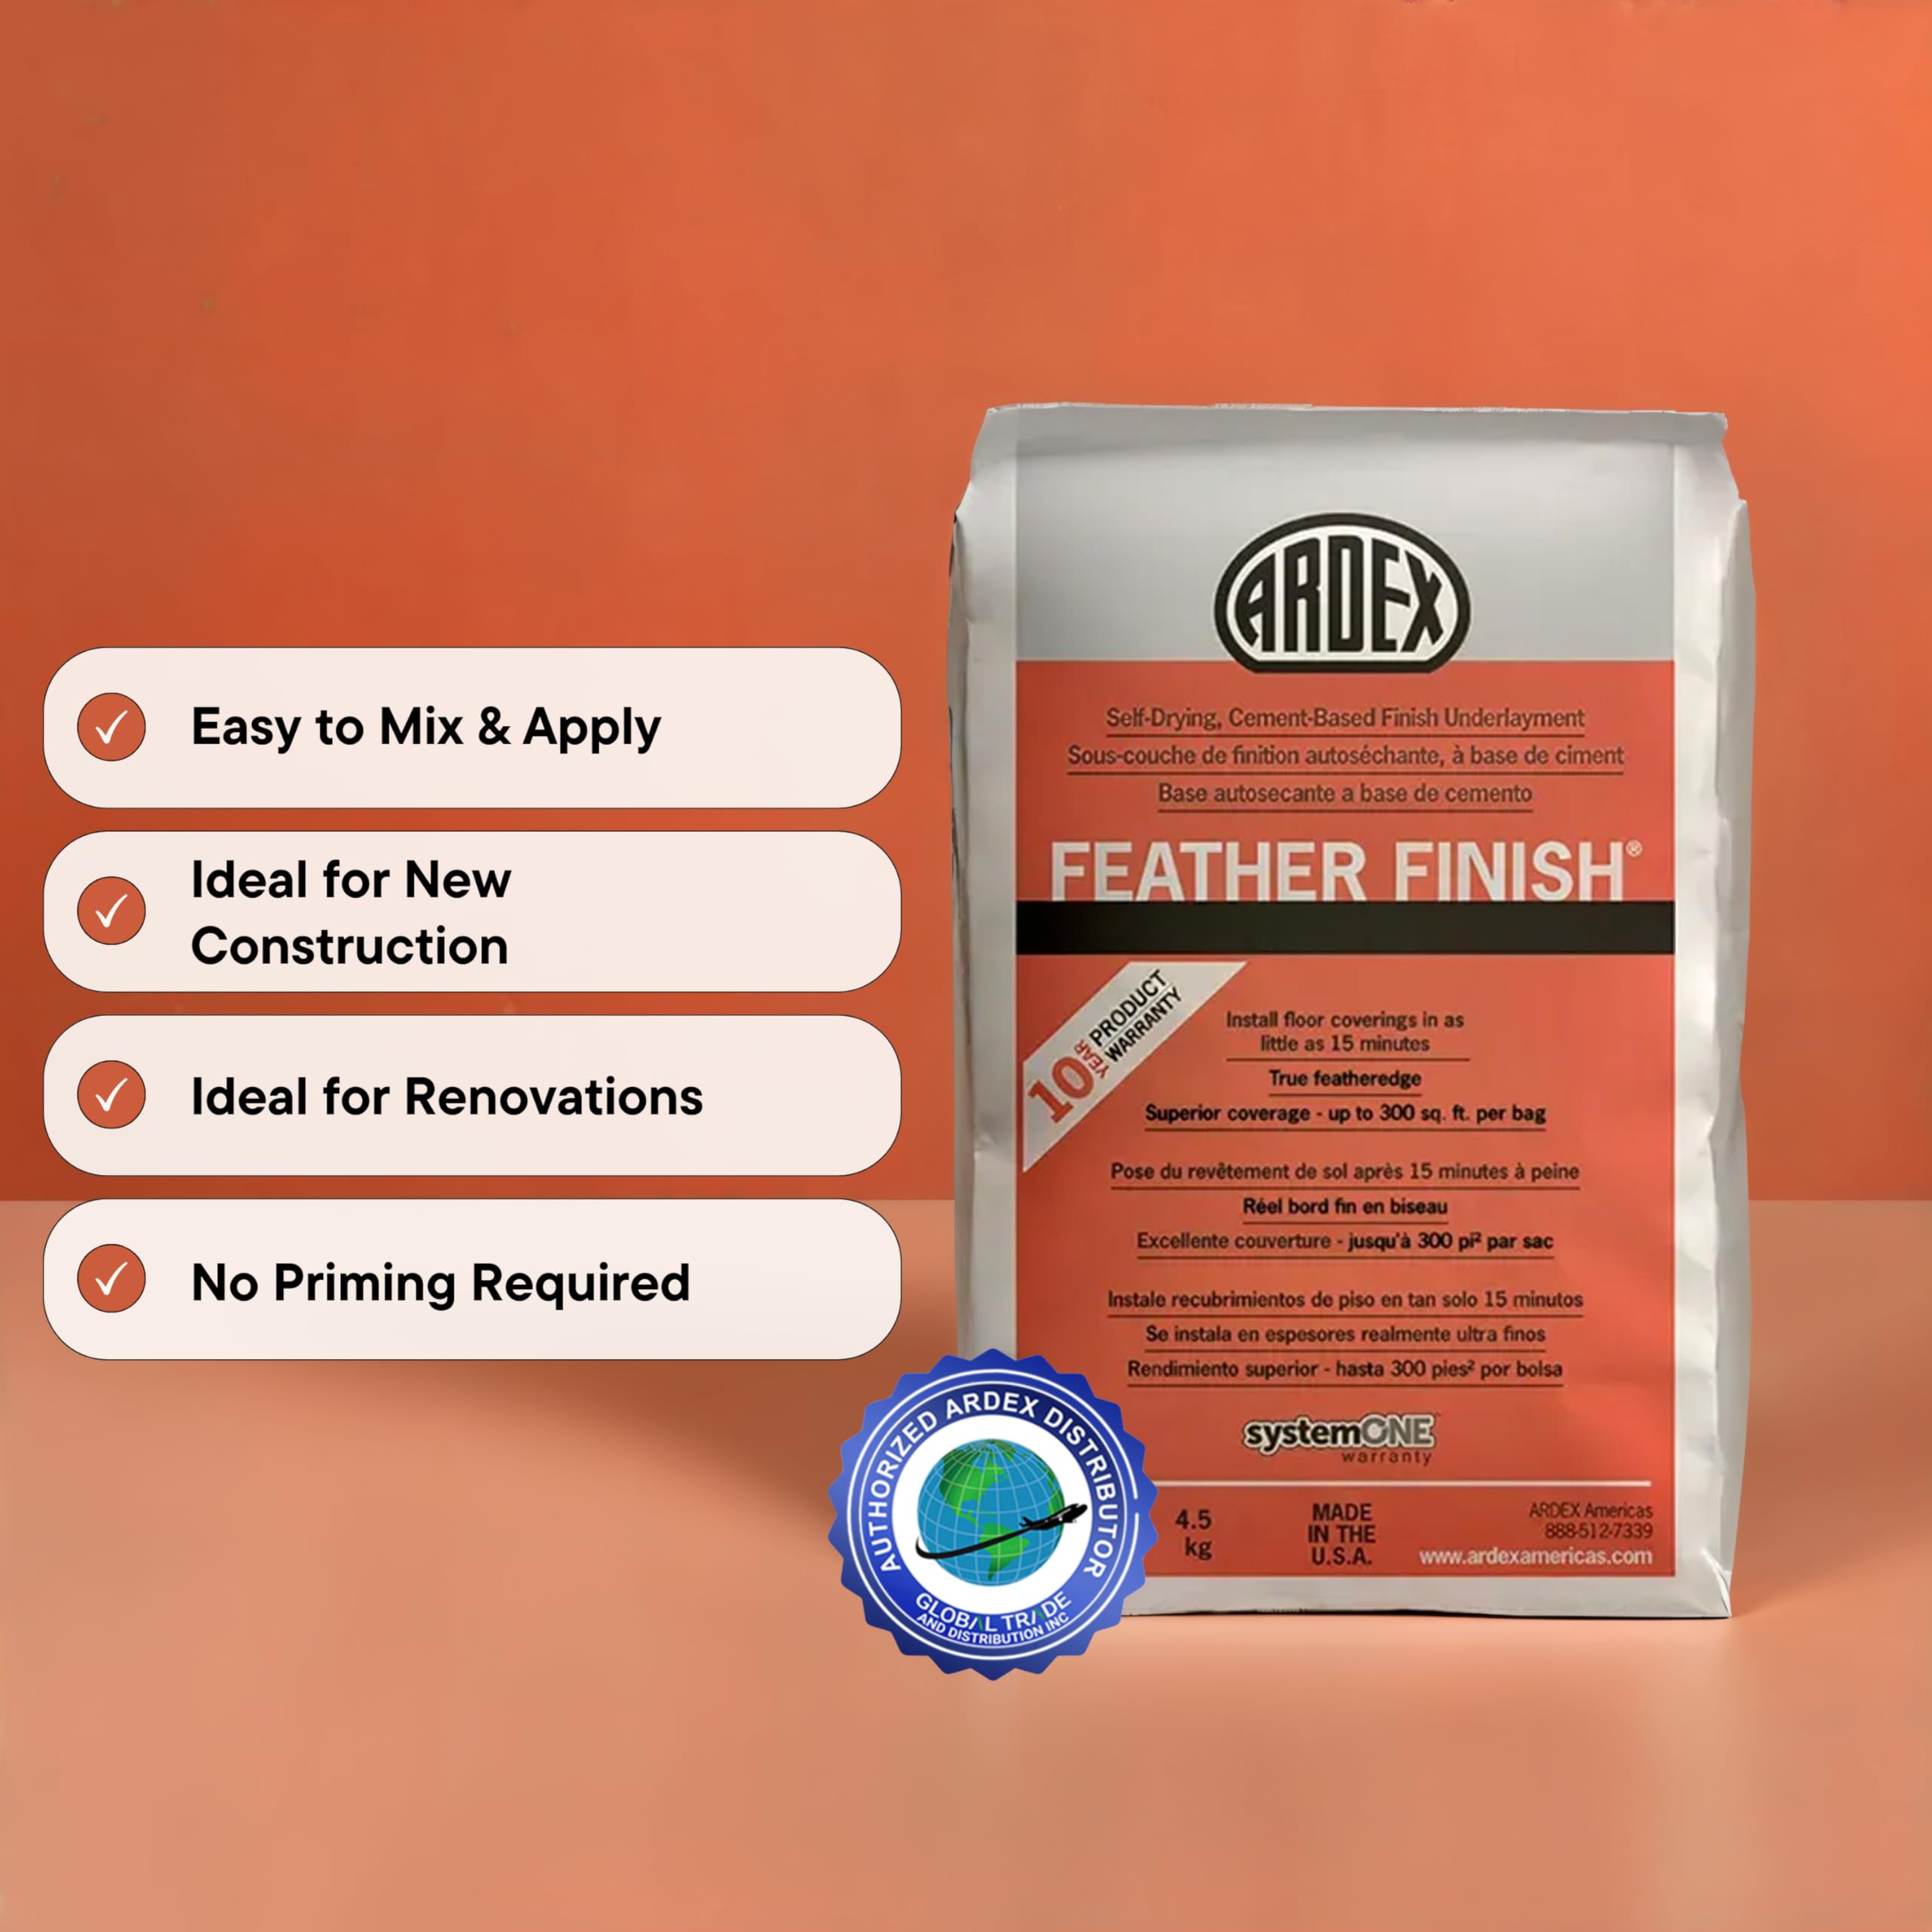
Ardex Feather Finish is a quick-setting, self-drying cement-based underlayment designed for smooth, durable floor preparation. It bonds effortlessly to a wide range of substrates without primers, sets in as little as 15 minutes, and features a true featheredge finish for flawless transitions. Ideal for professional and DIY use, it supports various floor coverings including tile, vinyl, and engineered wood, while resisting stains and discoloration to ensure long-lasting, high-performance results.
| ASIN | B004GUAIT8 |
| Best Sellers Rank | #38,662 in Industrial & Scientific ( See Top 100 in Industrial & Scientific ) #102 in Contact Cements |
| Brand | Ardex |
| Brand Name | Ardex |
| Color | Grey |
| Compatible Material | Porcelain |
| Container Type | Bag |
| Customer Reviews | 4.6 out of 5 stars 847 Reviews |
| Full Cure Time | 15 Hours |
| Global Trade Identification Number | 00709850801026 |
| Included Components | Finish |
| Item Form | Powder |
| Item Height | 4 inches |
| Item Package Quantity | 1 |
| Item Weight | 10 Pounds |
| Manufacturer | Ardex Americas |
| Material | Rubber |
| Material Type | Rubber |
| Model | ARFF |
| Package Information | Bag |
| Tensile Strength | 4200 Pounds Per Square Inch |
| UPC | 709850801026 |
| Unit Count | 160.0 Ounce |
| Viscosity | Moderate |
| Volume | 61 Cubic Inches |
| Water Resistance Level | Water Resistant |
M**U
amazing product to resurface fireplace
After seeing some youtube videos that used this product for faux concrete counters, I decided to try it on my fireplace. I was able to put it directly over my old ugly tiles with no prep other than a quick wipe-down with a wet rag. It is very easy to mix with just some water. I used a plastic takeout container, put about 1 cup of powder and poured a little water at a time and mixed it with a disposable spoon until it resembled brownie batter. Each small batch gave me about 20 minutes of working time. I was able to get it on and smooth it very well with just a spackling knife. My fireplace required 3 thin coats and no sanding was ever needed. I used up maybe 1/3 of the bag for my fireplace. Now i have a concrete looking fireplace. Very pleased with the outcome and highly recommend this product!
S**1
Used for subfloor prep for covering cutback residue, mastic, or glue!
Long story short, we used Ardex Feather Finish to encapsulate cutback residue (mastic, glue, etc...) on concrete that was left from asbestos tile in our basement storage room. Which it worked perfectly! A little insight: Our first "major" winter project in our new home was to clean/renovate our basement storage room. The floor was partially covered in asbestos floor tile. We had the tile professionally removed, but the job did not include the removal of the cutback residue leftover from the tile. We thought about just covering the concrete with vinyl plank and call it a day, but the cutback residue had a really musty smell, which kind of stunk. (no pun intended). After doing a little research and getting a recommendation from a friend (who's a contractor), we decided on the Ardex Feather Finish. It's main purpose is to prep your subfloor for a covering, whether it's carpet, tile, or some sort of plank flooring (wood, laminate, etc...). It can be applied to ALMOST any surface to including old floor adhesive. Which is what we were looking for. We ended up using DriCore for the floor covering. READ THE INSTRUCTIONS! Probably the most important thing! Since our surface was already clean from having the tile removed (they washed the whole room down, floor to ceiling), there wasn't much prep. I did wet mop the area one more time to be safe, and let it dry overnight. It was winter when we did this, so we had space heater in the room to bring up with ambient temp. We live in Minnesota, and the room is unconditioned, so it was pretty chilly in there. You need to make sure the surface you are applying it to is the minimum temp recommend in the instructions or you could run into issues with it properly adhering. I started with a small test area, about 12"x12". I wanted to make sure it would stay adhered to the cutback residue. I checked the test area after 24hrs, and it was rock hard. I then proceeded to do the rest. I used a 12" flat trowel with a sweeping motion and feathered the area until it was pretty smooth. It levels itself, so you don't have to be super picky about getting it perfect. If I remember correctly, the consistency is like heavy whipping cream, maybe a little thicker...(It's not like mortar you use to lay floor tile). It does dry fast, so only mix as much as you can work with! I let it sit for a week to be safe (cold basement), before installing the DriCore,. I did apply this a year prior to writing this review, and it's still sound and holding well. We did contemplate just leaving the feather finish uncovered, but Ardex states you should use something over it. Although this was a storage room, we didn't want to risk damaging it, or have it wear through. That's when we decided on the DriCore, which has worked well. Hopefully this helps! Cheers!
B**R
Great!
So, I'm finisheing my basement, there are some uneven edges that I had to grind down with a angle saw due to sloppy cement, and an area where the plumbers had chunky cement I had to smooth out to put LVP over. Also, a portion if it was still about an 1/8 of an inch lower then the rest of the flooring so I needed something to fill and smooth over with and this feathering cement worked! The instructions in the bag didnt work for me, I weighed the ingredients in the directions water vs product, but it was too chunky and not smooth. I added a little bit more water until it reached the consistency of cake batter, then smoothed over to where I needed, it set really quick, so I did half the bag first, then after that the second half. Here are some pictures. A couple hours later a contractor showed up at my house and stepped all over my work! Thankfully it had set and was fine....but one picture there are black finger marks?! Lol, I dont know what he was doin 😅, but ohwell. LVP flooring here I come!
C**A
NO SAND method for countertops/tabletops
If this helps one DIYer then it is worth it! I would have loved having this information before starting this project. This was EASY and I finished it in a Saturday afternoon. After reading a dozen tutorials for ardex feather finish on countertops, I was ready to take the plunge and try on my less-risky wood table that needed refinishing anyways. My biggest concern was the amount of dust created by other tutorials involving a ton of sanding between coats and at the end of the process. As someone who has worked a lot with concrete, I just didn’t see why this was necessary! If concrete (cement) is applied properly, it should have a nice smooth surface on its own. Plus, I think the sanding takes away from the natural velvety finish of concrete and ends up looking too forced. Here’s what I did: 1) OK here’s where I did sand the table a little bit... you do want to rough up your surface so the cement has something to grab on to. This took me 3 minutes with a sanding sponge. 2) I didn’t use a huge trowel or professional float, I just used a 4 inch scraper because that’s what I had on hand, but I think this led to my smooth finish and no sanding needed because I was able to apply the product in thin coats using a lot of pressure since my tool has a thick sturdy blade. Your first coat: don’t fret about it too much. I mixed the feather finish to a peanut butter consistency and spread it on as smoothly as I could, making sure to work as cleanly as I could and not leave anything too rough. I’ve included photos of coats 1,2, and 3 so you can see it gets dramatically better as you go. 3) Let it dry until it makes a hard sound when you tap on it. Mix up less for your second coat, (and I hate to say a little bit thinner like pancake batter because I don’t want people to mix it too thin, but this worked for me) using firm pressure I applied a coat as thinly as I could. This really started to smooth things out. Each coat is easier and faster and smoother than the one prior. If you use a thick coat, you will probably have more unevenness that you will have to sand! Think THIN and pressure and keep your blade clean! I wiped off excess cement on dry areas if I felt like I was creating too many trowel lines. In between coats I would let things *almost completely dry* (not too soon or you’ll just add more texture) and then come back with a clean scraper and smooth out any ridges. No sanding needed and the finish looks more natural because I smoothed out any trowel lines this way. 3) Repeat until you have the coverage you need. I spent time with a small putty knife obsessing over the edges because I wanted the flat “slab” look and my wood tabletop had rounded edges. 4) I lightly lightly sanded the edges or any rough burrs with the sanding block at the very end once I was happy with the finish, creating less than a dime sized pile of dust after I swept it up. The tabletop is buttery smooth and not at all rough, and sealing it will only make it smoother. I really was just in awe of these other people who are blowing horrible cement dust all over their houses! 5) I will be sealing after a few days and will update my review to cover any durability issues. My only areas of concern are the corners that I really had to build up with a thicker amount of cement, we will see how these hold together.
H**K
Great Product but a little tricky for vertical application.
I ordered this after seeing a youTube video and wanted to redo my brick fireplace. I wanted a modern, clean concrete look and feel that I achieved that however the concrete is rough and easily flakes off. I may sand it but am worried that it will not stay on. My advise: Work in small batches. I did not do this at first and the material starts to get hard to work with quickly. I had to order a second bag as I ran out (and my fireplace is small)... the second bag has a slightly different dialect and the color is off (can see in photo on fireplace). I had left over with the second bag and did above my range hood too (which was a bit easier because the surface was paneling and not brick). I am happy with the fact that I could DIY with out hardly any prep and it was a good learning experience. I am gong to use some watered down Annie Sloan Chalk Paint to even out the color on the fireplace. I recommend this product but take your time and work in small batches. It is also messy so don't skip on the prep work.
B**E
Used for countertops
I am not sure how I should rate this because I used it for a non standard purpose. For floor patching/leveling I'm sure it works great. It mixes well and seemed quite easy to work with and sand. It also layers well (if you need to really work an area to get it just right). It dries pretty quickly and seems quite durable. For that reason I gave it 5 stars. I do believe for its intended purpose it works well. I did my counters though and do not really like them. I would not recommend doing them, even though I've seem lots of blogs where people did so with success. Mine "look" fine, but I do not like the feel of them at all. As a temporary measure until I can afford to replace them I guess it's ok, though honestly I wish I'd have just painted them. I thought this would last longer since I heard the paint often chips, but in hindsight, I'd have rather dealt with that.
P**N
Wonderful product to use!
WOW! This was a learning experience / adventure for me!! We live in a 30 year old mobile home. We previously had a "rock" fireplace with a hearth that was raised about 6" off the floor with large stones on top. The mantle was rough cedar, and above the hearth, it was that tacky paper-laminated excuse for panelling. We replaced the panelling with sheetrock; we taped & embedded & textured the walls. We removed the "rock" as well as the entire hearth. I cut and secured the thin hardy board to the wall for the fireplace surround, using screws. I sealed the seams with fiberglass (sheetrock) tape, and I painted them with red sealant. I used this Feather Finish with some cement colorant from Home Depot, and I applied about 7 coats to the front of our fireplace surround. I need to figure out how to add pictures, because it turned out great in our opinion. NO, I had no previous experience with cement, but I have done quite a bit of sheetrock repair and floating of mud in this lovely money pit! (lol) The only reason for so many coats is that colorant makes the cement or feather finish product CHANGE COLORS as it dries, and it dries almost as fast as plaster of paris. You have to work soooo fast, but when you start at one point and go all the way around the fireplace, you end back up at your starting point, right? Since the feather finish mixture is almost dry at this point, and since the colorant changes colors as it dries, you end up with two totally different colors touching each other. It took me a while to figure out how to make this work. I had to start at the top center of the surround and work down from there down both directions! That part was NOT easy. You have to work fast, but this way I would end up at the center bottom of the surround. Again, this is all because of using the colorant. I've been told I need to write my own blog! Probably so!! Since I ran out of this bag mid-project, I learned that you can actually use another product called Henry Feather Finish - product number on the box is 549. ALSO, we had to use a paddle stirring contraption - normally used for stirring paint - or you could use the one for actually stirring together joint compound. The Henry Feather Finish is the same stuff as is in this Ardex bag. They are made by the exact same company -just different packaging. I found the Henry at Home Depot. You just have to search because different territories in the US carry different products and brands. DO KNOW THIS - I found the Henry product - the powder before mixing - to be of a much darker gray that the Ardex. I called the company back and they explained that all cement is that way, that it will vary from batch to batch. Makes perfect sense. I had to then adjust my colorant a bit in order to allow for the Henry feather finish being so much darker. I had originally hoped to have a glass tile fireplace surround, but our tile contractors couldn't come out for weeks! My husband was nervous about us trying to learn to do tile (chicken - haha!). I thought he was gonna stroke over the cement! This feather finish allowed me to rescue our project of making a slimmer profile of our fireplace and giving it a sleek, modern appearance. We now have no hearth, though maybe one day we will create one, but now the surround goes straight down to the floor. We painted the gold colored accents on the screen facing with black paint. That cedar mantle - we took it to a cabinet shop and had them plane it down. I sanded it smooth (didn't take much after going through a commercial planer) and stained it, then put a couple of coats of satin polycrylic on it I think. Totally different room, now. Looks awesome!!!
W**S
Spa every 🚿
Absolutely, love the spa feel every time I take a shower! I couldn't be happier and it was really easy to use, just follow the directions. The one thing I wish was a tad bit different.
Trustpilot
5 days ago
2 weeks ago